How To Draw A Beach With Waves: A Step-by-Step Guide For Beginners
Let’s face it, drawing a beach with waves can seem intimidating at first, but trust me, it’s not as hard as you think. Whether you’re a total newbie or someone who just wants to improve their skills, this guide will walk you through every step of the process. From sketching the shoreline to creating those realistic wave patterns, we’ve got you covered. So grab your pencils, let’s dive in!
There’s something magical about beaches, isn’t there? The sound of waves crashing against the shore, the warm sand beneath your feet—it’s like nature’s masterpiece. And what better way to capture that beauty than by learning how to draw a beach with waves? This guide is designed to help you create stunning beach scenes that look almost lifelike.
If you’re worried about not being "good enough," don’t sweat it. Art is all about practice and having fun along the way. By the end of this article, you’ll have a solid understanding of how to draw a beach with waves, and who knows? You might even discover a hidden talent. Let’s get started!
Read also:Gucci Flashtrek Sneakers Aus Leder Mit Your Ultimate Style Guide
Why Drawing a Beach with Waves Is So Appealing
Beaches are one of the most popular subjects in art, and for good reason. They evoke feelings of peace, freedom, and adventure. But why does drawing waves make such a big difference? Well, adding waves brings movement and life to your artwork. It transforms a static image into something dynamic and eye-catching.
Think about it: a beach without waves feels incomplete, right? Waves add texture, depth, and realism to your drawing. Plus, they give you an opportunity to experiment with shading and blending techniques. So if you’re looking to take your beach drawings to the next level, mastering wave patterns is key.
Tools You’ll Need to Get Started
Before we jump into the nitty-gritty details, let’s talk about the tools you’ll need. You don’t have to break the bank to create amazing art. Here’s a quick list of essentials:
- Pencils (HB, 2B, 4B, 6B)
- Eraser (both kneaded and regular)
- Sketchbook or drawing paper
- Blending tools (tortillons, blending stumps)
- Optional: colored pencils or watercolors for adding color
See? Nothing fancy required. Now that you’ve got your supplies ready, let’s move on to the fun part!
Step 1: Sketching the Horizon Line
Every great beach drawing starts with a strong foundation. Begin by lightly sketching the horizon line. This is where the sky meets the sea. Keep it simple—a straight or slightly curved line will do. Remember, the horizon line doesn’t have to be perfect; it’s just a guide for your composition.
Pro Tip: If you’re drawing a sunset or sunrise scene, position the horizon line lower on the page to leave more room for the sky. For a midday scene, place it higher up to focus on the beach and ocean.
Read also:Hamburger Purse Betsey Johnson The Ultimate Fashion Statement Thats Got Everyone Talking
Why the Horizon Line Matters
The horizon line sets the stage for your entire drawing. It helps establish perspective and gives your beach scene a sense of balance. Without it, your artwork might feel chaotic or disorganized. So take your time and make sure it looks right before moving on to the next step.
Step 2: Outlining the Shoreline
Now it’s time to define the shoreline. Use gentle curves to create a natural, organic shape. Avoid making it too symmetrical—real beaches are rarely perfectly smooth. Instead, aim for a slightly uneven line that mimics the ebb and flow of the tide.
Feel free to add small details like rocks, shells, or driftwood along the shore. These elements will add character and interest to your drawing. Just remember to keep them subtle at this stage; you can refine them later.
Adding Depth to the Shoreline
One of the easiest ways to make your shoreline pop is by adding shadows. Pay attention to how sunlight interacts with the sand. Areas closer to the water will likely be darker due to moisture, while drier patches farther back will appear lighter. Use hatching and cross-hatching techniques to create these subtle variations.
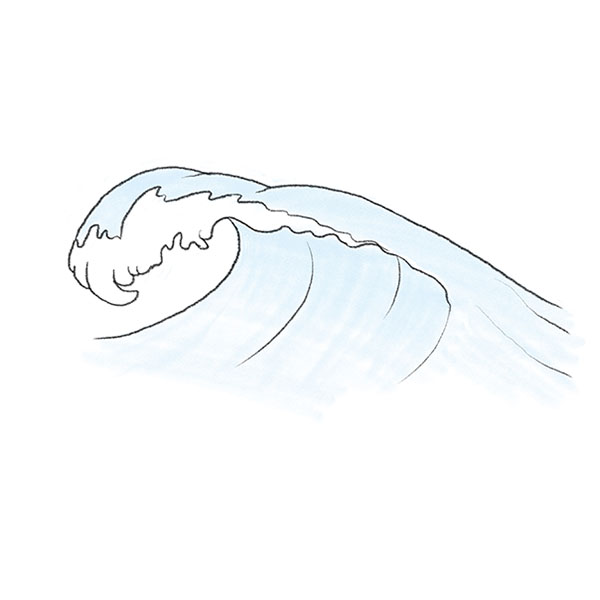
Step 3: Drawing the Waves
This is where things start to get exciting! Waves are the heart and soul of any beach drawing. To create realistic waves, focus on their basic structure. Most waves consist of three main parts:
- The crest (the top of the wave)
- The trough (the bottom of the wave)
- The foam (the white, bubbly part)
Start by sketching the crests as smooth, flowing curves. Then, add the troughs below them to create a sense of movement. Finally, sprinkle in some foam using quick, light strokes. Don’t worry if it looks messy at first—refinement comes later.
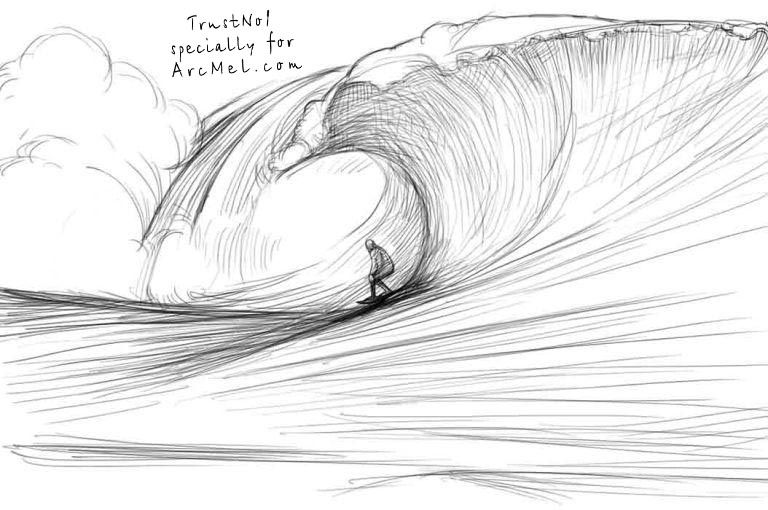
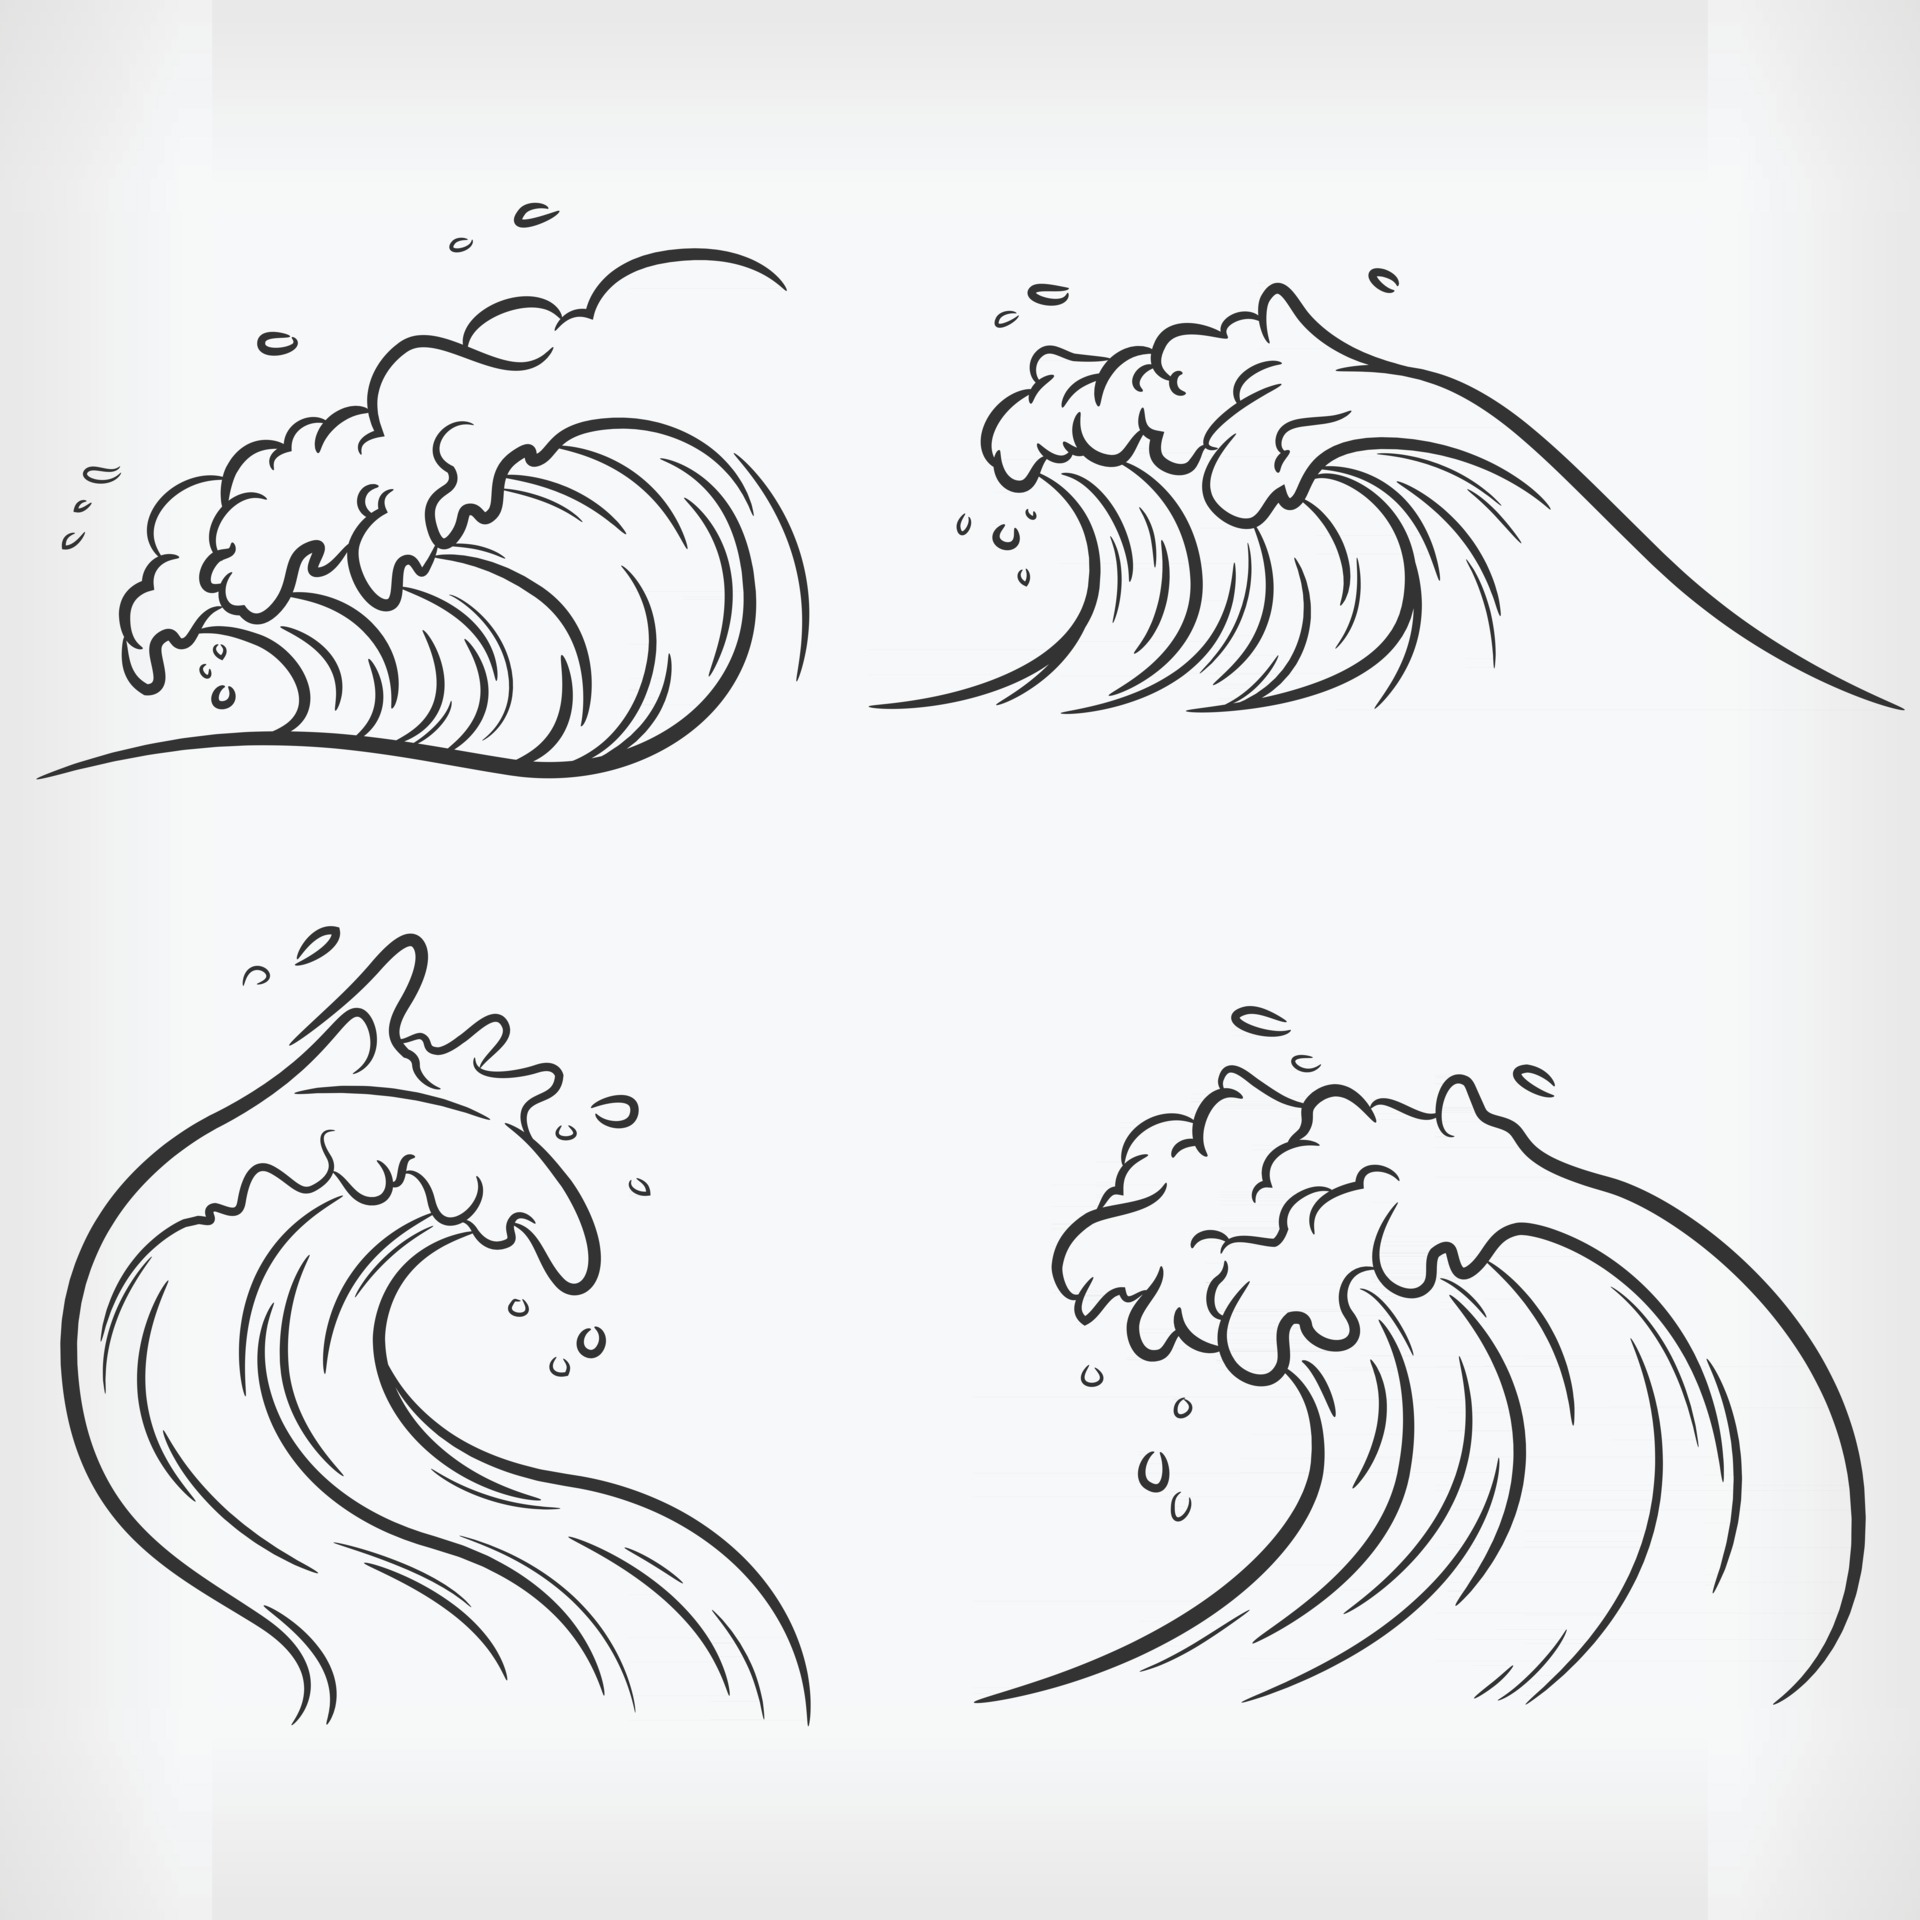
Understanding Wave Patterns
Waves come in all shapes and sizes, so it’s important to study their behavior. Some waves are gentle and rolling, while others are powerful and crashing. Choose the type of wave that best fits your scene. For example, a calm beach might feature soft, rounded waves, while a stormy coastline could have sharp, jagged ones.
Step 4: Shading and Texturing
Shading is what gives your drawing dimension and realism. Start by identifying the light source in your scene. Is the sun shining from the left, right, or above? Once you know that, you can determine which areas should be darker and which should remain light.
For the ocean, use graduated shading to create depth. The water near the horizon will typically be darker than the water closer to the shore. As for the sand, experiment with different textures to mimic its grainy surface. Cross-hatching works well for this, as does stippling (using tiny dots).
Common Mistakes to Avoid
Here are a few common pitfalls to watch out for when shading:
- Overworking the paper: Too much pressure can damage the surface and make blending difficult.
- Ignoring reflections: Water reflects light, so don’t forget to include highlights on the waves.
- Skipping transitions: Gradual changes in tone are essential for creating smooth, believable shading.
Take your time and practice these techniques until you feel comfortable with them. Consistency is key!
Step 5: Adding Final Details
With the basics in place, it’s time to add those finishing touches that bring your drawing to life. Consider including:
- Seagulls flying overhead
- People lounging on the beach
- Boats or surfboards in the distance
- Coconut trees or palm fronds swaying in the breeze
These small details can make a huge impact. They provide context and tell a story, drawing viewers into your artwork. Just be careful not to overwhelm the scene—less is often more when it comes to detail work.
Experimenting with Color
If you’re feeling adventurous, try adding color to your beach drawing. Colored pencils or watercolors are great options for beginners. Start with light washes of blue for the water and yellow/orange for the sky. Then, build up layers gradually to achieve richer tones.
Step 6: Review and Refine
Once you’ve completed your drawing, step back and evaluate your work. Are there any areas that need improvement? Do the waves look realistic? Is the composition balanced? Don’t be afraid to make adjustments—art is all about iteration.
Use an eraser to lighten harsh lines or blend pencil marks together. If necessary, add more shading or texture to enhance certain elements. Keep refining until you’re happy with the result.
How to Know When You’re Done
There’s no hard-and-fast rule for determining when a drawing is finished. Ultimately, it’s up to you to decide. However, here are a few signs that you’re nearing completion:
- All major elements are well-defined.
- Shading and textures are consistent throughout.
- The overall composition feels cohesive and balanced.
Remember, perfection isn’t the goal. Enjoy the process and celebrate your progress, no matter how small it may seem.
Expert Tips for Drawing Beaches with Waves
Here are a few expert tips to take your beach drawings to the next level:
- Study real-life references: Look at photos of beaches and observe how light and shadow interact with the environment.
- Practice regularly: Like any skill, drawing improves with practice. Set aside time each day to hone your craft.
- Experiment with different mediums: Try using charcoal, pastels, or even digital tools to see what works best for you.
And most importantly, have fun! Art is meant to be enjoyable, so don’t put too much pressure on yourself. Every drawing is a learning experience, and every mistake is an opportunity to grow.
Conclusion: Your Journey Begins Here
Learning how to draw a beach with waves is a rewarding experience that combines creativity, observation, and technique. By following the steps outlined in this guide, you’ll be well on your way to creating stunning beach scenes that capture the essence of the ocean.
So what are you waiting for? Grab your pencils and start practicing today. And don’t forget to share your progress with the world. Who knows? You might inspire someone else to pick up a pencil and join you on this artistic journey.
Call to Action: Leave a comment below and let us know what you think of this guide. Do you have any tips or tricks for drawing beaches with waves? We’d love to hear from you!
Table of Contents
- Why Drawing a Beach with Waves Is So Appealing
- Tools You’ll Need to Get Started
- Step 1: Sketching the Horizon Line
- Step 2: Outlining the Shoreline
- Step 3: Drawing the Waves
- Step 4: Shading and Texturing
- Step 5: Adding Final Details
- Step 6: Review and Refine
- Expert Tips for Drawing Beaches with Waves
- Conclusion: Your Journey Begins Here
How To Put Throws On A Bed: Elevate Your Bedroom Style In No Time
How To Fill A Pot Like A Pro: Your Ultimate Guide
Yesterday's National Anthem: A Journey Through History, Emotion, And Patriotism
How to Draw Waves Easy Drawing Tutorial For Kids
Beach Waves Painting at Explore collection of
Sea Waves Draw
