How To Select All Photos In IPhone: A Beginner's Guide For Smart Users
Ever wondered how to select all photos in iPhone without going through the hassle of choosing each one individually? Let’s dive into this simple yet powerful trick that’ll save you tons of time and effort. Whether you’re trying to share a bunch of vacation snaps or clean up your photo library, this guide’s got you covered. No more scrolling endlessly—this method’s as easy as pie!
Selecting all photos in iPhone can feel like rocket science if you’re new to the game, but trust me, it’s not that complicated. In today’s fast-paced world, knowing how to manage your photos efficiently is essential. Whether you want to transfer them to your computer or just delete the duplicates, mastering this skill will make your life so much easier.
Now, why should you care about selecting all photos in iPhone? Well, imagine having hundreds or even thousands of photos cluttering up your device. It’s not just about space—it’s about organization. Plus, sharing multiple photos with friends and family becomes a breeze when you know the right moves. So, let’s get started and turn you into an iPhone photo-selection pro!
Read also:Shadow Fade Haircut For Black Men A Trend Thatrsquos Here To Stay
Why You Need to Select All Photos in iPhone
Let’s face it—our iPhones have become digital photo albums. From family gatherings to random cat pics, we store everything on there. But what happens when you need to move these photos to another device or delete them to free up space? Selecting them one by one would take forever, right? That’s where the ‘select all’ feature comes into play. It’s like a superhero for your photo management needs.
Understanding the Importance of Photo Management
Photo management isn’t just about aesthetics—it’s about functionality. A cluttered photo library can slow down your phone and make it harder to find the pics you actually need. By learning how to select all photos in iPhone, you’re taking control of your digital life. Plus, it’s a great way to declutter and start fresh.
Steps to Select All Photos in iPhone
Alright, let’s get down to business. Here’s a step-by-step guide on how to select all photos in iPhone like a pro. Follow these instructions carefully, and you’ll be selecting photos in bulk in no time.
Step 1: Open the Photos App
First things first, you need to open the Photos app on your iPhone. It’s that little camera icon on your home screen. Tap it, and you’ll be taken to your photo library. Simple, right?
Step 2: Navigate to the Album
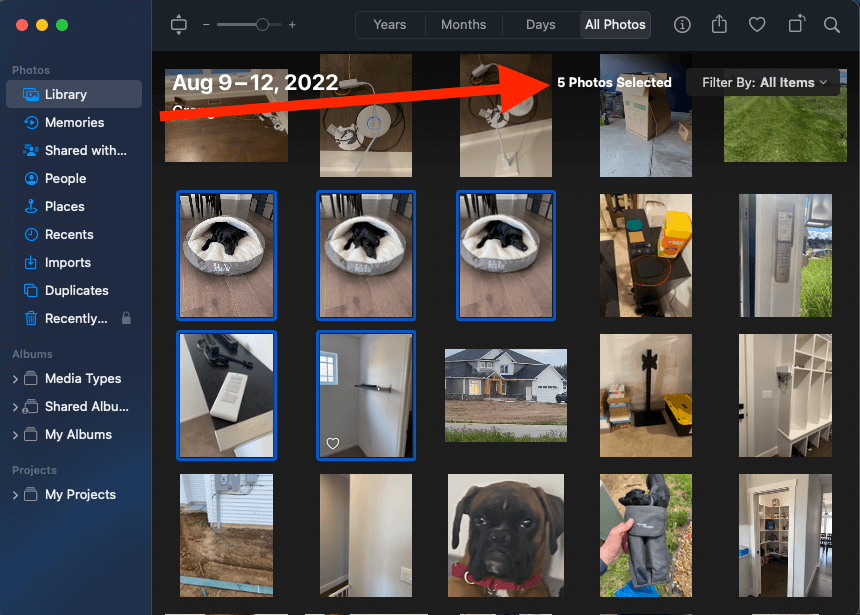
Once you’re in the Photos app, you’ll see different sections like ‘All Photos,’ ‘Albums,’ and ‘Shared.’ For our purpose, head over to ‘All Photos.’ This is where all your images live, so it’s the best place to start.
Step 3: Select Your Photos
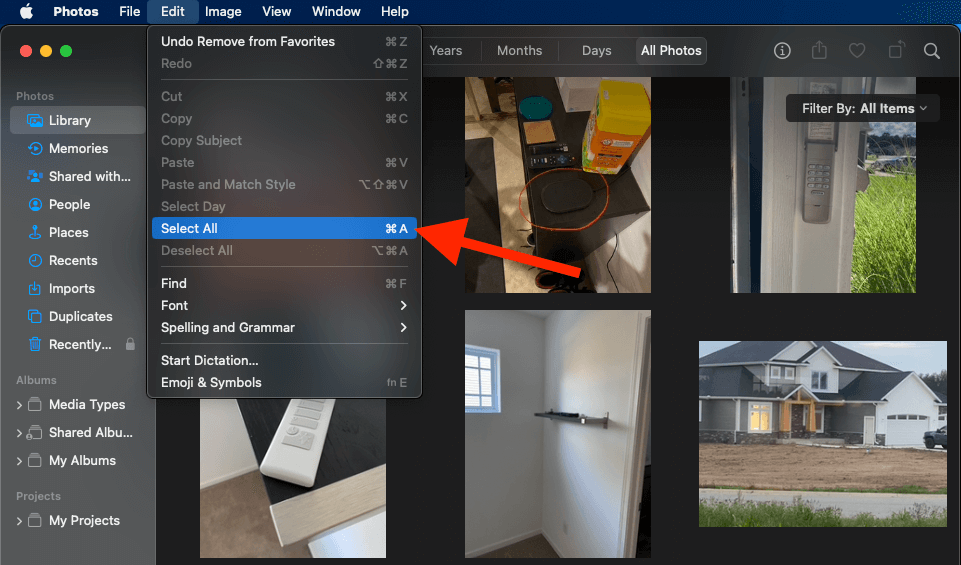
Now, here’s the magic part. Tap the ‘Select’ button at the top-right corner of the screen. This will put you in selection mode. From here, you can choose individual photos or go for the big guns and select them all.
Read also:Black Bride With Short Hair A Celebration Of Unique Beauty And Style
Step 4: Use the ‘Select All’ Option
Once you’re in selection mode, look for the ‘Select All’ option. It’s usually at the bottom-left corner of the screen. Tap it, and voila! All your photos will be selected instantly. Easy peasy lemon squeezy.
Common Mistakes to Avoid
While selecting all photos in iPhone might seem straightforward, there are a few pitfalls to watch out for. Here are some common mistakes people make and how to avoid them:
- Not Being in the Right Mode: Make sure you’re in selection mode before trying to select all photos. Otherwise, you’ll just be tapping around aimlessly.
- Selecting the Wrong Album: Double-check that you’re in the ‘All Photos’ section. Selecting photos from a specific album might not give you the full picture.
- Forgetting to Confirm Actions: Once you’ve selected all photos, don’t forget to confirm any actions you take, like deleting or sharing. You don’t want to accidentally lose important photos.
Advanced Tips for Power Users
If you’re looking to take your photo management skills to the next level, here are a few advanced tips for selecting all photos in iPhone:
Tip 1: Use iCloud for Backup
Before you start deleting or transferring photos, make sure they’re backed up to iCloud. This way, you’ll always have a safety net in case something goes wrong.
Tip 2: Organize with Albums
Creating albums for different events or categories can make managing your photos much easier. Instead of selecting all photos in iPhone, you can focus on specific albums when needed.
Tip 3: Automate with Shortcuts
Apple’s Shortcuts app can automate repetitive tasks, including photo selection. With the right shortcut, you can select and transfer photos with just a few taps.
Benefits of Selecting All Photos in iPhone
Selecting all photos in iPhone offers several benefits beyond just saving time. Here are a few reasons why mastering this skill is worth your while:
- Efficient Sharing: Sharing multiple photos with friends and family becomes a breeze when you can select them all at once.
- Space Management: Deleting unnecessary photos in bulk helps free up space on your device, keeping it running smoothly.
- Backup Convenience: Transferring all your photos to a cloud service or external drive is much easier when you can select them all at once.
What Happens After Selecting All Photos?
Once you’ve selected all photos in iPhone, what’s next? Well, that depends on your goal. Here are a few common actions you might take:
Action 1: Delete Unwanted Photos
If you’re trying to declutter your photo library, deleting unwanted photos is a great first step. Just make sure you’ve backed them up somewhere safe before hitting that delete button.
Action 2: Share with Friends
Sharing a large number of photos with friends and family is much easier when you can select them all at once. Use AirDrop, Messages, or email to send them off in bulk.
Action 3: Transfer to Computer
Transferring photos to your computer is a great way to free up space and keep a backup. Use iTunes or the Finder app to transfer your selected photos effortlessly.
Tools and Apps to Enhance Your Experience
While the native Photos app is powerful, there are a few third-party tools and apps that can enhance your photo management experience:
Tool 1: Google Photos
Google Photos offers unlimited storage for photos (up to a certain resolution) and makes organizing and sharing them a breeze. It’s a great alternative to iCloud for those who prefer a different ecosystem.
Tool 2: Dropbox
Dropbox is another excellent tool for storing and sharing photos. Its integration with iOS makes it a seamless choice for iPhone users.
Tool 3: Adobe Lightroom
If you’re into photo editing, Adobe Lightroom is a must-have app. It allows you to manage, edit, and share your photos all in one place.
Conclusion: Take Control of Your Photo Library
Selecting all photos in iPhone might seem like a small feature, but it can have a big impact on your digital life. By mastering this skill, you’re taking control of your photo library and making it work for you. Whether you’re sharing, deleting, or transferring photos, knowing how to select them all at once will save you time and effort.
So, what are you waiting for? Dive into your iPhone’s Photos app and start selecting like a pro. And don’t forget to leave a comment or share this article with your friends. Who knows? You might just turn them into photo-selection experts too!
Table of Contents
- Why You Need to Select All Photos in iPhone
- Steps to Select All Photos in iPhone
- Common Mistakes to Avoid
- Advanced Tips for Power Users
- Benefits of Selecting All Photos in iPhone
- What Happens After Selecting All Photos?
- Tools and Apps to Enhance Your Experience
- Conclusion
Vaquero Outfit Men: A Bold Fashion Statement Rooted In History
How To Take Daith Piercing Out: A Comprehensive Guide For Stress-Free Removal
D Local Help Maxcom: Your Ultimate Guide To Seamless Payment Solutions
3 Quick Ways to Select Multiple Photos on Mac
3 Quick Ways to Select Multiple Photos on Mac

How to Select All Photos on iPhone in a Few Simple Steps
