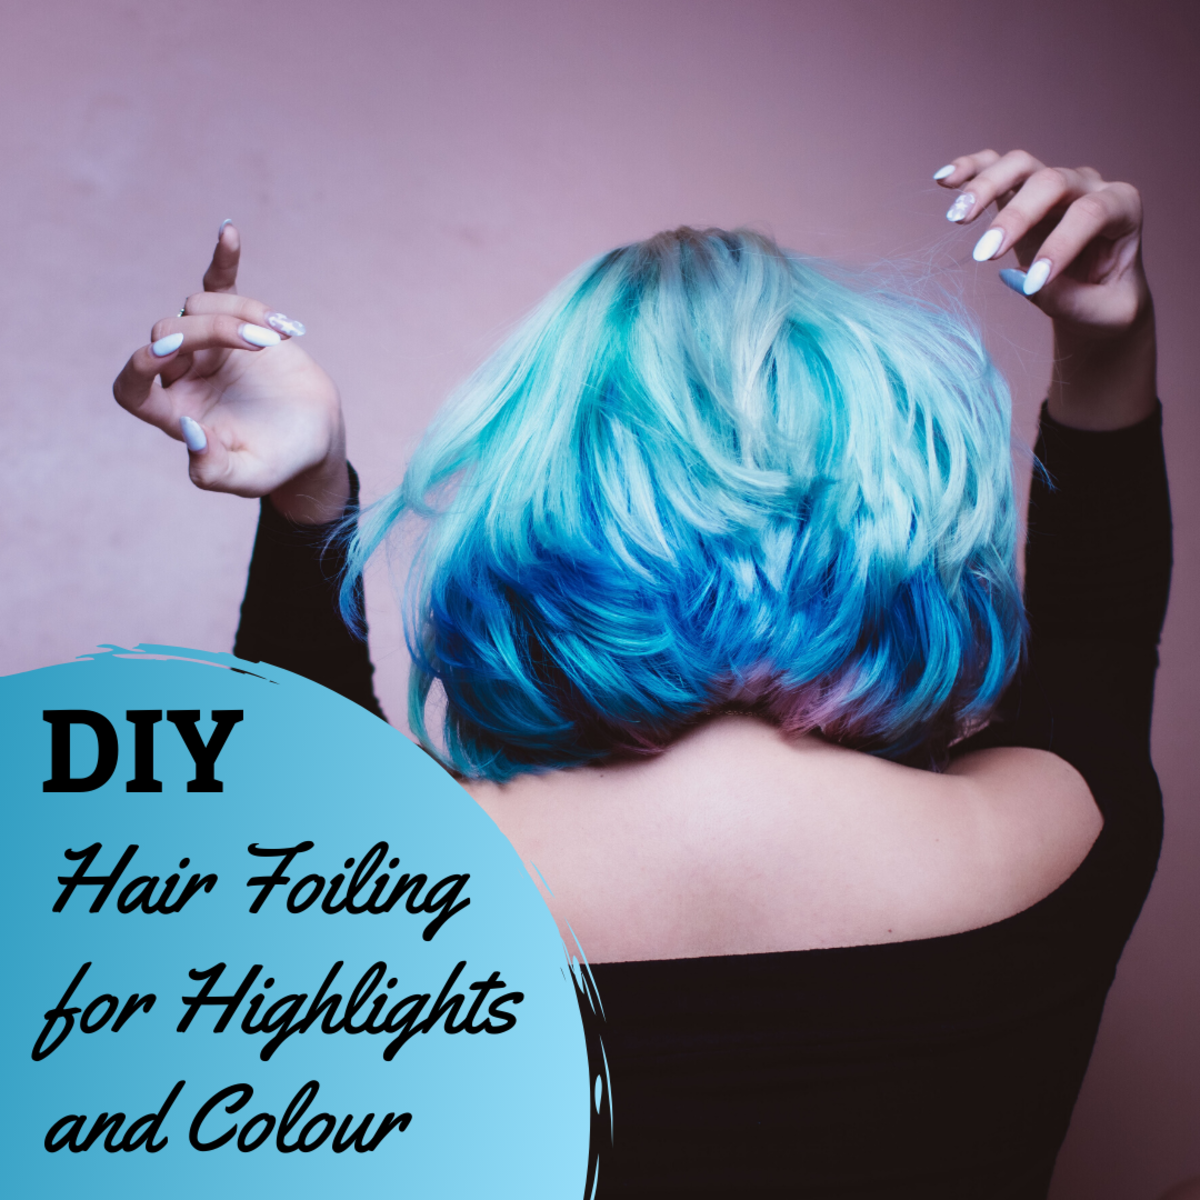
How To Do Foils In Hair: A Step-by-Step Guide For Stunning Highlights
Hey there, beauty lovers! If you've ever wondered how to do foils in hair like a pro, you're in the right place. Foiling is one of those techniques that can totally transform your hair game, whether you're going for subtle highlights or bold, eye-catching color. It's not just about slapping some bleach on your strands; it's an art form that requires skill, precision, and a little bit of patience. So, buckle up, because we’re diving deep into the world of foils and giving you all the insider tips to make your hair dreams come true.
Now, before we get into the nitty-gritty details, let's talk about why foiling is such a big deal. Unlike other highlighting methods, foils allow you to target specific sections of your hair, giving you that custom, salon-quality look without breaking the bank. Plus, it's super versatile—you can use it for highlights, lowlights, or even bold color changes. Who doesn’t want that kind of flexibility, right?
Before we jump into the steps, I want to give you a quick heads-up: this isn't just a how-to guide. We’re going to cover everything from the tools you’ll need to common mistakes to avoid. By the end of this article, you'll feel confident enough to grab those foils and take your hair to the next level. Let’s do this!
Read also:Koch Road Dmv Your Ultimate Guide To Streamlining Your Dmv Experience
Here’s a quick table of contents to help you navigate through this article:
- Tools You’ll Need
- Preparation Tips
- Step-by-Step Guide
- Different Foiling Techniques
- Maintaining Your Foils
- Common Mistakes to Avoid
- FAQs About Foils in Hair
- Benefits of Foils
- Alternatives to Foils
- Wrapping It Up
Tools You’ll Need
Alright, let’s start with the basics. To do foils in hair, you’re gonna need the right tools. Think of it like baking a cake—you can’t just throw flour and sugar into a bowl and expect magic to happen. Same goes for foiling. Here’s a list of everything you’ll need:
- Coloring foils (duh!)
- Hair color or bleach (depending on your desired outcome)
- Developer (this helps activate the color)
- A mixing bowl and brush (you don’t want to ruin your good ones!)
- A sectioning comb (makes life so much easier)
- Gloves (because who wants bleach on their hands?)
- Old towel or cape (to protect your clothes)
- Hair clips (to keep everything in place)
These tools might seem like a lot, but trust me, they’re worth it. Plus, once you’ve got them, you can use them for all your future hair adventures.
Where to Buy Quality Foils
If you're wondering where to score top-notch foils, head over to your local beauty supply store or check out online retailers like Amazon. Just make sure you’re getting high-quality foils that won’t tear easily. Cheap ones can ruin your whole vibe, so invest wisely.
Preparation Tips
Now that you’ve got your tools ready, it’s time to prep. This step is crucial, folks. You wouldn’t start painting a room without prepping the walls, would you? Same goes for foiling. Here’s what you need to do:
First things first, wash and dry your hair. Clean hair is a blank canvas, and it’ll make the color process smoother. Next, section your hair into manageable parts. This will help you keep everything organized and ensure even coverage. And lastly, protect your skin by applying petroleum jelly around your hairline. It’ll save you from any pesky bleach stains.
Read also:What Is A Broista Your Ultimate Guide To Understanding The Coffee Worldrsquos Cool Kid
Sectioning Your Hair
Sectioning is key when it comes to foiling. You can use a comb to part your hair into sections, or if you’re feeling fancy, go for a diagonal part. Whatever method you choose, just make sure each section is about 1-2 inches wide. This will give you that perfect balance between coverage and subtlety.
Step-by-Step Guide
Alright, here’s the moment you’ve been waiting for—the actual foiling process. Don’t stress, it’s easier than it looks. Just follow these steps, and you’ll be golden:
Step 1: Mix your color or bleach with developer in the bowl. The ratio usually depends on the product, so read those instructions carefully.
Step 2: Take a small section of hair and apply the mixture from root to tip. Be generous but not wasteful.
Step 3: Fold the foil around the section of hair, making sure it’s completely covered. Press down gently to seal it.
Step 4: Repeat the process until you’ve covered all the sections you want highlighted.
Step 5: Let it sit for the recommended time (usually 30-45 minutes). Set a timer so you don’t forget!
Step 6: Carefully remove the foils and rinse your hair thoroughly. Voila! You’ve got yourself some beautiful highlights.
Pro Tips for Perfect Foils
Here are a few pro tips to take your foiling game to the next level:
- Work in a well-lit area so you can see what you’re doing.
- Start with smaller sections if you’re a beginner.
- Don’t overload the foil—it can cause uneven results.
- Use a cool-toned developer for blonde highlights and a warm-toned one for brunettes.
Different Foiling Techniques
Not all foils are created equal, my friends. There are different techniques you can use depending on the look you’re going for. Let’s break them down:
Balayage Foils
Balayage is all about creating a natural, sun-kissed look. Instead of applying the color evenly, you’ll use a sweeping motion to create a gradient effect. It’s perfect if you want something subtle yet stunning.
Highlight Foils
This is the classic foiling technique. You’ll apply the color to specific sections of hair, usually around the face, to add dimension and brightness. It’s a great way to frame your features and add some sparkle to your locks.
Lowlight Foils
Lowlights are the opposite of highlights. Instead of adding lighter shades, you’ll use darker tones to create depth and contrast. It’s a fantastic option if you want to keep things understated but still make a statement.
Maintaining Your Foils
So, you’ve done the hard part—now it’s time to maintain your masterpiece. Proper maintenance is key to keeping your foils looking fresh and fabulous. Here’s what you need to do:
First, invest in a good sulfate-free shampoo and conditioner. These products will help preserve your color and keep your hair healthy. Second, avoid washing your hair too often. The more you wash, the faster the color will fade. And lastly, consider using a heat protectant before styling to prevent damage.
How Often Should You Reapply?
The frequency of reapplication depends on your hair type and the look you’re going for. On average, most people touch up their foils every 6-8 weeks. But hey, listen to your hair—it’ll tell you when it’s time for a refresh.
Common Mistakes to Avoid
Even the best of us make mistakes, but with a little knowledge, you can avoid them. Here are some common foiling mistakes to watch out for:
- Leaving the foils on for too long—this can lead to over-processing and damage.
- Using low-quality products—cheap bleach or developer can ruin your results.
- Not sectioning properly—this can cause uneven highlights.
- Skipping the prep step—your hair won’t be as receptive to the color.
Remember, patience is key. Take your time, and don’t rush the process. Your hair will thank you later.
FAQs About Foils in Hair
Got questions? We’ve got answers. Here are some frequently asked questions about foiling:
Q: Can I do foils at home?
A: Absolutely! With the right tools and a bit of practice, you can achieve salon-quality results from the comfort of your own home.
Q: How long do foils last?
A: Depending on your hair type and care routine, foils can last anywhere from 6-8 weeks before needing a touch-up.
Q: Can I use foils for all hair types?
A: Yes, foils can be used on all hair types, whether it’s straight, curly, thick, or thin.
Benefits of Foils
There are plenty of reasons to love foils. Not only do they give you that custom look, but they’re also versatile and easy to maintain. Plus, they allow you to target specific areas of your hair, which means you can create any style you want. From subtle highlights to bold color changes, foils have got you covered.
Alternatives to Foils
If foils aren’t your thing, there are other highlighting methods you can try. Some popular alternatives include balayage, ombre, and hair chalk. Each method has its own unique benefits, so it’s all about finding what works best for you.
Wrapping It Up
And there you have it, folks! Everything you need to know about how to do foils in hair. Whether you’re a seasoned pro or a total newbie, foiling is a fun and rewarding way to transform your hair. Just remember to take your time, use quality products, and most importantly, have fun with it.
Now, it’s your turn! Share your foiling experience in the comments below. Did you try any of these techniques? What worked best for you? And don’t forget to check out our other articles for more hair inspiration. Happy foiling, and until next time, keep shining!
A Man's First Love: A Journey Through The Heart
100 Inch Wig: The Ultimate Guide To Owning A Show-Stopping Hairpiece
Commander Fox Without Helmet: A Deep Dive Into The Iconic Persona
How to Highlight and Colour Your Hair at Home Using Foils Bellatory

How to do a full highlight in 20 foils or less hair color hacks kenra

FRAMAR Hair Foils For Highlighting Hair Foils For
