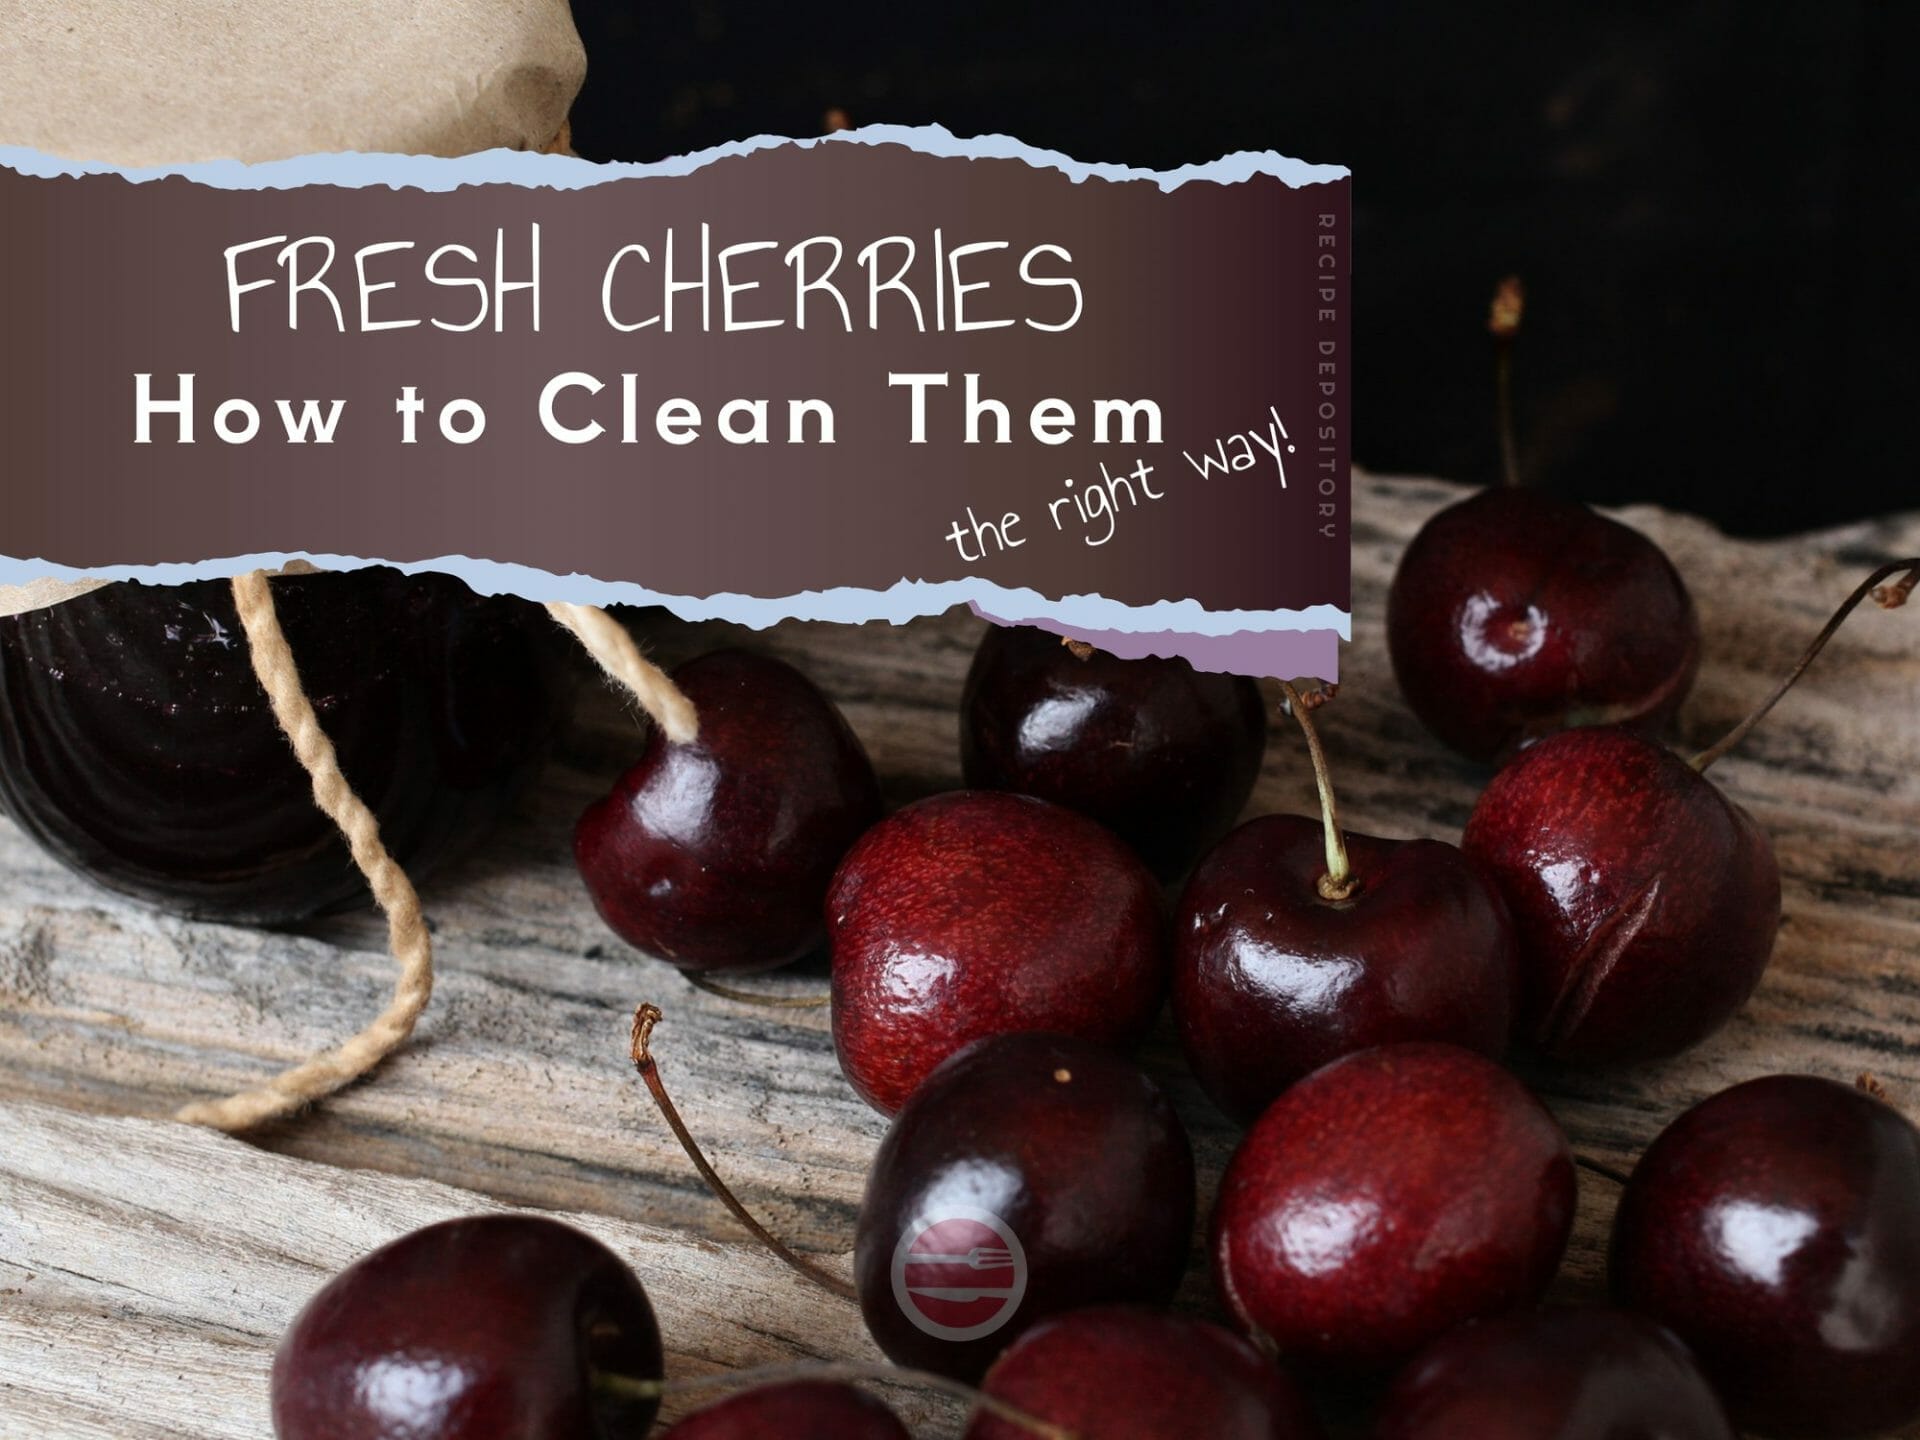
How To Clean Cherries Before Eating: A Juicy Guide For Cherry Lovers
Who doesn’t love cherries, right? These little red gems are not just delicious but also packed with nutrients that do wonders for your body. But hold up a sec—before you pop those cherries into your mouth, you gotta make sure they’re squeaky clean. Cleaning cherries properly is crucial to avoid any unwanted guests like pesticides, dirt, or tiny critters. In this article, we’ll spill the tea on how to clean cherries before eating them, so you can enjoy their sweetness without any worries.
Cherries are one of those fruits that seem perfect in every way—sweet, juicy, and oh-so-good for snacking. But let’s be real, they’ve been through a lot before they reach your plate. From the orchard to the grocery store shelves, they’ve likely been exposed to all sorts of things you wouldn’t want to munch on. That’s why knowing how to clean cherries before eating is a must-have skill for any fruit lover.
We’re here to break it down for you step by step, with tips and tricks that’ll make the process a breeze. Whether you’re a seasoned pro or a newbie in the kitchen, this guide will help you master the art of cherry cleaning. Let’s dive in and make sure those cherries are as clean as they are tasty!
Read also:Whats White Day In Japan A Sweet Celebration With A Twist
Why Cleaning Cherries Matters
Alright, let’s talk about the elephant in the room—why do we even need to clean cherries? Sure, they look fresh and shiny, but appearances can be deceiving. Here’s the deal: cherries are often treated with pesticides to protect them from pests and diseases while they grow. Plus, they might have come into contact with dirt, bacteria, or even bird droppings during transportation. Yuck, right?
But wait, there’s more. Even if you buy organic cherries, they’re not immune to contaminants. Dust, handling, and storage conditions can still leave traces on the fruit. By cleaning your cherries properly, you’re not only ensuring their safety but also enhancing their flavor. Who wouldn’t want to bite into a cherry that’s as fresh as it gets?
So, whether you’re munching on them as a snack, tossing them into a salad, or baking a cherry pie, cleaning them beforehand is a non-negotiable step. Let’s move on to the juicy part—how to do it!
Step-by-Step Guide on How to Clean Cherries Before Eating
Cleaning cherries might sound like a hassle, but trust us, it’s super easy once you get the hang of it. Follow these simple steps, and you’ll have spotless cherries in no time:
1. Gather Your Supplies
First things first, you’ll need a few tools to get the job done:
- A large bowl or basin
- Vinegar (white or apple cider works)
- Water
- A colander
- A clean kitchen towel or paper towels
Having everything ready before you start will save you time and make the process smoother. Plus, it’s always nice to be prepared, right?
Read also:How To Draw Anime Male Torso A Comprehensive Guide For Aspiring Artists
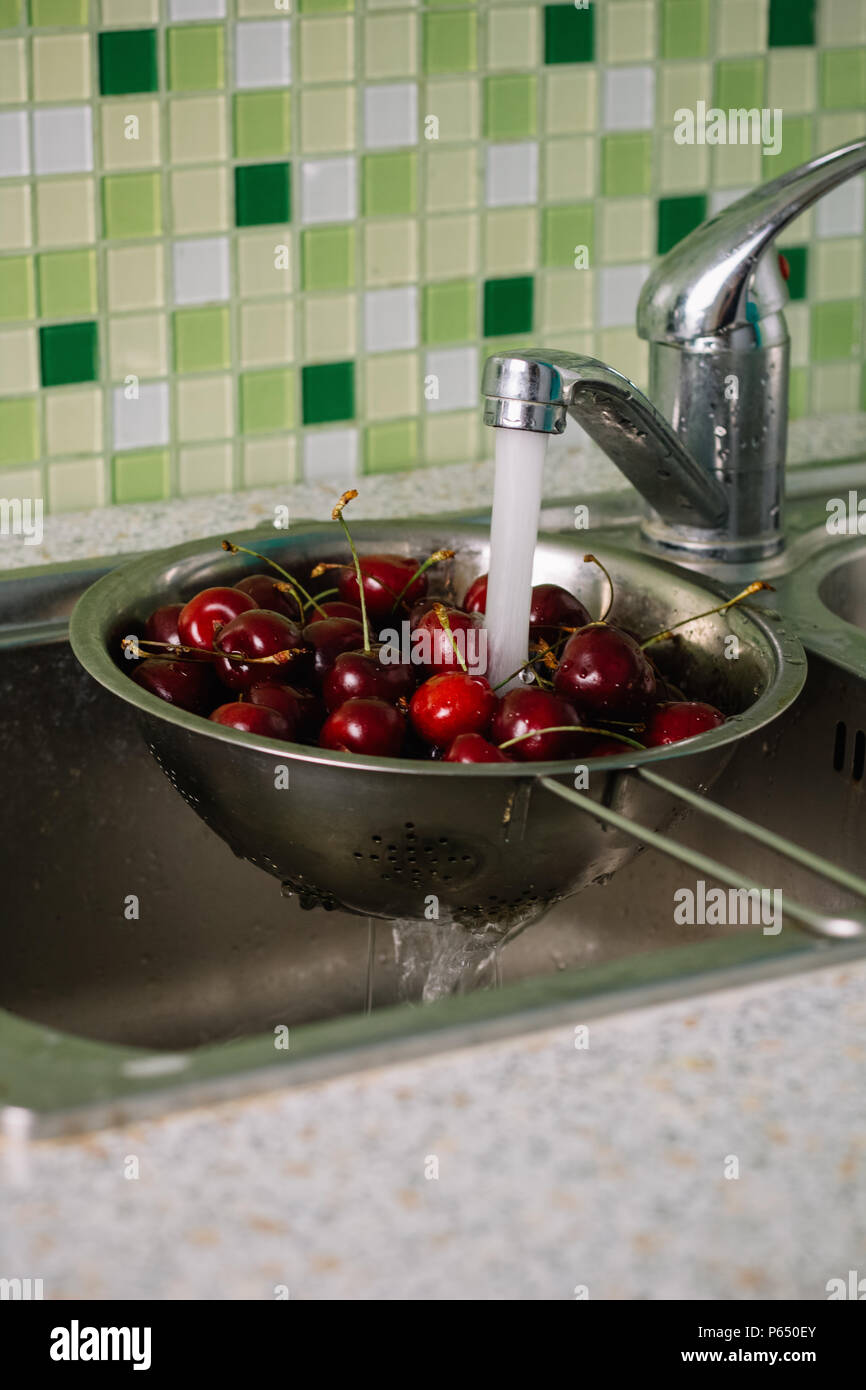
2. Rinse Off the Surface Grime
Start by giving your cherries a quick rinse under cold running water. This will help remove any loose dirt or debris. Hold them gently while rinsing to avoid bruising the delicate fruit. Don’t skip this step—it’s like giving your cherries a quick shower before the main cleaning session.
3. Mix Up a Vinegar Solution
Now, here’s where the magic happens. In your bowl or basin, mix one part vinegar with three parts water. For example, if you’re using a cup of vinegar, add three cups of water. This solution is a natural disinfectant that’ll kill off any bacteria or pesticides lingering on the cherries.
4. Soak the Cherries
Place your cherries in the vinegar solution and let them soak for about 5 to 10 minutes. This gives the solution enough time to work its magic and break down any residues. While they’re soaking, you can take a moment to relax or prep your next ingredient for that cherry dessert you’re planning to make.
5. Rinse Again
After soaking, drain the cherries and give them another rinse under cold water. This step is important to remove any vinegar taste. You don’t want your cherries tasting like salad dressing, do you? Rinse them thoroughly to ensure all the vinegar is gone.
6. Dry Them Off
Once they’re rinsed, transfer the cherries to a colander and let them drain for a few minutes. Then, use a clean kitchen towel or paper towels to pat them dry. This step is crucial if you’re planning to store them in the fridge or use them in recipes that require dry ingredients.
7. Store Properly
If you’re not eating all the cherries right away, make sure to store them properly. Place them in an airtight container or a breathable bag and keep them in the fridge. This will help them stay fresh for longer and prevent any mold from forming.
Common Mistakes to Avoid
Even with the best intentions, mistakes can happen. Here are a few common pitfalls to watch out for when cleaning cherries:
- Over-soaking: Soaking cherries for too long can make them waterlogged and affect their texture. Stick to the recommended time of 5 to 10 minutes.
- Using hot water: Hot water can damage the delicate skin of cherries and cause them to lose their flavor. Always use cold water for cleaning.
- Not drying them properly: Moisture can lead to mold growth if the cherries aren’t dried thoroughly before storage. Take the extra minute to pat them dry.
Avoiding these mistakes will ensure your cherries are as fresh and tasty as possible. Now, let’s move on to some expert tips that’ll take your cherry cleaning game to the next level.
Expert Tips for Cleaning Cherries
Ready to level up your skills? Here are some pro tips from cherry enthusiasts around the world:
1. Use a Baking Soda Solution
For an extra deep clean, try using a baking soda solution. Mix a tablespoon of baking soda with a quart of water and soak your cherries for about 15 minutes. This method has been shown to remove more pesticides than water alone.
2. Try a Saltwater Soak
Saltwater is another effective option for cleaning cherries. Mix a few tablespoons of salt with water and let your cherries soak for 10 minutes. This will help eliminate any insects or bacteria hiding on the fruit.
3. Remove the Stems First
If you’re planning to eat the cherries right away, consider removing the stems before cleaning. This will prevent any dirt or bacteria from hiding in the stem area. Just be gentle to avoid bruising the fruit.
4. Freeze Them for Long-Term Storage
If you have more cherries than you can eat, freezing them is a great option. After cleaning and drying, spread them out on a baking sheet and freeze them individually. Once they’re frozen, transfer them to a freezer-safe bag or container. This way, you can enjoy fresh cherries all year round.
Health Benefits of Cherries
Now that you know how to clean cherries properly, let’s talk about why they’re such a fantastic addition to your diet. Cherries are packed with antioxidants, vitamins, and minerals that offer numerous health benefits:
- Anti-inflammatory properties: Cherries contain compounds that can help reduce inflammation in the body.
- Heart health: The potassium in cherries supports healthy blood pressure levels, which is great for heart health.
- Improved sleep: Cherries are one of the few natural sources of melatonin, a hormone that regulates sleep.
- Rich in fiber: Eating cherries can aid digestion and keep you feeling full longer.
By cleaning your cherries properly, you’re ensuring that you’re getting all these benefits without any unwanted extras. It’s a win-win situation!
Delicious Ways to Enjoy Cherries
Once your cherries are clean and ready to eat, it’s time to get creative in the kitchen. Here are a few ideas to inspire you:
1. Cherry Smoothie
Blend fresh cherries with yogurt, banana, and a splash of almond milk for a refreshing and nutritious smoothie. Add a handful of spinach for an extra boost of greens.
2. Cherry Salad
Toss sliced cherries with arugula, goat cheese, and walnuts for a savory-sweet salad. Drizzle with balsamic vinaigrette for a flavor explosion.
3. Cherry Pie
Nothing beats a homemade cherry pie on a chilly evening. Use fresh, cleaned cherries for the filling and enjoy the aroma wafting through your kitchen.
4. Cherry Salsa
Chop up cherries, red onion, jalapeño, and cilantro for a fruity salsa that pairs perfectly with grilled chicken or fish.
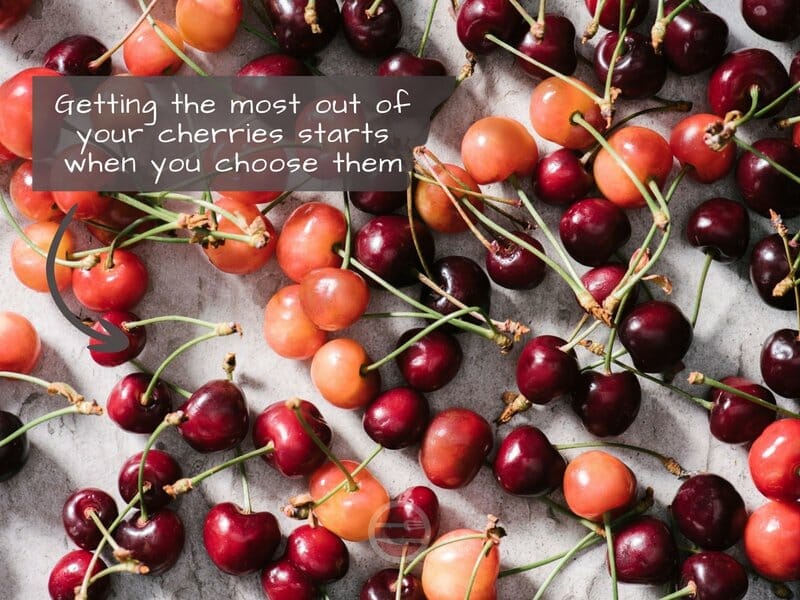
How to Choose the Best Cherries
Picking the right cherries is half the battle when it comes to enjoying them. Here’s what to look for:
- Firmness: Good cherries should be firm to the touch but not rock-hard.
- Color: Look for cherries with a deep, rich color. The darker the better!
- Stems: Check that the stems are still attached and green. This indicates freshness.
By choosing the best cherries, you’re setting yourself up for a delicious experience. Plus, they’ll be easier to clean and prepare.
Conclusion
So there you have it—everything you need to know about how to clean cherries before eating. From understanding why cleaning is important to mastering the step-by-step process, you’re now equipped to enjoy cherries like a pro. Remember, clean cherries mean happy tummies and healthier bodies.
Don’t forget to share this guide with your friends and family so they can enjoy the benefits of properly cleaned cherries too. And if you’ve got any tips or tricks of your own, drop them in the comments below. We’d love to hear from you!
Table of Contents
- Why Cleaning Cherries Matters
- Step-by-Step Guide on How to Clean Cherries Before Eating
- Common Mistakes to Avoid
- Expert Tips for Cleaning Cherries
- Health Benefits of Cherries
- Delicious Ways to Enjoy Cherries
- How to Choose the Best Cherries
- Conclusion
How To Make Rubber Band Star: A Fun And Creative DIY Project That's Perfect For Everyone!
Do Alligators Swim In Saltwater? Unveiling The Truth About These Fascinating Creatures
Which River Is Drying Up: A Deep Dive Into The Crisis That’s Threatening Our Planet
washing cherries before eating Stock Photo Alamy
How to Clean Cherries Before Eating A Practical Guide
How to Clean Cherries Before Eating A Practical Guide
