How To Sharpen Pencils With A Knife Like A Pro
Ever wondered how to sharpen pencils with a knife without slicing your fingers off? You’re not alone, my friend! Sharpening pencils with a knife is an art form that’s been passed down through generations, and trust me, it’s way cooler than using a cheap plastic sharpener. Whether you’re an artist, writer, or just someone who loves the good old-fashioned way of doing things, this guide has got you covered. So grab your favorite knife, and let’s dive into the world of pencil sharpening mastery!
There’s something oddly satisfying about sharpening a pencil with a knife. It’s a tactile experience that connects you to the process of creation. Unlike those noisy electric sharpeners or dull handheld ones, a knife gives you full control over the point’s shape and sharpness. Plus, it’s a skill that can come in handy when you’re out in the wild with nothing but a pencil and a blade.
Now, I know what you’re thinking—“Isn’t this dangerous?” Well, yeah, a little. But don’t worry; we’ll walk you through every step so you can sharpen pencils like a pro without turning yourself into a human pincushion. So buckle up, because by the end of this article, you’ll be ready to take on any pencil with confidence!
Read also:Where To Find Marikas Soreseal The Ultimate Guide For Fans And Collectors
Why Sharpen Pencils with a Knife?
Before we dive into the nitty-gritty of how to sharpen pencils with a knife, let’s talk about why this method is worth your time. First off, it’s eco-friendly. No plastic parts to toss in the trash after a few uses. Second, it’s versatile. You can create different types of points depending on your needs—super fine for detailed drawing or chiseled for shading. And lastly, it’s just plain fun!
Tools You’ll Need
Sharpening pencils with a knife doesn’t require much, but having the right tools makes all the difference. Here’s what you’ll need:
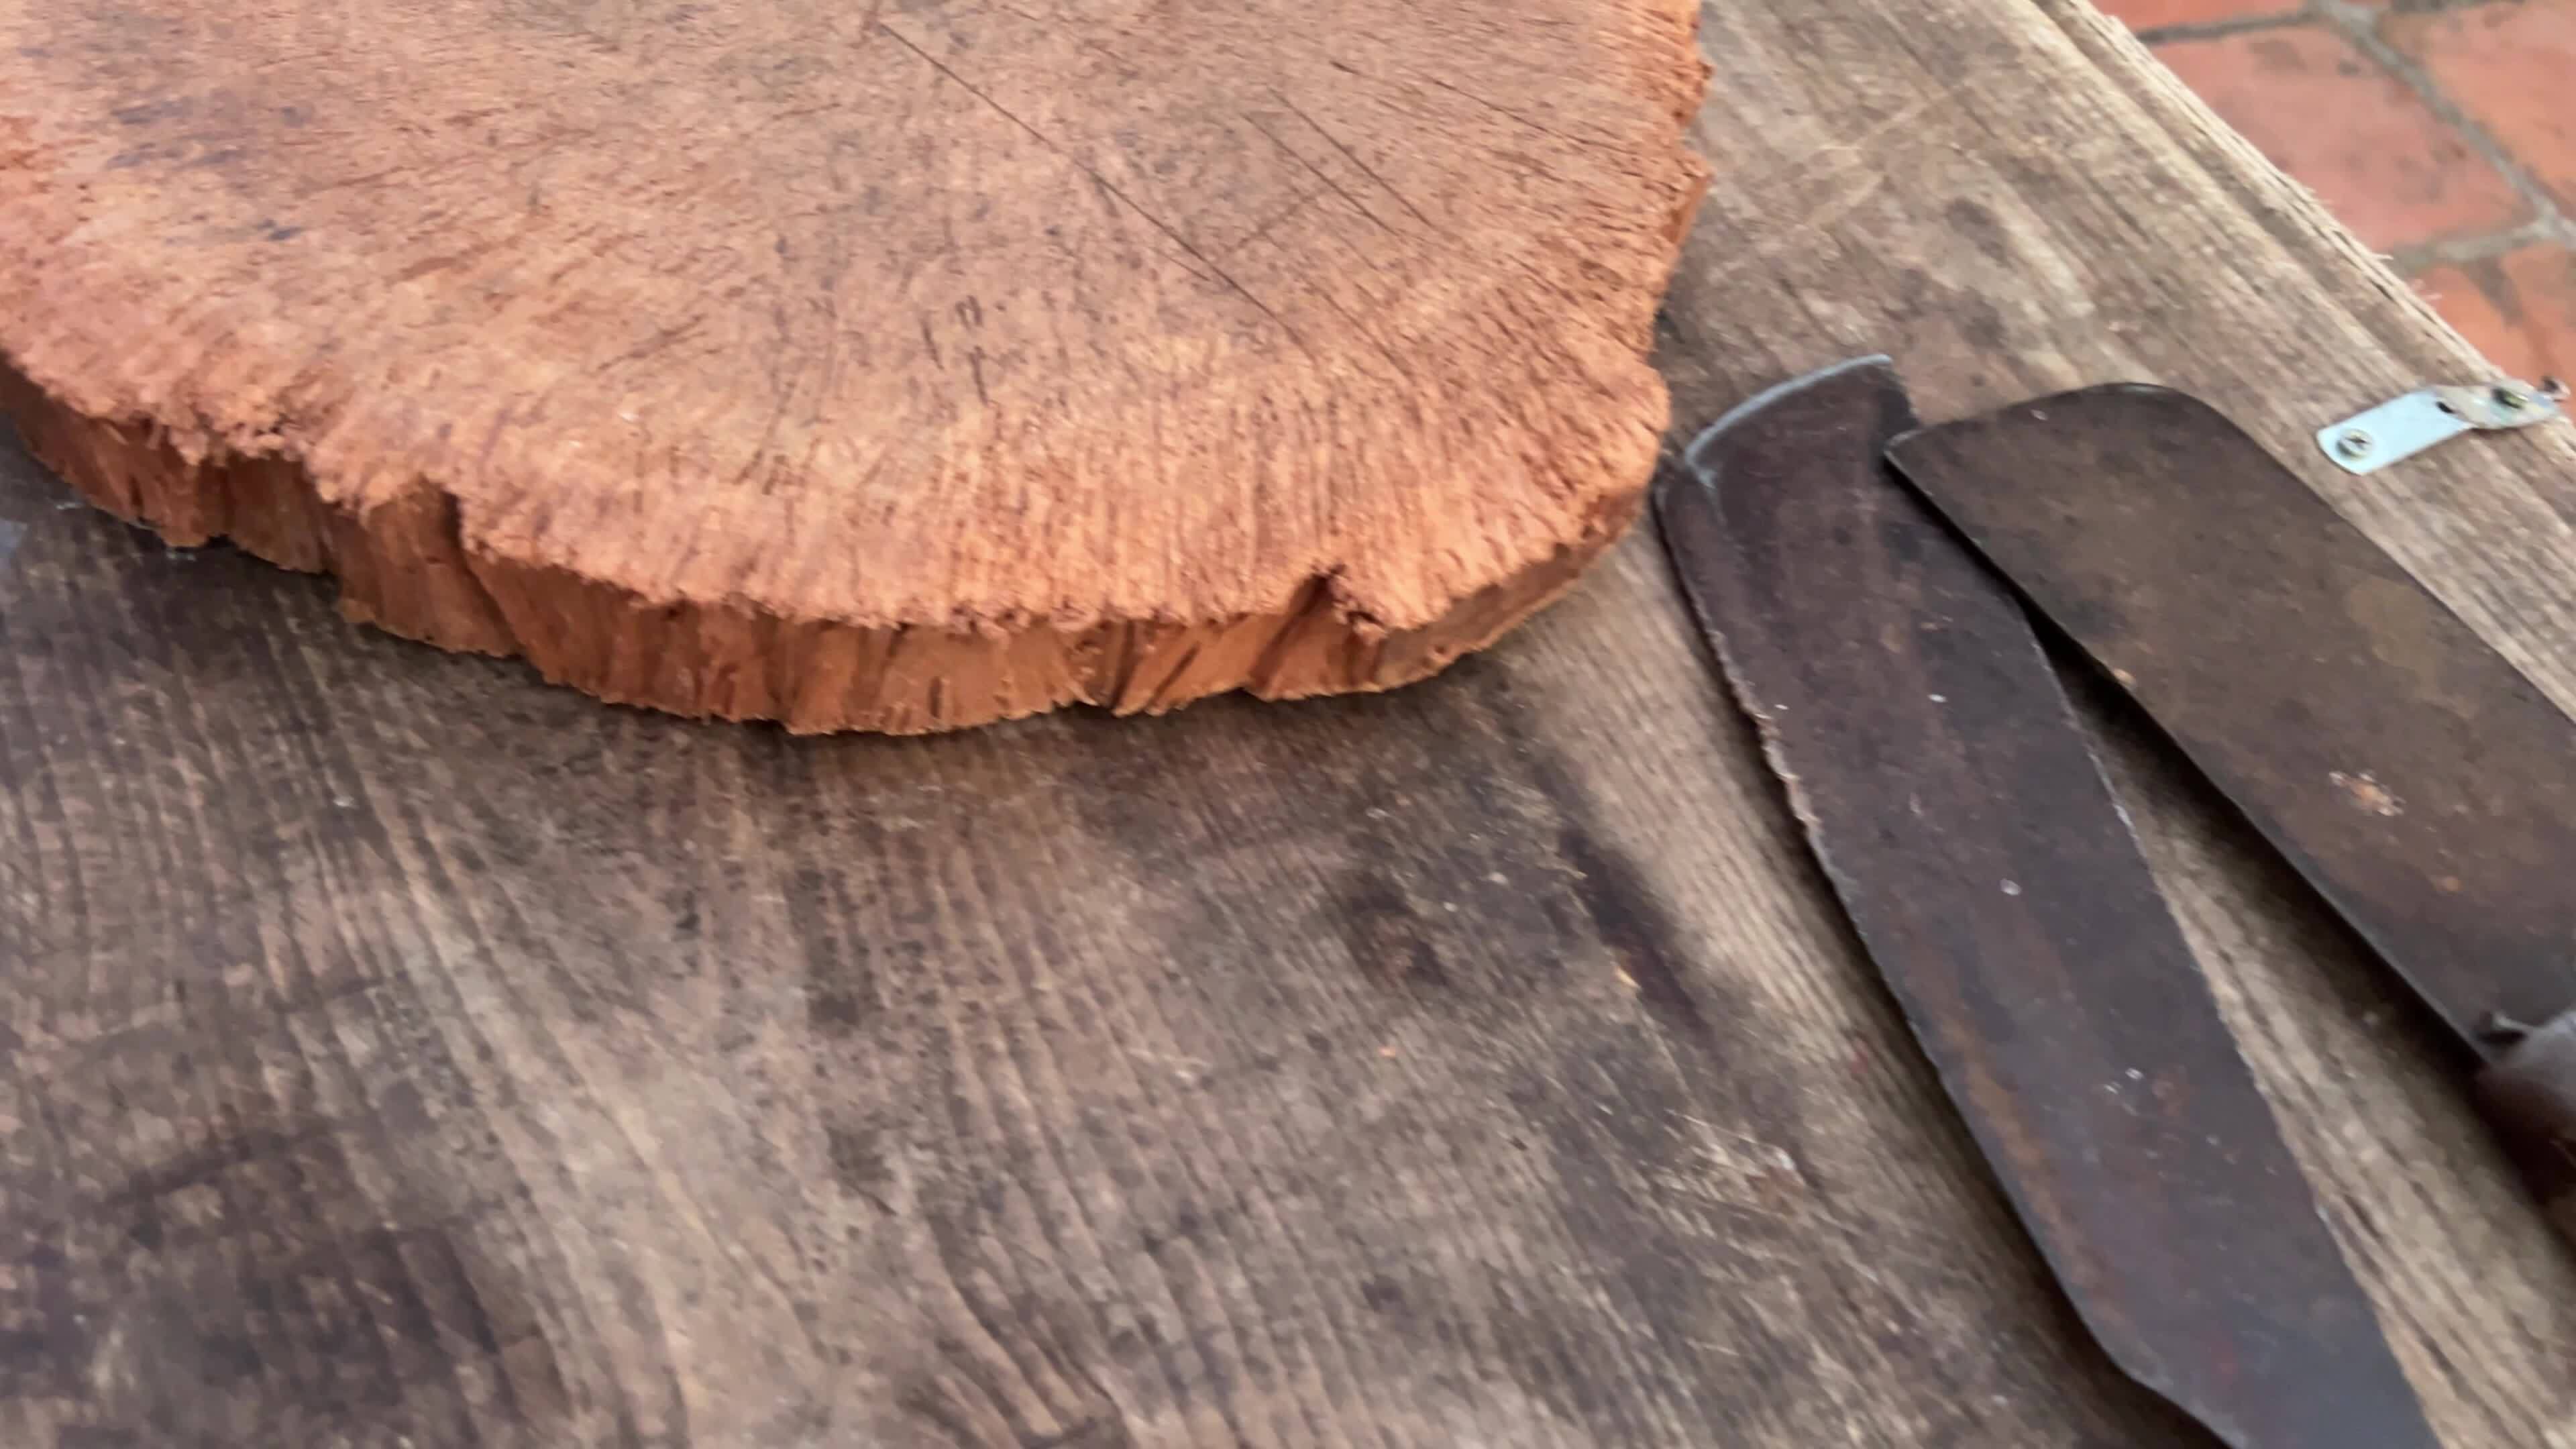
- A sharp pocketknife or utility knife
- A wooden pencil (obviously)
- A steady hand and a bit of patience
Oh, and maybe a band-aid or two, just in case. Safety first, folks!
Step-by-Step Guide: How to Sharpen Pencils with a Knife
Step 1: Choose the Right Knife
Not all knives are created equal when it comes to pencil sharpening. You want a blade that’s sharp enough to slice through wood but not so sharp that it feels like you’re wielding a scalpel. A small pocketknife or a Swiss Army knife works perfectly for this job.
Step 2: Hold the Pencil Properly
Here’s the deal: how you hold the pencil matters. Hold it firmly but not too tightly in your non-dominant hand. Think of it like gripping a tennis racket—firm enough to control, loose enough to avoid cramping. This will give you the stability you need while sharpening.
Step 3: Position the Knife
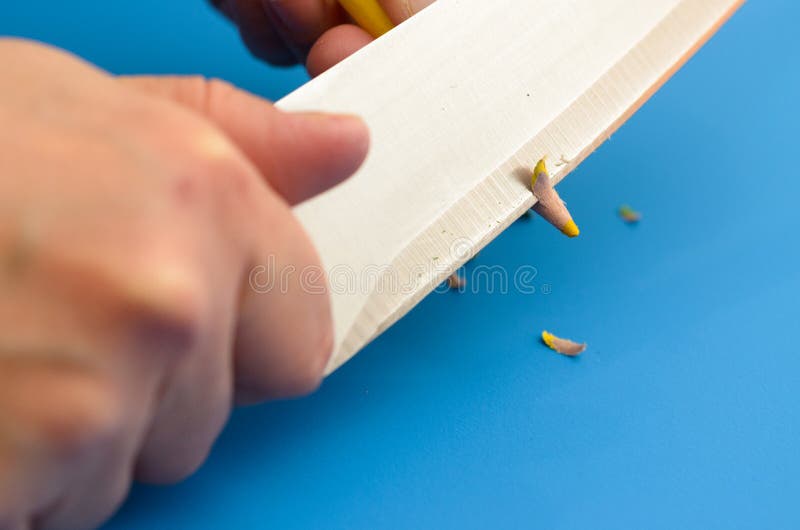
Now, take your knife and position the blade at a slight angle against the pencil’s tip. The angle should be around 20 to 30 degrees. This might take some practice, but once you get the hang of it, you’ll be peeling wood like a pro.
Read also:Dia De Los Muertos Half Makeup A Celebration Of Life And Art
Step 4: Start Peeling
With a gentle but firm motion, start peeling the wood away from the pencil. Move the knife away from your body, never toward it. Remember, safety first! Keep peeling until you expose enough graphite for your desired point. Take it slow and steady—rushing could lead to mistakes (or injuries).
Step 5: Shape the Point
Once you’ve exposed the graphite, it’s time to shape the point. Rotate the pencil slightly and continue peeling to create a conical shape. For a finer point, angle the knife closer to the pencil’s tip. If you’re going for a chiseled look, keep the angle wider. It’s all about personal preference and the task at hand.
Step 6: Clean Up the Edges
After shaping the point, give the edges a quick touch-up. Run the knife lightly around the base of the point to smooth out any rough patches. This step ensures your pencil is not only sharp but also safe to use.
Step 7: Test Your Pencil
Finally, it’s time to put your sharpening skills to the test. Grab a piece of paper and see how your pencil performs. Is the point too sharp? Too blunt? Adjust as needed until you’re happy with the results.
Common Mistakes to Avoid
Sharpening pencils with a knife may seem straightforward, but there are a few common mistakes that can ruin your pencils—or worse, your fingers. Here’s what to watch out for:
- Cutting toward yourself: Always move the knife away from your body.
- Using a dull knife: A dull knife requires more force, increasing the risk of injury.
- Peeling too much wood: Be gentle and remove only as much wood as necessary.
By avoiding these pitfalls, you’ll ensure a smooth and safe sharpening experience.
Advanced Techniques for Artists
If you’re an artist looking to take your pencil sharpening game to the next level, here are a few advanced techniques to try:
Creating a Needle Point
A needle point is perfect for detailed drawing. To achieve this, hold the pencil at a very steep angle and carefully peel away thin layers of wood until you’ve exposed a long, thin graphite point. This requires precision and patience, but the results are worth it.
Chiseling the Point
For shading and broader strokes, a chiseled point is ideal. Instead of creating a conical shape, aim for a flat, wide point. This allows for more coverage and versatility in your artwork.
Safety Tips for Knife Sharpening
Safety should always be your top priority when working with sharp objects. Here are a few tips to keep you safe while sharpening pencils:
- Keep your fingers away from the blade’s path.
- Work on a stable surface to prevent accidents.
- Take breaks if you feel your hands getting tired or shaky.
Remember, it’s better to take your time than to rush and risk injury.
Benefits of Sharpening Pencils with a Knife
There are plenty of reasons to sharpen pencils with a knife instead of relying on traditional sharpeners. Here are just a few:
- Customization: Create the exact point you need for your project.
- Portability: A knife is easy to carry and can be used anywhere.
- Sustainability: No plastic waste means a happier planet.
Plus, there’s something undeniably satisfying about doing things the old-fashioned way.
Historical Perspective: The Origins of Pencil Sharpening
Believe it or not, pencil sharpening has a rich history. Before the invention of mechanical sharpeners in the 19th century, people relied on knives to prepare their writing instruments. This method was so common that it became a symbol of craftsmanship and skill. Today, sharpening pencils with a knife is a nod to that tradition, keeping the art alive for future generations.
Conclusion: Sharpen Like a Pro
So there you have it, folks! Sharpening pencils with a knife is not only practical but also a rewarding skill to master. By following these steps and tips, you’ll be able to create perfectly sharpened pencils tailored to your needs. Remember to stay safe, practice regularly, and most importantly, have fun with the process.
Now it’s your turn! Try out these techniques and let us know how it goes. Share your experiences in the comments below, and don’t forget to check out our other articles for more handy tips and tricks. Happy sharpening!
Table of Contents
- Why Sharpen Pencils with a Knife?
- Tools You’ll Need
- Step-by-Step Guide: How to Sharpen Pencils with a Knife
- Common Mistakes to Avoid
- Advanced Techniques for Artists
- Safety Tips for Knife Sharpening
- Benefits of Sharpening Pencils with a Knife
- Historical Perspective: The Origins of Pencil Sharpening
- Conclusion: Sharpen Like a Pro
How To Lace Superstar Adidas: The Ultimate Guide For Sneakerheads
What Does "You're Selling" Mean? Unlocking The Power Of Sales In Everyday Life
Clueless Halloween Costume Trio: The Ultimate Throwback Idea For Your Squad
Knife sharpening pencils. Sharpen pencils. Sharpening pencils 44284973

How to Hand Sharpen a Pencil
Sharpen the Colored Pencils with a Knife. Stock Image Image of
