How To Make A Cardboard Radio: A Fun And Creative DIY Project
Imagine turning an ordinary cardboard box into a fully functioning radio. Sounds like magic, right? Well, it’s not magic—it’s creativity, ingenuity, and a touch of science. If you’ve ever wondered how to make a cardboard radio, you’re in luck because this guide will walk you through every step of the process. Whether you’re looking for a fun weekend project or want to teach your kids about electronics, this DIY idea is perfect for everyone.
Making a cardboard radio might sound complicated, but with the right tools and a bit of patience, it’s totally doable. This project combines art and technology, allowing you to express your creativity while learning some cool science along the way. Plus, it’s eco-friendly since you’re repurposing cardboard instead of buying expensive materials.
In this article, we’ll dive deep into the world of DIY electronics, exploring everything from the materials you need to the step-by-step process of building your very own cardboard radio. By the end, you’ll have a working radio that’s as unique as you are. So, grab your tools, roll up your sleeves, and let’s get started!
Read also:Cooking With Broccoli Leaves The Hidden Gem In Your Kitchen
Table of Contents
- Introduction to Cardboard Radios
- Materials You’ll Need
- Essential Tools for Building
- Step-by-Step Guide to Making a Cardboard Radio
- The Science Behind Cardboard Radios
- Tips for Success
- Common Issues and Solutions
- Creative Variations and Ideas
- Benefits of Making Your Own Radio
- Conclusion and Next Steps
Introduction to Cardboard Radios
So, what exactly is a cardboard radio? At its core, it’s a radio receiver built using a cardboard box as the main housing. It’s not just any radio though—it’s a masterpiece of creativity and engineering. Think of it as a blend of art and science, where you can customize the design to reflect your personality while still enjoying the sweet tunes it plays.
Cardboard radios are more than just a cool DIY project. They’re also educational tools that help you understand how radios work. By building one yourself, you’ll learn about circuits, antennas, and other essential components of radio technology. Plus, it’s a great way to upcycle old cardboard boxes instead of throwing them away.
Why Build a Cardboard Radio?
Building a cardboard radio offers a ton of benefits. First, it’s super affordable since most of the materials can be found around your house. Second, it’s a fantastic way to spend quality time with family or friends. Lastly, it’s a hands-on learning experience that teaches valuable skills like problem-solving and critical thinking. So, why not give it a shot?
Materials You’ll Need
Before you start building, it’s important to gather all the necessary materials. Here’s a list of everything you’ll need:
- A sturdy cardboard box (at least 12x12 inches)
- A pre-made AM/FM radio kit (available online or at electronics stores)
- Wires and connectors
- A small speaker
- A 9-volt battery
- A battery clip
- A roll of duct tape
- A hot glue gun
- A pair of scissors or a craft knife
- Paints or markers for decoration
Having all these materials on hand will make the building process smoother and more enjoyable. Plus, most of them are pretty affordable, so you won’t break the bank.
Where to Find These Materials
You can find most of these materials at your local craft store or electronics shop. If you prefer shopping online, websites like Amazon or eBay have a wide selection of radio kits and components. Just make sure to check the reviews and ensure the quality is up to par.
Read also:Black Widget Pictures Elevate Your Design Game With These Stunning Ideas
Essential Tools for Building
Having the right tools is just as important as having the right materials. Here’s a list of tools you’ll need to successfully build your cardboard radio:
- A screwdriver (Phillips head)
- A soldering iron (optional, but recommended)
- A wire cutter/stripper
- A ruler or measuring tape
- A pencil
These tools will help you assemble the radio kit and secure everything inside the cardboard box. If you’re new to soldering, don’t worry—there are plenty of tutorials online to help you get started.
Safety First
When working with tools like soldering irons and craft knives, safety should always be your top priority. Wear protective gloves and goggles to avoid accidents, and make sure to work in a well-ventilated area if you’re using adhesives or soldering.
Step-by-Step Guide to Making a Cardboard Radio
Now that you have all your materials and tools ready, it’s time to dive into the actual building process. Follow these steps carefully, and you’ll have a working cardboard radio in no time.
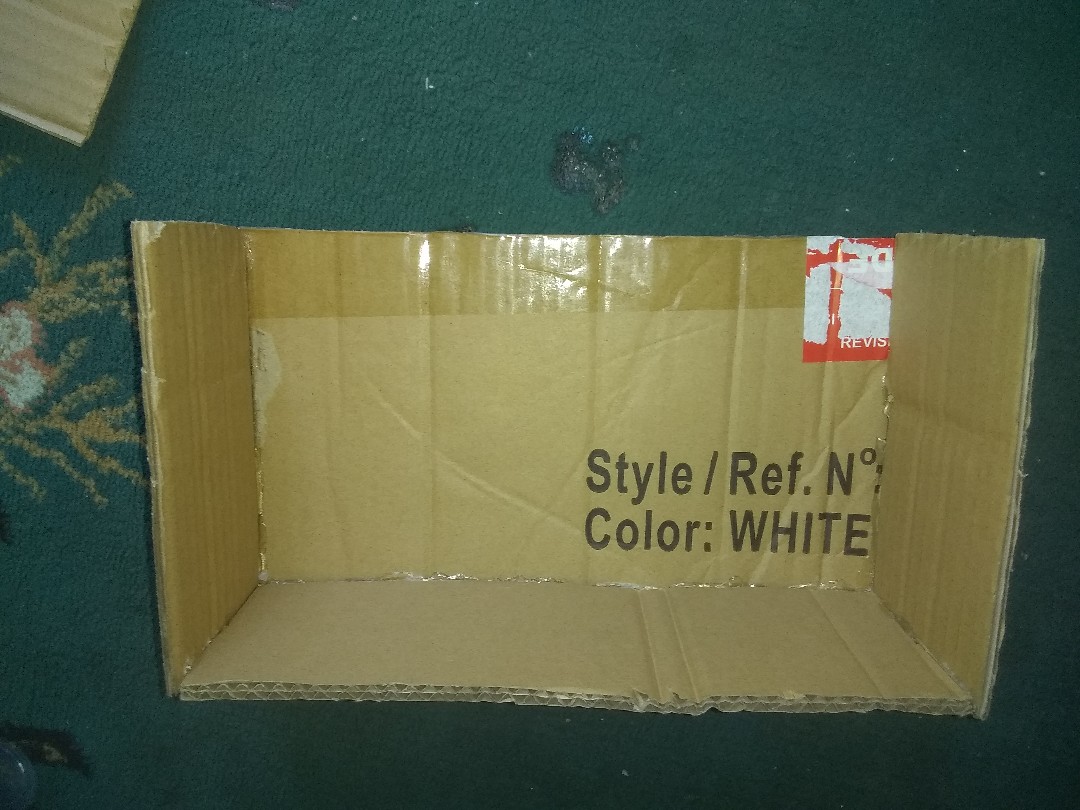
Step 1: Prepare the Cardboard Box
Start by cutting the cardboard box to the desired size and shape. You’ll want it to be large enough to fit all the components but small enough to be portable. Use a ruler and pencil to mark the cutting lines, then carefully cut along them with a craft knife.
Step 2: Assemble the Radio Kit
Next, follow the instructions that come with your radio kit to assemble the circuit board. This usually involves soldering wires and connectors to the appropriate terminals. If you’re not comfortable soldering, you can use a breadboard instead, which allows you to connect components without permanently attaching them.
Step 3: Install the Speaker
Once the circuit board is assembled, attach the speaker to it using the wires provided. Make sure the connections are secure to avoid any audio issues later on. You can use duct tape or hot glue to hold the speaker in place.
Step 4: Add the Battery
Connect the battery clip to the circuit board according to the instructions. Then, attach the 9-volt battery to the clip, making sure the polarity is correct. Test the radio to ensure it’s receiving a signal before proceeding.
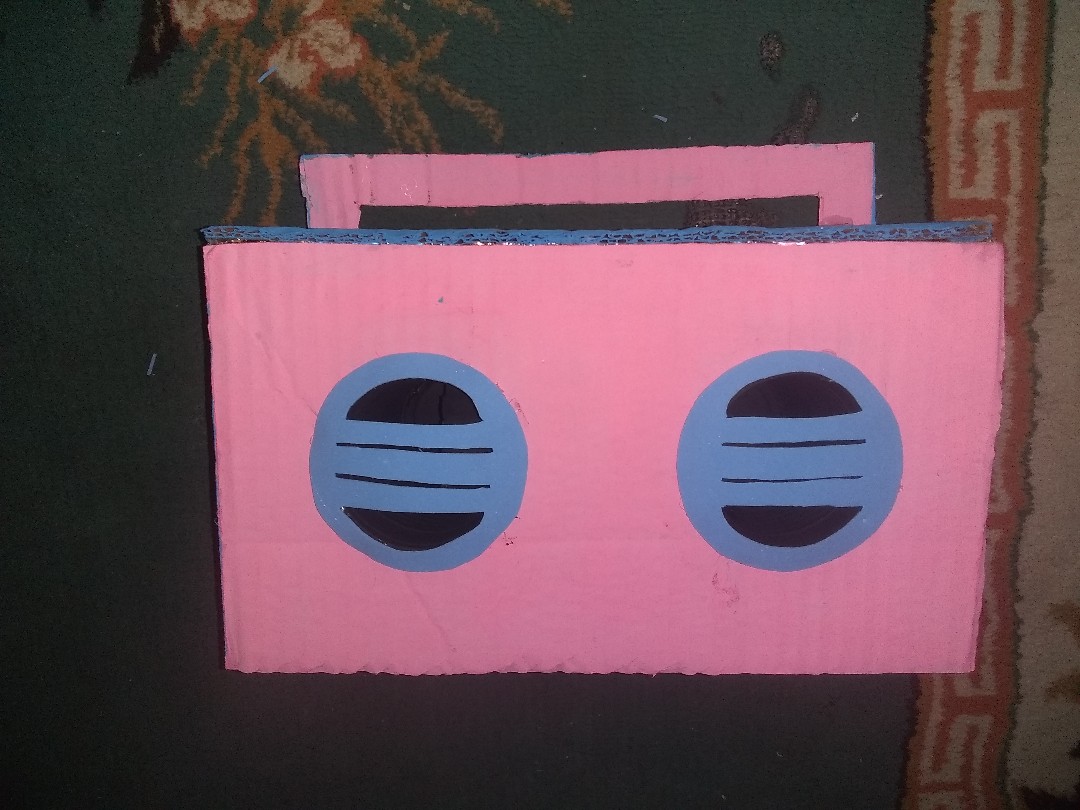
Step 5: Decorate the Box
This is where you can let your creativity shine. Use paints, markers, or even stickers to decorate the cardboard box. You can design it to look like a vintage radio, a futuristic gadget, or anything else that suits your style.
Step 6: Secure Everything Inside
Finally, use hot glue or duct tape to secure all the components inside the cardboard box. Make sure everything is stable and won’t move around when you handle the radio. You can also add a handle or strap for easy carrying.
The Science Behind Cardboard Radios
So, how does a cardboard radio actually work? It all comes down to the principles of electromagnetism. When you turn on the radio, the circuit board sends an electrical signal through the antenna, which picks up radio waves from the air. These waves are then converted into sound by the speaker, allowing you to hear your favorite stations.
The cardboard box itself doesn’t play a role in the radio’s functionality, but it does provide a protective housing for the delicate components inside. Without it, the radio would be much more prone to damage.
Understanding Radio Waves
Radio waves are a type of electromagnetic radiation that travels through the air at the speed of light. They’re used to transmit information, such as music and news, over long distances. By tuning your radio to a specific frequency, you can pick up signals from different stations.
Tips for Success
Here are a few tips to help you succeed in building your cardboard radio:
- Take your time and follow the instructions carefully.
- Test each component as you go to ensure it’s working properly.
- Don’t be afraid to ask for help if you’re stuck—there’s no shame in seeking advice.
- Experiment with different designs and decorations to make your radio unique.
Remember, the goal is to have fun and learn something new. Don’t stress too much about perfection—sometimes the imperfections are what make a project truly special.
Common Issues and Solutions
Even the best-laid plans can go awry sometimes. Here are a few common issues you might encounter while building your cardboard radio and how to fix them:
- No sound: Check the connections between the speaker and circuit board. Make sure the battery is properly attached and has enough charge.
- Weak signal: Try moving to a different location or adjusting the antenna. Sometimes interference from other electronic devices can affect the signal quality.
- Distorted audio: This could be due to a loose connection or a damaged speaker. Double-check all the connections and replace the speaker if necessary.
If none of these solutions work, consult the manual that came with your radio kit or seek help from online forums dedicated to DIY electronics.
Creative Variations and Ideas
Once you’ve mastered the basics of building a cardboard radio, you can experiment with different variations and ideas. Here are a few suggestions to get you started:
- Build a larger radio with multiple speakers for better sound quality.
- Design a themed radio, such as a pirate radio station or a retro diner radio.
- Integrate additional features like a volume control knob or a light-up display.
The possibilities are endless, so don’t be afraid to think outside the box—or in this case, the cardboard box!
Getting Creative with Design
Your cardboard radio doesn’t have to look like every other radio out there. Use your imagination to create something truly unique. Maybe you want to paint it to look like a famous landmark, or maybe you want to add LED lights for a futuristic touch. The choice is yours!
Benefits of Making Your Own Radio
Building a cardboard radio offers numerous benefits beyond just having a cool gadget. Here are a few reasons why you should give it a try:
- Learning opportunities: You’ll gain valuable knowledge about electronics and how radios work.
- Creative expression: Customizing the design allows you to express your personality and style.
- Eco-friendly: Repurposing cardboard reduces waste and promotes sustainability.
- Cost-effective: Compared to buying a pre-made radio, this project is much more affordable.
Plus, there’s a sense of pride and accomplishment that comes with creating something with your own hands. It’s a feeling that no store-bought radio can replicate.
Conclusion and Next Steps
Building a cardboard radio is a fun, educational, and rewarding project that anyone can enjoy. From gathering materials to decorating the final product, every step of the process offers a chance to learn and grow. Whether you’re a seasoned DIY enthusiast or a complete beginner, this project is accessible and engaging.
So, what are you waiting for? Grab your materials, invite your friends or family, and start building your very own cardboard radio today. And don’t forget to share your creation with others—you never know who might be inspired by your work.
Until next time, happy building and keep those creative juices flowing!
Cringe Hoco Signs: Decoding The Embarrassing Signals Of Romantic Intent
How To Break In Manual Car: A Comprehensive Guide For Every Gearhead
How To Make Hot Tub Minecraft: The Ultimate Guide For Relaxation In Blocks
📻 📻 How to make a radio with sound amplifier made of cardboard.// Cómo
📻 📻 How to make a radio with sound amplifier made of cardboard.// Cómo

📻 📻 How to make a radio with sound amplifier made of cardboard.// Cómo
