How To Draw A Cursive G: A Beginner's Guide That'll Have You Mastering The Art In No Time
Let’s face it, mastering cursive writing can be tricky, but knowing how to draw a cursive G is like unlocking a secret code in the world of handwriting. Whether you're a student brushing up on your skills or an adult looking to impress with elegant penmanship, this guide’s got your back. We’ll break it down step by step so you can rock that cursive G like a pro.
Now, I know what you’re thinking—why does the letter G have to be so complicated? Well, my friend, it’s all about practice and patience. Once you get the hang of it, you’ll realize that cursive Gs are actually pretty cool. Plus, they add that extra flair to your handwriting that says, "Yeah, I’ve got this." So, let’s dive in and make that G shine!
Before we get started, let’s address the elephant in the room: there’s more than one way to write a cursive G. Some people prefer the lowercase version, while others go all out with the uppercase. Don’t worry—we’ve got examples for both. By the end of this article, you’ll not only know how to draw a cursive G but also how to personalize it to fit your style. Let’s go!
Read also:What Is A Broista Your Ultimate Guide To Understanding The Coffee Worldrsquos Cool Kid
Here’s a quick rundown of what we’ll cover:
- Understanding the Basics of Cursive G
- Step-by-Step Guide for Lowercase and Uppercase G
- Tips and Tricks for Smoother Strokes
- Common Mistakes to Avoid
- Practicing Like a Pro
- Tools You’ll Need
- History of Cursive Writing
- Why Cursive Still Matters Today
- How to Personalize Your Cursive G
- Final Thoughts and Next Steps
Understanding the Basics of Cursive G
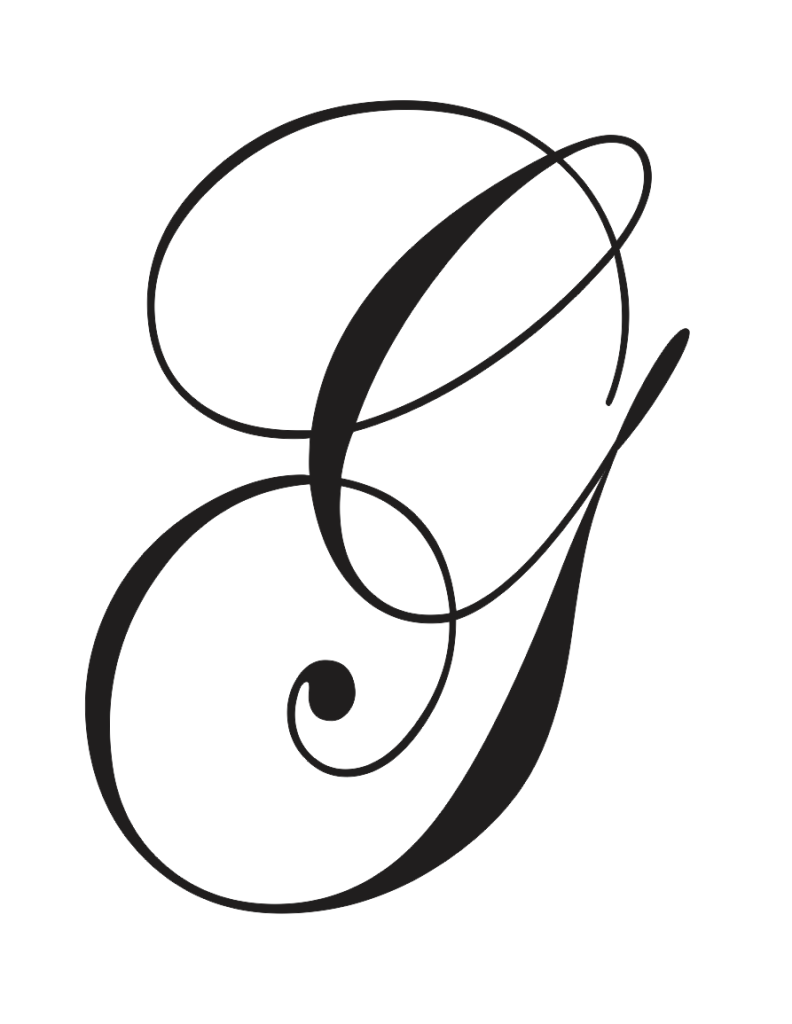
Alright, let’s start with the basics. The cursive G is one of those letters that can trip people up because it’s got a few twists and turns. But here’s the thing—it’s not as scary as it seems. Cursive letters are all about flow and connectivity, which means that once you get the motion down, everything else will fall into place.
There are two main types of cursive G: lowercase and uppercase. Each has its own unique shape, but they share some common elements. For example, both involve loops and curves, which give the letter its fancy look. Think of it like a dance—your pen moves in a smooth, fluid motion to create that perfect G.
Breaking Down the Structure
Let’s break it down further. The lowercase cursive G usually starts with a small loop at the top, followed by a downward stroke that curves back up. It’s like drawing a little swirl and then connecting it to the rest of the letter. On the other hand, the uppercase G is a bit more dramatic, with a larger loop and a more pronounced curve.
Here’s a quick cheat sheet:
- Lowercase G: Starts with a small loop, curves down, and comes back up.
- Uppercase G: Starts with a big loop, curves outward, and ends with a flourish.
Got it? Good. Now, let’s move on to the fun part—actually drawing the thing!
Read also:Koch Road Dmv Your Ultimate Guide To Streamlining Your Dmv Experience
Step-by-Step Guide for Lowercase and Uppercase G
This is where the magic happens. We’re going to walk you through each step, so you can see exactly how to draw a cursive G. Grab your pen and paper because we’re about to get hands-on.
How to Draw a Lowercase Cursive G
Alright, here’s how you do it:
- Start by making a small loop at the top. Think of it like drawing a tiny circle that opens to the right.
- From there, bring your pen down in a straight line. Don’t press too hard—keep it light and smooth.
- Now, curve your line back up toward the right. This is where the G gets its signature swoop.
- Finish off by adding a little tail at the end. This helps connect the G to the next letter in your word.
See? Not so bad, right? Let’s move on to the uppercase version.
How to Draw an Uppercase Cursive G
For the uppercase G, we’re stepping it up a notch:
- Begin with a large loop at the top. This is your starting point, so make it nice and round.
- From the loop, bring your pen down in a sweeping motion. Think of it like drawing a big curve.
- As you reach the bottom, curve your line outward to create that signature G shape.
- Finish with a flourish at the end. This adds that extra touch of elegance.
There you have it—both versions of the cursive G. Practice them a few times, and you’ll start to feel more comfortable.
Tips and Tricks for Smoother Strokes
Now that you know the steps, let’s talk about some tips to make your cursive G look even better:
- Use light pressure: Pressing too hard can make your lines look stiff. Keep it light and let your pen glide across the paper.
- Practice your loops: Loops are key to cursive writing, so spend some time perfecting them. Try drawing circles of different sizes to get used to the motion.
- Go slow: Speed comes with practice, so don’t rush. Focus on making each stroke clean and smooth.
- Connect your letters: One of the hallmarks of cursive is how the letters flow together. Practice connecting your G to other letters to see how it looks in context.
Remember, practice makes perfect. The more you write, the better you’ll get.
Common Mistakes to Avoid
Even the best writers make mistakes, but here are a few to watch out for:
- Forgetting the tail: The tail is what connects your G to the next letter, so don’t skip it!
- Making the loops too tight: Loops should be open and flowing. Tight loops can make your G look cramped.
- Pressing too hard: This can make your writing look heavy and uneven. Keep it light and smooth.
By avoiding these common pitfalls, you’ll be well on your way to mastering the cursive G.
Practicing Like a Pro
Practice is key when it comes to cursive writing. Here are some exercises to help you improve:
- Write your name: Incorporate the cursive G into your name and practice writing it repeatedly.
- Create sentences: Write sentences that include the letter G to practice connecting it to other letters.
- Use tracing paper: If you’re struggling, try tracing over examples until you get the hang of it.
The more you practice, the more natural it will feel. Trust me, your hand will thank you later.
Tools You’ll Need
Having the right tools can make a big difference. Here’s what you’ll need:
- A good pen: A pen with a smooth ink flow will make your writing look better.
- Quality paper: Avoid cheap paper that smudges easily.
- A practice book: There are tons of cursive practice books out there that can guide you step by step.
Investing in these tools will help you improve faster and make the process more enjoyable.
History of Cursive Writing
Cursive writing has a rich history that dates back centuries. It was originally developed as a way to speed up the writing process, especially in times when people used quills and inkwells. Over time, it evolved into the elegant script we know today.
Interestingly, cursive was once considered a sign of education and refinement. It was taught in schools as a way to improve penmanship and discipline. While its popularity has waned in recent years, it’s still a valuable skill to have.
Why Cursive Still Matters Today
In today’s digital age, some might argue that cursive is becoming obsolete. But here’s why it still matters:
- It’s unique: Cursive writing is a personal expression that sets you apart from typed text.
- It improves brain function: Studies show that writing by hand can improve memory and cognitive skills.
- It’s practical: Knowing cursive can help you read historical documents and signatures.
So, don’t count cursive out just yet. It’s still a valuable skill worth mastering.
How to Personalize Your Cursive G
Once you’ve got the basics down, it’s time to make it your own. Here are a few ways to personalize your cursive G:
- Add extra loops: If you like a more elaborate style, try adding extra loops or curves.
- Experiment with angles: Tilt your G slightly to give it a unique look.
- Play with size: Make your G larger or smaller depending on the context.
The possibilities are endless, so have fun with it!
Final Thoughts and Next Steps
There you have it—a comprehensive guide on how to draw a cursive G. Whether you’re just starting out or looking to refine your skills, the key is practice and patience. Remember, cursive writing is a journey, not a destination.
So, what’s next? Keep practicing, and don’t be afraid to try new things. And if you liked this article, feel free to leave a comment or share it with your friends. Who knows? Maybe you’ll inspire someone else to pick up a pen and start writing!
Vuk Markovic Ana Huang: The Extraordinary Journey Of Love, Fame, And Passion
Is Sheek Louch Married? The Untold Story You've Been Dying To Know
Why Some Teams Aren’t In College Football’s Top 25 Rankings
![How to Write Cursive G [Worksheet and Tutorial]](https://mycursive.com/wp-content/uploads/2020/01/g.jpg)
How to Write Cursive G [Worksheet and Tutorial]
Cursive Capital G Psfont tk

How to Write a Cursive Capital G
