How To Draw An Afro: A Step-by-Step Guide For Beginners
Alright folks, let’s dive right into it. If you're here, chances are you're wondering how to draw a afro. Drawing an afro might sound intimidating at first, but trust me, it’s easier than you think. With a few simple techniques and some practice, you’ll be sketching afros like a pro in no time. So grab your pencils, and let’s get started, shall we?
Now, before we jump into the nitty-gritty details, it’s important to understand that drawing an afro is all about capturing its unique texture and volume. Afros are iconic, bold, and full of personality, so your goal is to bring that energy to life on paper. Whether you're a beginner or just looking to refine your skills, this guide has got you covered.
Oh, and one more thing—don’t stress too much about perfection. Art is all about expressing yourself, and sometimes the imperfections are what make your work truly special. Ready to learn? Let’s go!
Read also:Hottest Haircuts For The Youth Your Ultimate Guide To Cortes De Pelo Para Joven
Understanding the Afro: A Quick Overview
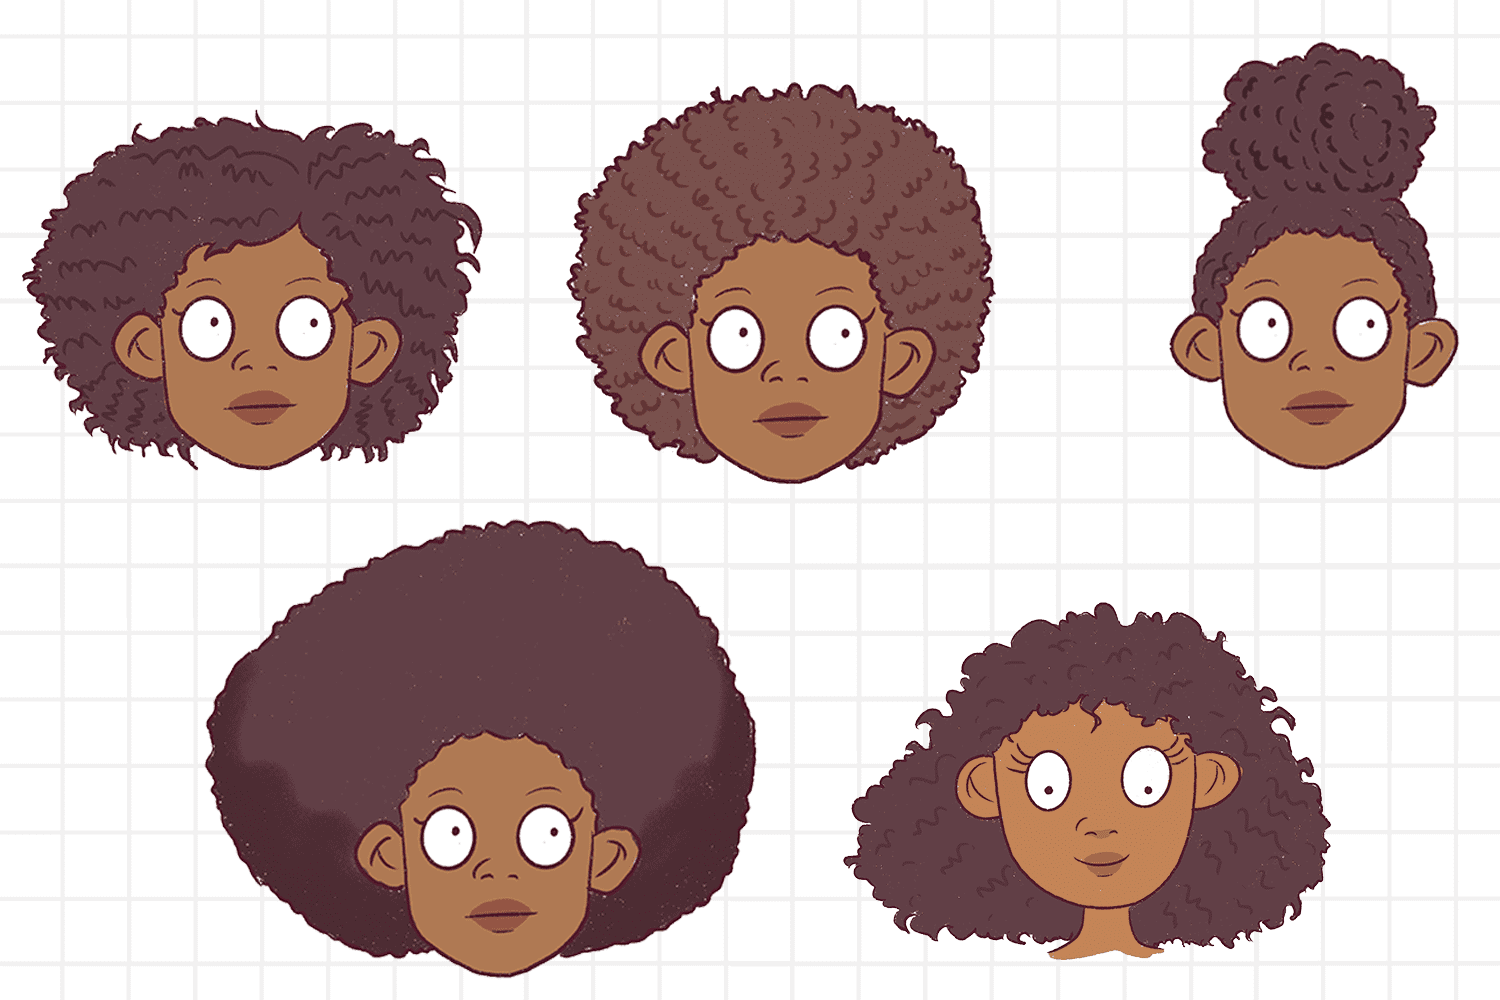
To draw a great afro, you need to understand what makes it unique. Afros are characterized by their round, voluminous shape and distinct texture. They often appear fluffy and textured, which can be tricky to replicate on paper. But fear not! With the right approach, you can capture the essence of an afro effortlessly.
Key Features of an Afro
Here are a few key features to keep in mind:
- Shape: Afros are typically round or spherical, depending on the person’s head shape.
- Texture: The hair is curly, coily, or kinky, giving it a textured appearance.
- Volume: Afros are known for their fullness, so don’t be afraid to exaggerate the size.
- Shading: Shadows and highlights play a crucial role in creating depth and realism.
By focusing on these elements, you’ll be able to create a realistic and dynamic afro drawing.
Tools You’ll Need to Draw an Afro
Before you start drawing, make sure you have the right tools. Here’s what you’ll need:
- Pencils (HB, 2B, 4B, 6B for different shading levels)
- Eraser (a kneaded eraser works wonders for highlights)
- Blending tools (tortillons or blending stumps)
- Sketchbook or drawing paper
- Reference images (optional but highly recommended)
Having the right tools will make the process smoother and more enjoyable. Plus, investing in quality materials can elevate your artwork significantly.
Step 1: Start with the Base
The first step in drawing an afro is creating the base shape. This is where you establish the overall structure of the afro. Begin by sketching a circle or oval that roughly matches the size and shape you want for the afro.
Read also:Houseplants That Thrive Indoors Transform Your Space Into A Green Paradise
Tip: Keep the base light and loose. You can always refine it later as you add more details.
Creating the Head Shape
Once you’ve drawn the base shape, add the outline of the head underneath. This will help you determine how the afro sits on the person’s head. Pay attention to proportions and ensure the afro looks balanced and natural.
Step 2: Adding Texture
Now comes the fun part—adding texture! Afros have a unique texture that sets them apart from other hairstyles. To replicate this, use short, curved lines to mimic the curls and coils of the hair.
Pro Tip: Vary the length and direction of your lines to create a more natural look. Don’t worry if it looks messy at first; that’s part of the charm!
Layering the Texture
Once you’ve added the initial texture, start layering it to build depth. Focus on areas where the hair would naturally overlap, such as the sides and back of the afro. This will give your drawing more dimension and realism.
Step 3: Shading Techniques
Shading is crucial for bringing your afro drawing to life. It helps create depth, volume, and realism. Start by identifying the light source in your drawing. This will determine where the shadows and highlights fall.
Common Shading Techniques:
- Hatching: Parallel lines used to create shading.
- Cross-hatching: Overlapping lines for darker shadows.
- Stippling: Small dots used to create texture and shading.
- Blending: Using blending tools to smooth out transitions.
Experiment with these techniques to find what works best for your style.
Step 4: Adding Highlights
Highlights are the finishing touches that make your afro pop. Use a kneaded eraser to lift off some graphite and create bright, reflective areas. These highlights should follow the natural flow of the hair, emphasizing its texture and volume.
Where to Add Highlights:
- Top of the afro (where the light hits directly)
- Edges of the afro (to make it stand out)
- Random spots throughout the hair for a natural look
Step 5: Refining the Details
At this point, your afro drawing should be taking shape. Now it’s time to refine the details and tie everything together. Go over your lines, adjusting the thickness and darkness as needed. Pay attention to the areas where the hair meets the scalp, as this can add realism to your drawing.
Final Touches
Once you’re happy with the overall look, take a step back and assess your work. Are there any areas that need more shading? Any lines that need smoothing out? Make these final adjustments, and voila—you’ve got a stunning afro drawing!
Common Mistakes to Avoid
Even the best artists make mistakes, but learning from them is key to improving. Here are a few common pitfalls to watch out for:
- Making the afro too flat or two-dimensional.
- Ignoring the texture and focusing only on the shape.
- Forgetting to add highlights and shadows for depth.
- Overworking the drawing and losing the natural look.
Remember, practice makes perfect. Don’t be discouraged if your first attempts don’t turn out exactly as you envisioned. Keep trying, and you’ll see improvement over time.
Inspiration and Reference
One of the best ways to improve your skills is by studying reference images. Look for photos of people with afros and observe how the hair behaves in different lighting conditions. This will give you a better understanding of how to replicate it in your drawings.
Where to Find Reference Images:
- Online image search engines
- Art communities and forums
- Social media platforms like Instagram and Pinterest
Just be sure to respect copyright laws and give credit where it’s due.
Conclusion: How to Draw a Afro Like a Pro
And there you have it—your ultimate guide to drawing an afro. By following these steps and practicing regularly, you’ll be able to create stunning afro drawings that capture their unique beauty and character. Remember, art is a journey, and every stroke of your pencil is a step forward.
So, what are you waiting for? Grab your tools and start drawing! And don’t forget to share your creations with the world. Who knows? You might inspire someone else to pick up a pencil and try their hand at drawing an afro.
Call to Action: Leave a comment below and let me know how your afro drawing turned out. Or, if you have any questions, feel free to ask, and I’ll be happy to help!
Table of Contents
- Understanding the Afro: A Quick Overview
- Key Features of an Afro
- Tools You’ll Need to Draw an Afro
- Step 1: Start with the Base
- Step 2: Adding Texture
- Step 3: Shading Techniques
- Step 4: Adding Highlights
- Step 5: Refining the Details
- Common Mistakes to Avoid
- Inspiration and Reference
How To Write “Allí” In Spanish: A Comprehensive Guide For English Speakers
Costume Try On Haul: Your Ultimate Guide To Unleashing Your Inner Cosplayer
Sima Sima Sea Moss: The Natural Powerhouse You Need To Know About

How to draw Afro textured 4c hair an explanation/Tutorial Afro hair

How to draw afro hair Draw Cartoon Style!
How to draw afro hair Draw Cartoon Style!
