How To Change A Tire On A Honda Civic: A Step-by-Step Guide For Every Driver
So listen up, folks. Changing a tire on your Honda Civic might sound like a big deal, but trust me, it’s way easier than you think. Whether you’re stuck on the side of the road or just want to be prepared for the unexpected, knowing how to change a tire is a life skill that every Civic owner needs to master. And hey, you don’t need to be a mechanic to get this done. Just follow along, and you’ll be swapping out that flat in no time.
Now, before we dive into the nitty-gritty details, let’s talk about why this matters. A flat tire can happen to anyone, anytime, and anywhere. And while calling roadside assistance is always an option, sometimes you just don’t have the luxury of waiting around. That’s where this guide comes in. We’re going to break it down step by step so you can handle it like a pro.
Oh, and don’t worry if you’ve never done it before. This guide is designed for total beginners, so even if you’ve never touched a wrench in your life, you’ll still walk away feeling confident and ready to tackle anything that comes your way. Let’s get to it!
Read also:What Is A Place Holder In A Relationship Unlocking The Truth Behind This Modernday Phenomenon
Table of Contents
- What You’ll Need to Change a Tire on a Honda Civic
- Safety First: Preparing Your Honda Civic for Tire Replacement
- Step 1: Locate the Spare Tire and Tools
- Step 2: Loosen the Lug Nuts Before Jacking
- Step 3: Jack Up the Car Safely
- Step 4: Remove the Flat Tire
- Step 5: Mount the Spare Tire
- Step 6: Tighten the Lug Nuts
- Step 7: Lower the Car and Double-Check
- Pro Tips for Changing a Tire on a Honda Civic
What You’ll Need to Change a Tire on a Honda Civic
Alright, first things first. You’re not going to get very far without the right tools. Luckily, your Honda Civic comes with everything you need in the trunk. Here’s what you’ll find:
- Spare tire – Yep, it’s usually hiding under the floor mat or in a separate compartment.
- Lug wrench – This is the tool you’ll use to remove and tighten the lug nuts.
- Jack – Your Civic comes with a compact jack designed specifically for this job.
- Owner’s manual – Don’t forget to check this for specific instructions on your model.
Oh, and if you’re feeling extra prepared, it’s always a good idea to keep a few extras in your car, like a pair of gloves, a flashlight, and maybe even a wheel wedge to keep the car from rolling.
Safety First: Preparing Your Honda Civic for Tire Replacement
Before you start messing around with the jack and wrench, you need to make sure you’re safe. Here’s how:
Find a Safe Spot: Pull over to a flat, stable surface. Avoid soft ground or uneven terrain. If you’re on a busy road, turn on your hazard lights to alert other drivers.
Engage the Parking Brake: This will help keep the car from moving while you work. Trust me, you don’t want it rolling away on you.
Read also:Converse Tongue Slipping The Ultimate Guide To Understanding And Managing This Common Phenomenon
Turn Off the Engine: It’s common sense, but worth mentioning. You don’t want to risk getting hurt by a hot engine or exhaust fumes.
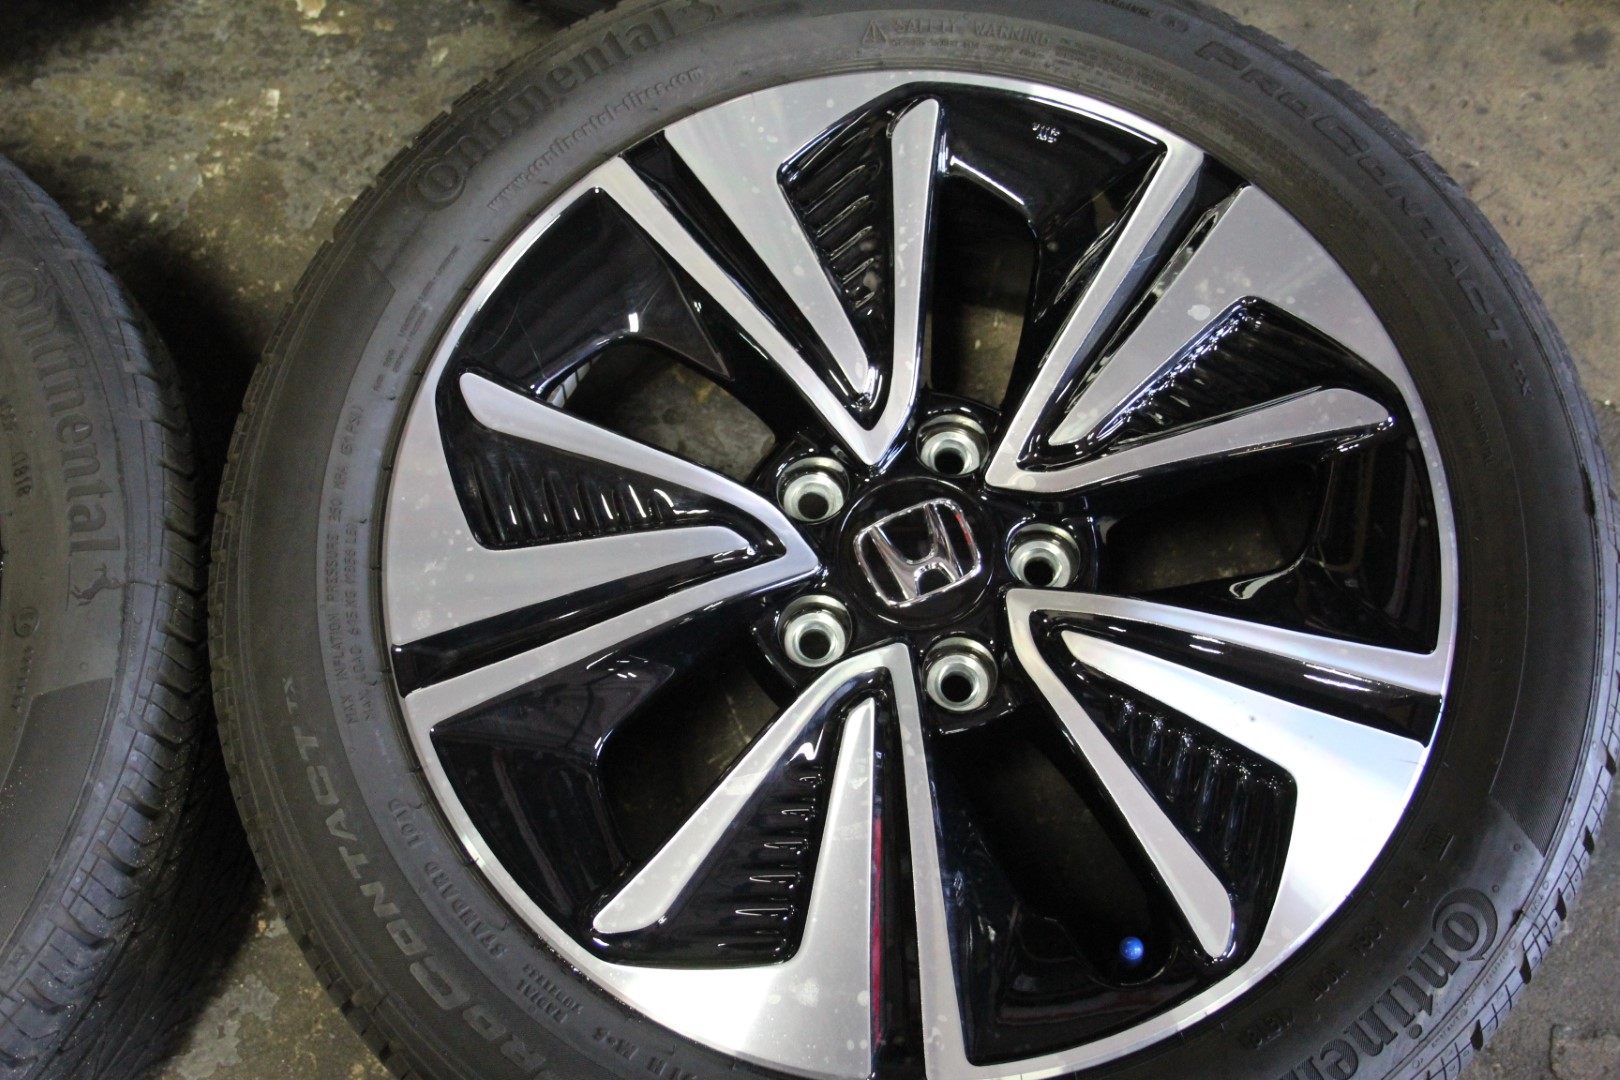
Step 1: Locate the Spare Tire and Tools
First things first, you need to find your spare tire and tools. In most Honda Civics, the spare tire is located under the floor mat in the trunk. The jack and lug wrench are usually stored nearby. Take a quick look at your owner’s manual if you’re not sure where everything is.
Pro tip: If your Civic is newer, it might not have a full-size spare. Instead, you’ll have a compact spare or even a tire repair kit. Either way, the process is pretty much the same.
Step 2: Loosen the Lug Nuts Before Jacking
Now it’s time to get your hands dirty. Start by loosening the lug nuts on the flat tire. Here’s how:
- Use the lug wrench to turn the nuts counterclockwise. You might need to use some elbow grease, especially if they’re tight.
- Don’t remove the nuts completely yet. Just loosen them enough so they’re easy to turn by hand later.
Why do this before jacking up the car? Simple. The tire needs to be on the ground to give you resistance while loosening the nuts. If you try to do it in the air, you’ll just spin the wrench around and get nowhere fast.
Step 3: Jack Up the Car Safely
This is where things get a little tricky. Jacking up your car might sound intimidating, but as long as you follow the instructions, you’ll be fine. Here’s what you need to do:
- Locate the jacking point. This is usually marked in your owner’s manual or on the car itself. It’s usually near the front or rear wheel wells.
- Place the jack under the jacking point and start cranking. Lift the car until the flat tire is off the ground.
Remember, safety first. If the jack feels unstable or wobbly, stop and reposition it before continuing.
Step 4: Remove the Flat Tire
Now that the car is lifted, it’s time to take off the flat tire. Here’s how:
- Completely remove the loosened lug nuts and set them aside in a safe place. You don’t want to lose these bad boys.
- Pull the tire straight off the hub. It might take a bit of effort, but it should come off without too much trouble.
Set the flat tire aside, but don’t throw it in the trunk just yet. You’ll need it later if you decide to get the tire repaired or replaced.
Step 5: Mount the Spare Tire
Now it’s time to put on the spare. Here’s what you do:
- Align the holes in the spare tire with the wheel bolts on the hub.
- Push the tire onto the hub until it’s snug.
Don’t worry if it feels a little loose at first. You’ll tighten everything up in the next step.
Step 6: Tighten the Lug Nuts
This is where you secure the spare tire to the car. Here’s the process:
- Hand-tighten the lug nuts onto the bolts. Make sure they’re snug, but don’t overdo it yet.
- Once all the nuts are in place, use the lug wrench to tighten them in a crisscross pattern. This ensures the tire is mounted evenly.
Why crisscross? It helps distribute the pressure evenly across the tire, reducing the risk of it coming loose while you drive.
Step 7: Lower the Car and Double-Check
The final step is to lower the car and make sure everything’s secure. Here’s how:
- Slowly lower the car using the jack until the spare tire is on the ground.
- Double-check the lug nuts to make sure they’re tight. Use the wrench one more time if necessary.
- Stow the jack and flat tire in the trunk. You’re good to go!
And there you have it. Your Honda Civic is back on the road in no time flat. Literally.
Pro Tips for Changing a Tire on a Honda Civic
Here are a few extra tips to make the process even smoother:
- Practice at Home: If you’ve never changed a tire before, try practicing in your driveway. It’s way less stressful than doing it on the side of the road.
- Check Your Spare Regularly: Make sure your spare tire is properly inflated and in good condition. A flat spare won’t do you much good.
- Keep a First-Aid Kit: Accidents happen. A basic first-aid kit in your car can save the day if you scrape your hand or get a cut.
And remember, if you’re ever in doubt, don’t hesitate to call for help. Better safe than sorry, right?
Final Thoughts
Changing a tire on a Honda Civic might seem intimidating at first, but with this guide, you’ve got everything you need to tackle it like a pro. Remember, the key is preparation and safety. Whether you’re dealing with a flat on a road trip or just want to be ready for the unexpected, knowing how to change a tire is a skill that every driver should have.
So go ahead, give it a try. And when you’re done, don’t forget to share this article with your friends. The more people who know how to handle a flat, the better off we all are. Happy driving, folks!
Lynja's Final Moments: What Were Lynja's Last Words?
Adriana Lima Cross Necklace: A Timeless Fashion Statement
Billie Eilish And Renee Rapp: The Dynamic Duo Taking Over The Spotlight
2016 Honda Civic Tire Size

Rear tire wear honda civic

Honda Civic tire size
