How To Cut Vinyl Tile Around A Toilet: A Step-by-Step Guide For Your Bathroom Flooring
Ever wondered how to cut vinyl tile around a toilet? Well, you’re not alone. Many DIY enthusiasts find themselves scratching their heads when it comes to this tricky task. Vinyl tiles are a popular choice for bathroom flooring because they’re durable, waterproof, and easy to maintain. But cutting them around irregular shapes like toilets can be a real challenge. Don’t worry—we’ve got you covered with a comprehensive guide to help you master this skill like a pro.
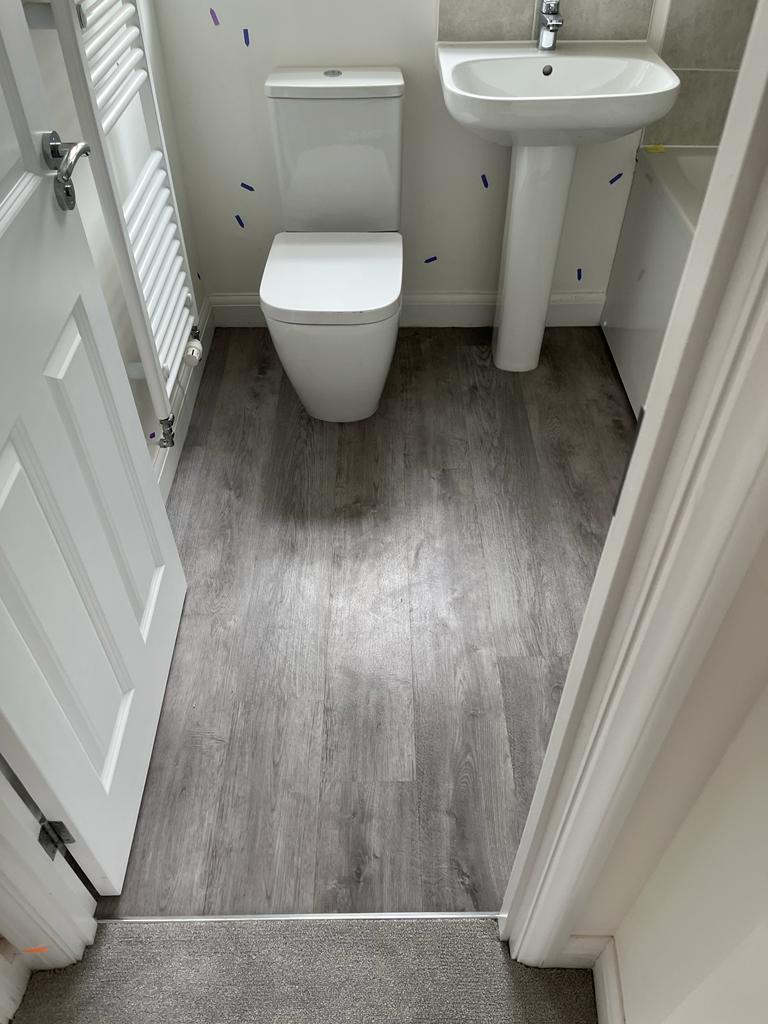
Imagine walking into your newly renovated bathroom, feeling proud of the sleek, seamless vinyl flooring you installed yourself. But hold on—getting that perfect fit around the toilet is where most people stumble. Cutting vinyl tiles too big or too small can ruin the entire look. That’s why understanding how to cut vinyl tile around a toilet is crucial if you want professional results without breaking the bank.
In this article, we’ll dive deep into the world of vinyl tile cutting, sharing tips, tricks, and techniques that will make your DIY project a success. Whether you’re a seasoned handyman or a complete beginner, these steps will guide you through the process smoothly. So grab your tools and let’s get started!
Read also:How Long Does Formula Last In A Bottle Everything You Need To Know
Why Vinyl Tiles Are the Go-To Option for Bathrooms
Vinyl tiles have become one of the top choices for bathroom flooring in recent years. They offer an unbeatable combination of style, affordability, and functionality. Here’s why so many homeowners prefer vinyl over other materials:
- Durability: Vinyl tiles are designed to withstand water exposure, making them perfect for wet environments like bathrooms.
- Easy Maintenance: Unlike natural stone or ceramic tiles, vinyl doesn’t require special cleaning products or sealing.
- Comfort Underfoot: Vinyl provides a softer surface compared to hard tiles, which is great for barefoot walking.
- Cost-Effective: Vinyl tiles are significantly cheaper than many other flooring options, allowing you to save money on your renovation budget.
But here’s the catch—while vinyl tiles are easy to install in open spaces, things get complicated when you need to cut them around obstacles like toilets. Luckily, with the right tools and techniques, even this tricky part of the job can be done effortlessly.
Tools You’ll Need to Cut Vinyl Tile Around a Toilet
Before diving into the cutting process, make sure you have all the necessary tools at hand. Having the right equipment makes a huge difference in achieving precise cuts and professional-looking results. Here’s a list of essential tools you’ll need:
1. Utility Knife
A sharp utility knife is your best friend when it comes to cutting vinyl tiles. It allows you to make clean, accurate cuts without damaging the surrounding area. Make sure to use a fresh blade for optimal performance.
2. Straightedge or Ruler
A metal straightedge or a sturdy ruler is essential for marking and guiding your cuts. It ensures straight lines and prevents wobbly edges.
3. Cutting Mat
Protect your work surface by using a cutting mat. It also helps in maintaining stability while cutting the tiles.
Read also:Consumer Cellular Thats Amazing Commercial What Makes It Stand Out
4. Marker or Pen
Use a fine-tip marker to outline the areas you need to cut. This gives you a clear visual guide during the cutting process.
5. Safety Gear
Safety should always come first. Wear gloves to protect your hands from sharp edges and goggles to shield your eyes from dust or debris.
Step-by-Step Guide to Cutting Vinyl Tile Around a Toilet
1. Measure Twice, Cut Once
Accuracy is key when cutting vinyl tiles around a toilet. Take precise measurements of the space around the toilet base. Use a tape measure to determine the dimensions of the area that needs to be covered.
Remember, vinyl tiles can be tricky to work with if they’re cut too small or too large. Always err on the side of caution and leave a little extra room for adjustments.
2. Transfer Measurements to the Tile
Once you’ve measured the area, transfer those measurements onto the vinyl tile. Use a marker to draw a line where you need to cut. Double-check your markings to ensure they’re accurate before proceeding.
3. Secure the Tile for Cutting
Place the vinyl tile on a cutting mat to stabilize it during the cutting process. If the tile is flexible, you may want to weigh it down with a book or another heavy object to prevent it from moving.
4. Make the Cut
Using your utility knife, carefully follow the marked line to cut the vinyl tile. Apply steady pressure and go slowly to ensure a clean cut. You may need to score the tile multiple times to achieve the desired depth.
5. Test the Fit
After cutting, test the tile by placing it around the toilet base. Check for any gaps or misalignments. If necessary, make minor adjustments by trimming additional material until the tile fits perfectly.
Common Mistakes to Avoid When Cutting Vinyl Tile
Even the most experienced DIYers can make mistakes when cutting vinyl tiles. Here are some common pitfalls to watch out for:
- Rushing the Process: Taking your time is crucial for precision. Rushing can lead to uneven cuts and wasted material.
- Using Dull Blades: A dull utility knife blade can cause jagged edges and make cutting more difficult. Always use a sharp blade.
- Not Testing the Fit: Skipping the test fit step can result in ill-fitting tiles that require significant rework.
By avoiding these mistakes, you’ll increase your chances of achieving flawless results and save yourself time and effort in the long run.
Tips for Achieving Professional Results
Here are a few expert tips to help you achieve professional-looking vinyl tile installations:
1. Use a Template
For complex cuts, consider creating a paper template of the area around the toilet. This allows you to visualize the cut more clearly and ensures greater accuracy.
2. Work in Sections
Instead of trying to cut the entire tile in one go, work in smaller sections. This reduces the risk of errors and makes the process more manageable.
3. Sand Edges for Smoother Finishes
After cutting, use fine-grit sandpaper to smooth out any rough edges. This gives your installation a polished appearance and prevents snags or tears.
Advanced Techniques for Cutting Vinyl Tile
For those looking to take their skills to the next level, here are some advanced techniques to consider:
1. Using a Rotary Tool
A rotary tool, such as a Dremel, can be used for intricate cuts around toilets. Its precision allows you to navigate tight spaces and create detailed shapes.
2. Heat-Assisted Cutting
Applying gentle heat to the vinyl tile can make it more pliable and easier to cut. Be cautious not to overheat, as this can damage the material.
Cost Considerations for Vinyl Tile Installation
When planning your vinyl tile installation project, it’s important to factor in costs. Vinyl tiles themselves are relatively inexpensive, but additional expenses like tools, adhesives, and underlayment can add up. Here’s a rough breakdown of potential costs:
- Vinyl Tiles: $1-$5 per square foot
- Adhesive: $10-$20 per gallon
- Tools: $50-$100 (if purchasing new)
By budgeting properly and sourcing materials wisely, you can keep your project costs under control.
Environmental Impact of Vinyl Tiles
While vinyl tiles offer numerous benefits, it’s worth considering their environmental impact. Vinyl is a petroleum-based product, which raises concerns about sustainability. However, many manufacturers are now producing eco-friendly vinyl options that minimize environmental harm.
Look for vinyl tiles certified by organizations like FloorScore or GREENGUARD for assurance that they meet strict environmental standards.
Conclusion: Mastering the Art of Cutting Vinyl Tile Around a Toilet
Cutting vinyl tile around a toilet may seem daunting at first, but with the right tools, techniques, and a bit of patience, you can achieve professional results. By following the steps outlined in this guide, you’ll be well on your way to completing your bathroom flooring project with confidence.
So what are you waiting for? Grab your utility knife, roll up your sleeves, and get started on transforming your bathroom into a stunning space. And don’t forget to share your success story with us in the comments below!
Table of Contents
Why Vinyl Tiles Are the Go-To Option for Bathrooms
Tools You’ll Need to Cut Vinyl Tile Around a Toilet
Step-by-Step Guide to Cutting Vinyl Tile Around a Toilet
Common Mistakes to Avoid When Cutting Vinyl Tile
Tips for Achieving Professional Results
Advanced Techniques for Cutting Vinyl Tile
Cost Considerations for Vinyl Tile Installation
Environmental Impact of Vinyl Tiles
Conclusion: Mastering the Art of Cutting Vinyl Tile Around a Toilet
Cosby Show Eunice Chantilly: The Ultimate Dive Into A Beloved Character
Claudia Oshry And Lin-Manuel Miranda: A Deep Dive Into Their Creative Universe
Beth Tamayo 90s: The Untold Story Of A Decade-Defining Icon

How To Cut Vinyl Tile Flooring Around Toilet Viewfloor.co
How to cut tile around toilet
Vinyl Tile Around Toilet at Simmons blog
