How To Install LEDs In Car: A Beginner’s Guide For Car Enthusiasts
So, you've decided to upgrade your ride with some sleek LED lighting, huh? Who can blame you? LEDs are all the rage these days, not just because they look cool but also because they’re super efficient and long-lasting. Whether you want to light up your car's interior or make your exterior pop, installing LEDs is a great way to customize your vehicle. But before you dive in, let’s break down the basics of how to install LEDs in your car step by step.
Now, if you're anything like me, you might be thinking, "Do I really need to hire a professional for this?" The answer is a big fat NO. With the right tools and a bit of patience, you can totally handle this DIY project on your own. Plus, it's a lot cheaper than shelling out cash for someone else to do it.
But hey, let’s not jump the gun. Before we get into the nitty-gritty, it’s important to understand why LEDs are such a game-changer for car customization. They’re not just about aesthetics; they also enhance safety and functionality. So, buckle up, because we’re about to take you on a journey of car LED enlightenment!
Read also:How To Easily Turn On Keurig A Stepbystep Guide For Coffee Lovers
Why Install LEDs in Your Car?
Let’s face it—your car’s factory lighting might be functional, but it’s probably not the most stylish or efficient option out there. LEDs, on the other hand, offer a range of benefits that make them a must-have for any modern car enthusiast. Here are a few reasons why installing LEDs in your car is a smart move:
- Brightness: LEDs are way brighter than traditional halogen bulbs, making it easier to see at night and improving your visibility to other drivers.
- Energy Efficiency: LEDs consume less power, which means they won’t drain your car’s battery as quickly.
- Durability: LEDs last longer than halogen or incandescent bulbs, so you won’t have to replace them as often.
- Cool Factor: Let’s not forget the aesthetic appeal. LEDs come in a variety of colors and styles, allowing you to personalize your car’s look.
And let’s be honest, who doesn’t want their car to stand out from the crowd? Installing LEDs is like giving your car a mini makeover, and trust me, it’s worth it.
Tools You’ll Need to Install LEDs in Car
Before you start tinkering with your car, you’ll need to gather a few essential tools. Don’t worry, you don’t need to be a mechanic to do this. Here’s a quick list of what you’ll need:
- Screwdriver (Phillips and flathead)
- Wire cutters
- Electrical tape
- Zip ties
- Fuse tester (optional but recommended)
Having these tools on hand will make the installation process smoother and faster. And if you’re the type who likes to be prepared, you might want to grab a multimeter to check the voltage of your car’s electrical system.
Choosing the Right LEDs for Your Car
Not all LEDs are created equal, so it’s important to choose the right ones for your specific needs. Here are a few things to consider when selecting LEDs for your car:
Types of LEDs
There are several types of LEDs available, each with its own set of features and benefits. Some popular options include:
Read also:2 Braids Into A Ponytail The Ultimate Guide To Stylish Hair Transformation
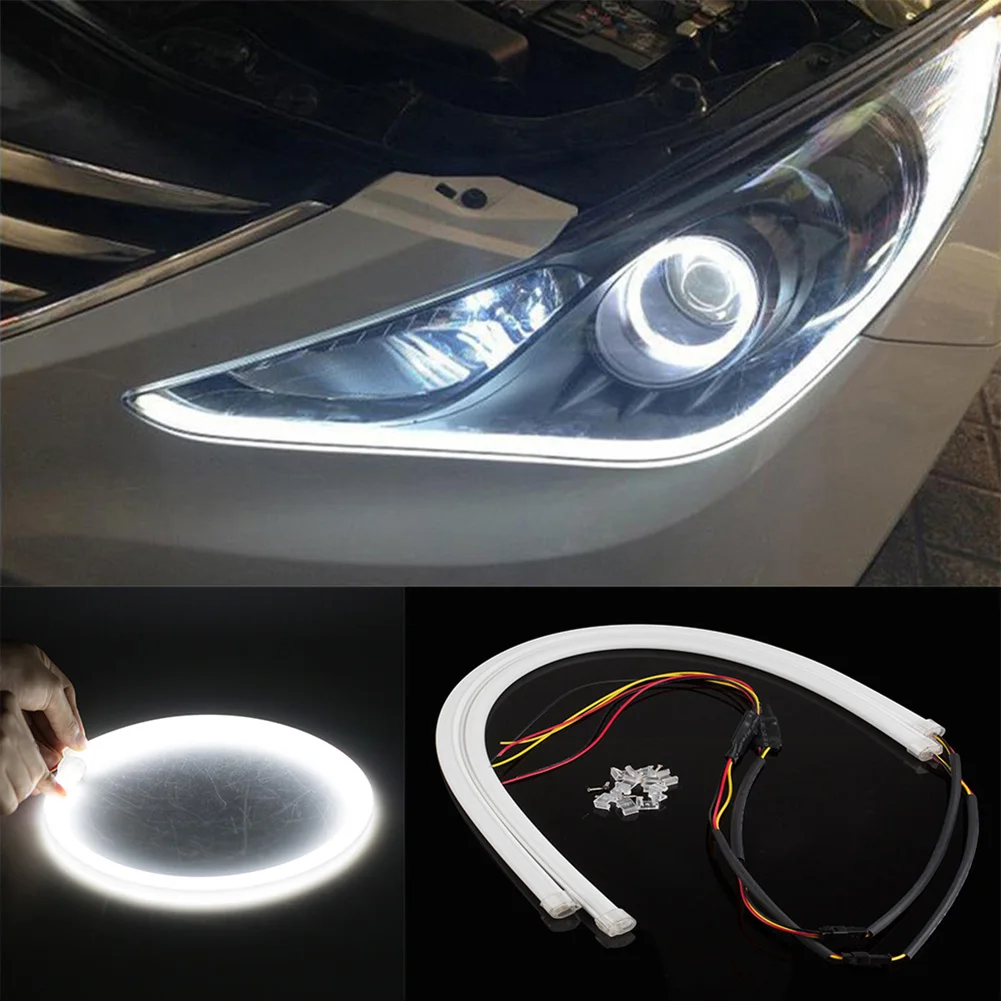
- LED Strips: Perfect for lighting up your car’s interior or underbody. They’re flexible and easy to install.
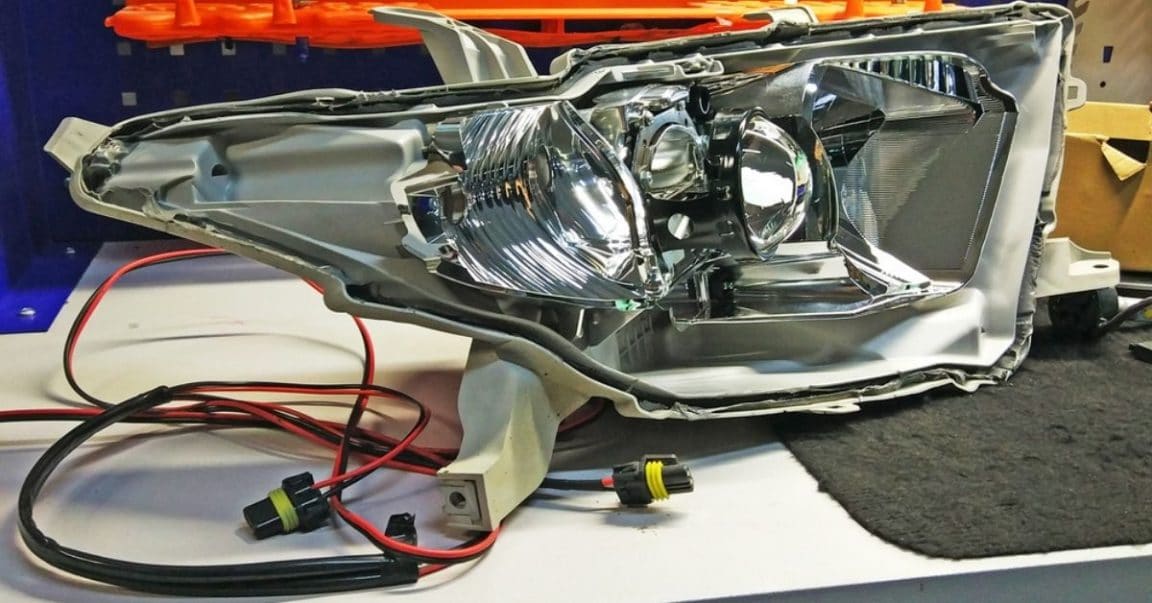
- LED Bulbs: Great for replacing your car’s headlights, fog lights, or taillights. They provide a bright, focused beam of light.
- LED Pods: Ideal for off-road lighting or if you want to add some extra illumination to your car’s exterior.
Choosing the right type of LED depends on what part of your car you want to upgrade. For example, if you’re looking to enhance your car’s exterior, LED bulbs or pods might be the way to go. But if you want to create a cozy, inviting atmosphere inside your car, LED strips are the better choice.
Step-by-Step Guide: How to Install LEDs in Car
Now that you have all the tools and materials you need, let’s dive into the actual installation process. Follow these steps carefully to ensure a smooth and successful installation:
Step 1: Plan Your Installation
Before you start cutting wires or drilling holes, take some time to plan out where you want to install the LEDs. This will help you avoid any mistakes and ensure that everything looks neat and professional.
Step 2: Disconnect the Battery
Safety first! Always disconnect your car’s battery before working on its electrical system. This will prevent any accidental short circuits or electrical shocks.
Step 3: Install the LEDs
Once you’ve planned out your installation, it’s time to start mounting the LEDs. Here’s how:
- For LED strips, peel off the backing and stick them to the desired surface. Make sure they’re secure and won’t move around.
- For LED bulbs, simply unscrew the old bulb and replace it with the new one. It’s as easy as that!
- For LED pods, you may need to drill some holes to mount them securely. Be careful not to damage any surrounding components.
Step 4: Connect the Wiring
Now it’s time to connect the LEDs to your car’s electrical system. Here’s where your wire cutters and electrical tape come in handy:
- Strip the ends of the wires and twist them together.
- Secure the connection with electrical tape to prevent any loose wires.
- Use zip ties to keep the wires organized and out of the way.
Step 5: Test the LEDs
Once everything is connected, it’s time to test the LEDs. Reconnect your car’s battery and turn on the lights to make sure they’re working properly. If everything looks good, congratulations—you’ve successfully installed LEDs in your car!
Tips for a Successful Installation
Here are a few tips to help you avoid common mistakes and ensure a successful installation:
- Take Your Time: Rushing through the installation process can lead to mistakes. Take your time and double-check everything before moving on to the next step.
- Follow the Instructions: Each LED kit comes with its own set of instructions. Make sure you read them carefully before starting the installation.
- Use High-Quality Products: Cheap LEDs might seem like a good deal, but they’re often unreliable and won’t last as long. Invest in high-quality products to ensure the best results.
By following these tips, you’ll be well on your way to a successful LED installation.
Common Mistakes to Avoid
Even the most experienced DIYers can make mistakes when installing LEDs. Here are a few common pitfalls to watch out for:
- Incorrect Wiring: Mixing up the positive and negative wires can cause the LEDs to malfunction or even blow out.
- Overloading the Circuit: Adding too many LEDs to one circuit can overload it and cause electrical issues.
- Improper Mounting: If the LEDs aren’t mounted securely, they can fall off or get damaged.
By avoiding these common mistakes, you’ll save yourself a lot of headaches and ensure that your LEDs function properly for years to come.
Benefits of DIY LED Installation
Installing LEDs in your car yourself offers several benefits:
- Cost Savings: Hiring a professional can be expensive. Doing it yourself saves you money while giving you valuable experience.
- Customization: You have complete control over where and how you install the LEDs, allowing you to create a truly unique look.
- Satisfaction: There’s nothing quite like the satisfaction of completing a DIY project and seeing the results of your hard work.
So, why not give it a shot? You might just surprise yourself with how easy and rewarding it can be.
How to Maintain Your Car’s LEDs
Once you’ve installed your LEDs, it’s important to maintain them to ensure they continue to function properly. Here are a few maintenance tips:
- Regular Cleaning: Dirt and debris can accumulate on the LEDs, reducing their brightness. Clean them regularly with a soft cloth and mild soap.
- Check for Damage: Inspect the LEDs periodically for any signs of damage or wear. Replace any damaged components promptly.
- Update Firmware (if applicable): Some advanced LED systems come with firmware that can be updated to improve performance and functionality.
By following these maintenance tips, you’ll ensure that your LEDs stay in top condition and continue to enhance your car’s appearance.
Conclusion
Installing LEDs in your car is a fun and rewarding DIY project that can transform the look and functionality of your vehicle. By following the steps outlined in this guide, you can successfully install LEDs in your car and enjoy all the benefits they offer.
So, what are you waiting for? Grab your tools, choose your LEDs, and get to work. And don’t forget to share your results with us in the comments below. We’d love to see how your car turned out!
Call to Action: If you found this guide helpful, be sure to check out our other articles on car customization and maintenance. There’s always something new to learn, and we’re here to help you every step of the way!
Daftar Isi
- Why Install LEDs in Your Car?
- Tools You’ll Need to Install LEDs in Car
- Choosing the Right LEDs for Your Car
- Step-by-Step Guide: How to Install LEDs in Car
- Tips for a Successful Installation
- Common Mistakes to Avoid
- Benefits of DIY LED Installation
- How to Maintain Your Car’s LEDs
- Conclusion
Why Yuyi Chua TikTok Is Taking The World By Storm
Bumpy's Lament Sample: A Deep Dive Into This Iconic Track
CrumbL Cookie October Spoilers: The Sweetest Secrets You Need To Know!

Pin on leds Custom car interior, Car audio, Custom car audio
How To Install LED Headlights In Your Car Car Proper
Encell 1pcs LED Strips 12V COB Light Car Styling LEDs for Car Universal
