Master The Art Of Shark Vacuum Cleaning Instructions Like A Pro
Shark vacuum cleaning instructions are more than just a manual—they’re your key to unlocking a cleaner home and a happier lifestyle. Picture this: you’ve just unboxed your brand-new Shark vacuum cleaner, and it’s sitting there, shiny and ready to conquer dirt and dust. But wait! Before you dive in, you need to know the tricks of the trade. This isn’t just any old vacuum; it’s a Shark, and that means it comes with a set of rules, tips, and tricks that’ll make your cleaning experience smooth as butter. Let’s break it down together and turn you into a Shark vacuum guru in no time.
Now, I know what you’re thinking: “Do I really need instructions? Can’t I just plug it in and go?” Well, sure, you can do that. But trust me, taking the time to understand how your Shark vacuum works will save you from headaches and unnecessary repairs down the line. Plus, you’ll get way more out of your investment. So, let’s not skip the basics and jump right into how to use your Shark vacuum cleaner like a pro.
Whether you’re a first-time Shark vacuum owner or you’ve had one for a while but haven’t quite mastered it yet, this guide is here to help. We’ll cover everything from setup to maintenance, so by the end of this, you’ll be cleaning like a boss. Let’s get started!
Read also:How To Encapsulate Flowers In Resin A Stepbystep Guide For Stunning Creations
Here’s a quick rundown of what we’ll be covering:
- Understanding Your Shark Vacuum
- Step-by-Step Setup Instructions
- How to Operate Your Shark Vacuum
- Tips for Effective Cleaning
- Common Issues and How to Fix Them
- Maintenance and Care
- Shark Vacuum Accessories
- Troubleshooting Guide
- Maximizing Your Shark Vacuum’s Lifespan
- Final Thoughts
Understanding Your Shark Vacuum
What Makes Shark Vacuums So Special?
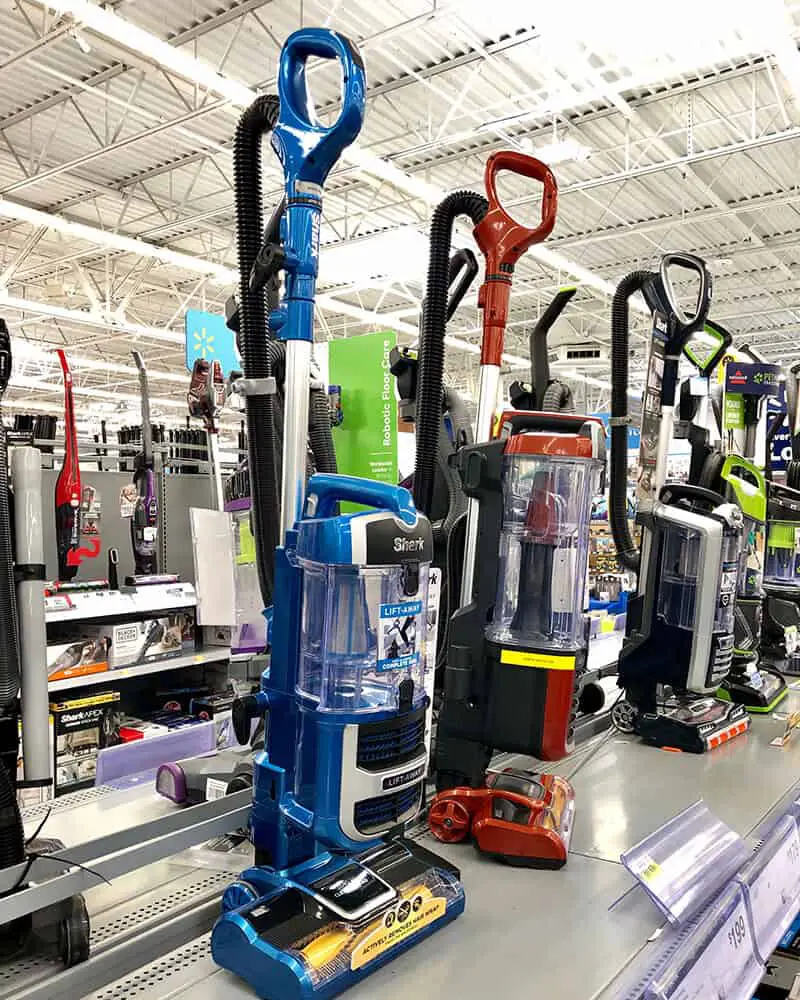
Let’s start with the basics: why did you choose a Shark vacuum in the first place? Shark vacuums aren’t just some random brand; they’ve earned their reputation for being powerful, versatile, and user-friendly. They’re designed to tackle everything from pet hair to stubborn stains, and they come with a variety of features that make cleaning a breeze.
One of the coolest things about Shark vacuums is their swivel steering. You know how some vacuums are clunky and hard to maneuver? Not Shark vacuums! They glide effortlessly around furniture and tight corners, making your life way easier. Plus, they’re lightweight, so you won’t feel like you’re working out while you’re cleaning.
Key Features to Look Out For
Every Shark vacuum model has its own set of features, but here are some common ones you’ll want to familiarize yourself with:
- HEPA Filtration: This is a big deal if you or anyone in your household has allergies. HEPA filters trap tiny particles like dust mites and pollen, keeping your air clean and fresh.
- Anti-Allergen Seal: Another win for allergy sufferers! This seal prevents dust and allergens from escaping back into the air while you’re cleaning.
- DuoClean Technology: This is Shark’s signature feature. It combines two motorized rollers to clean both carpets and hard floors effectively.
- Boosted Power Brush: If you’ve got pets, this is your best friend. It lifts deep-down dirt and pet hair from carpets with ease.
Take a moment to check out your specific model’s manual (yes, the one that came in the box) to see what features you’ve got. Knowing what your Shark vacuum is capable of will help you make the most of it.
Step-by-Step Setup Instructions
Unboxing Your Shark Vacuum
Alright, let’s get this party started! The first step is to unbox your Shark vacuum. Inside the box, you’ll find:
Read also:How To Say Ldquocomo Decir Esto En Inglesrdquo In English A Beginnerrsquos Guide To Mastering Conversational English
- Your vacuum cleaner (duh)
- An instruction manual (don’t toss it aside just yet!)
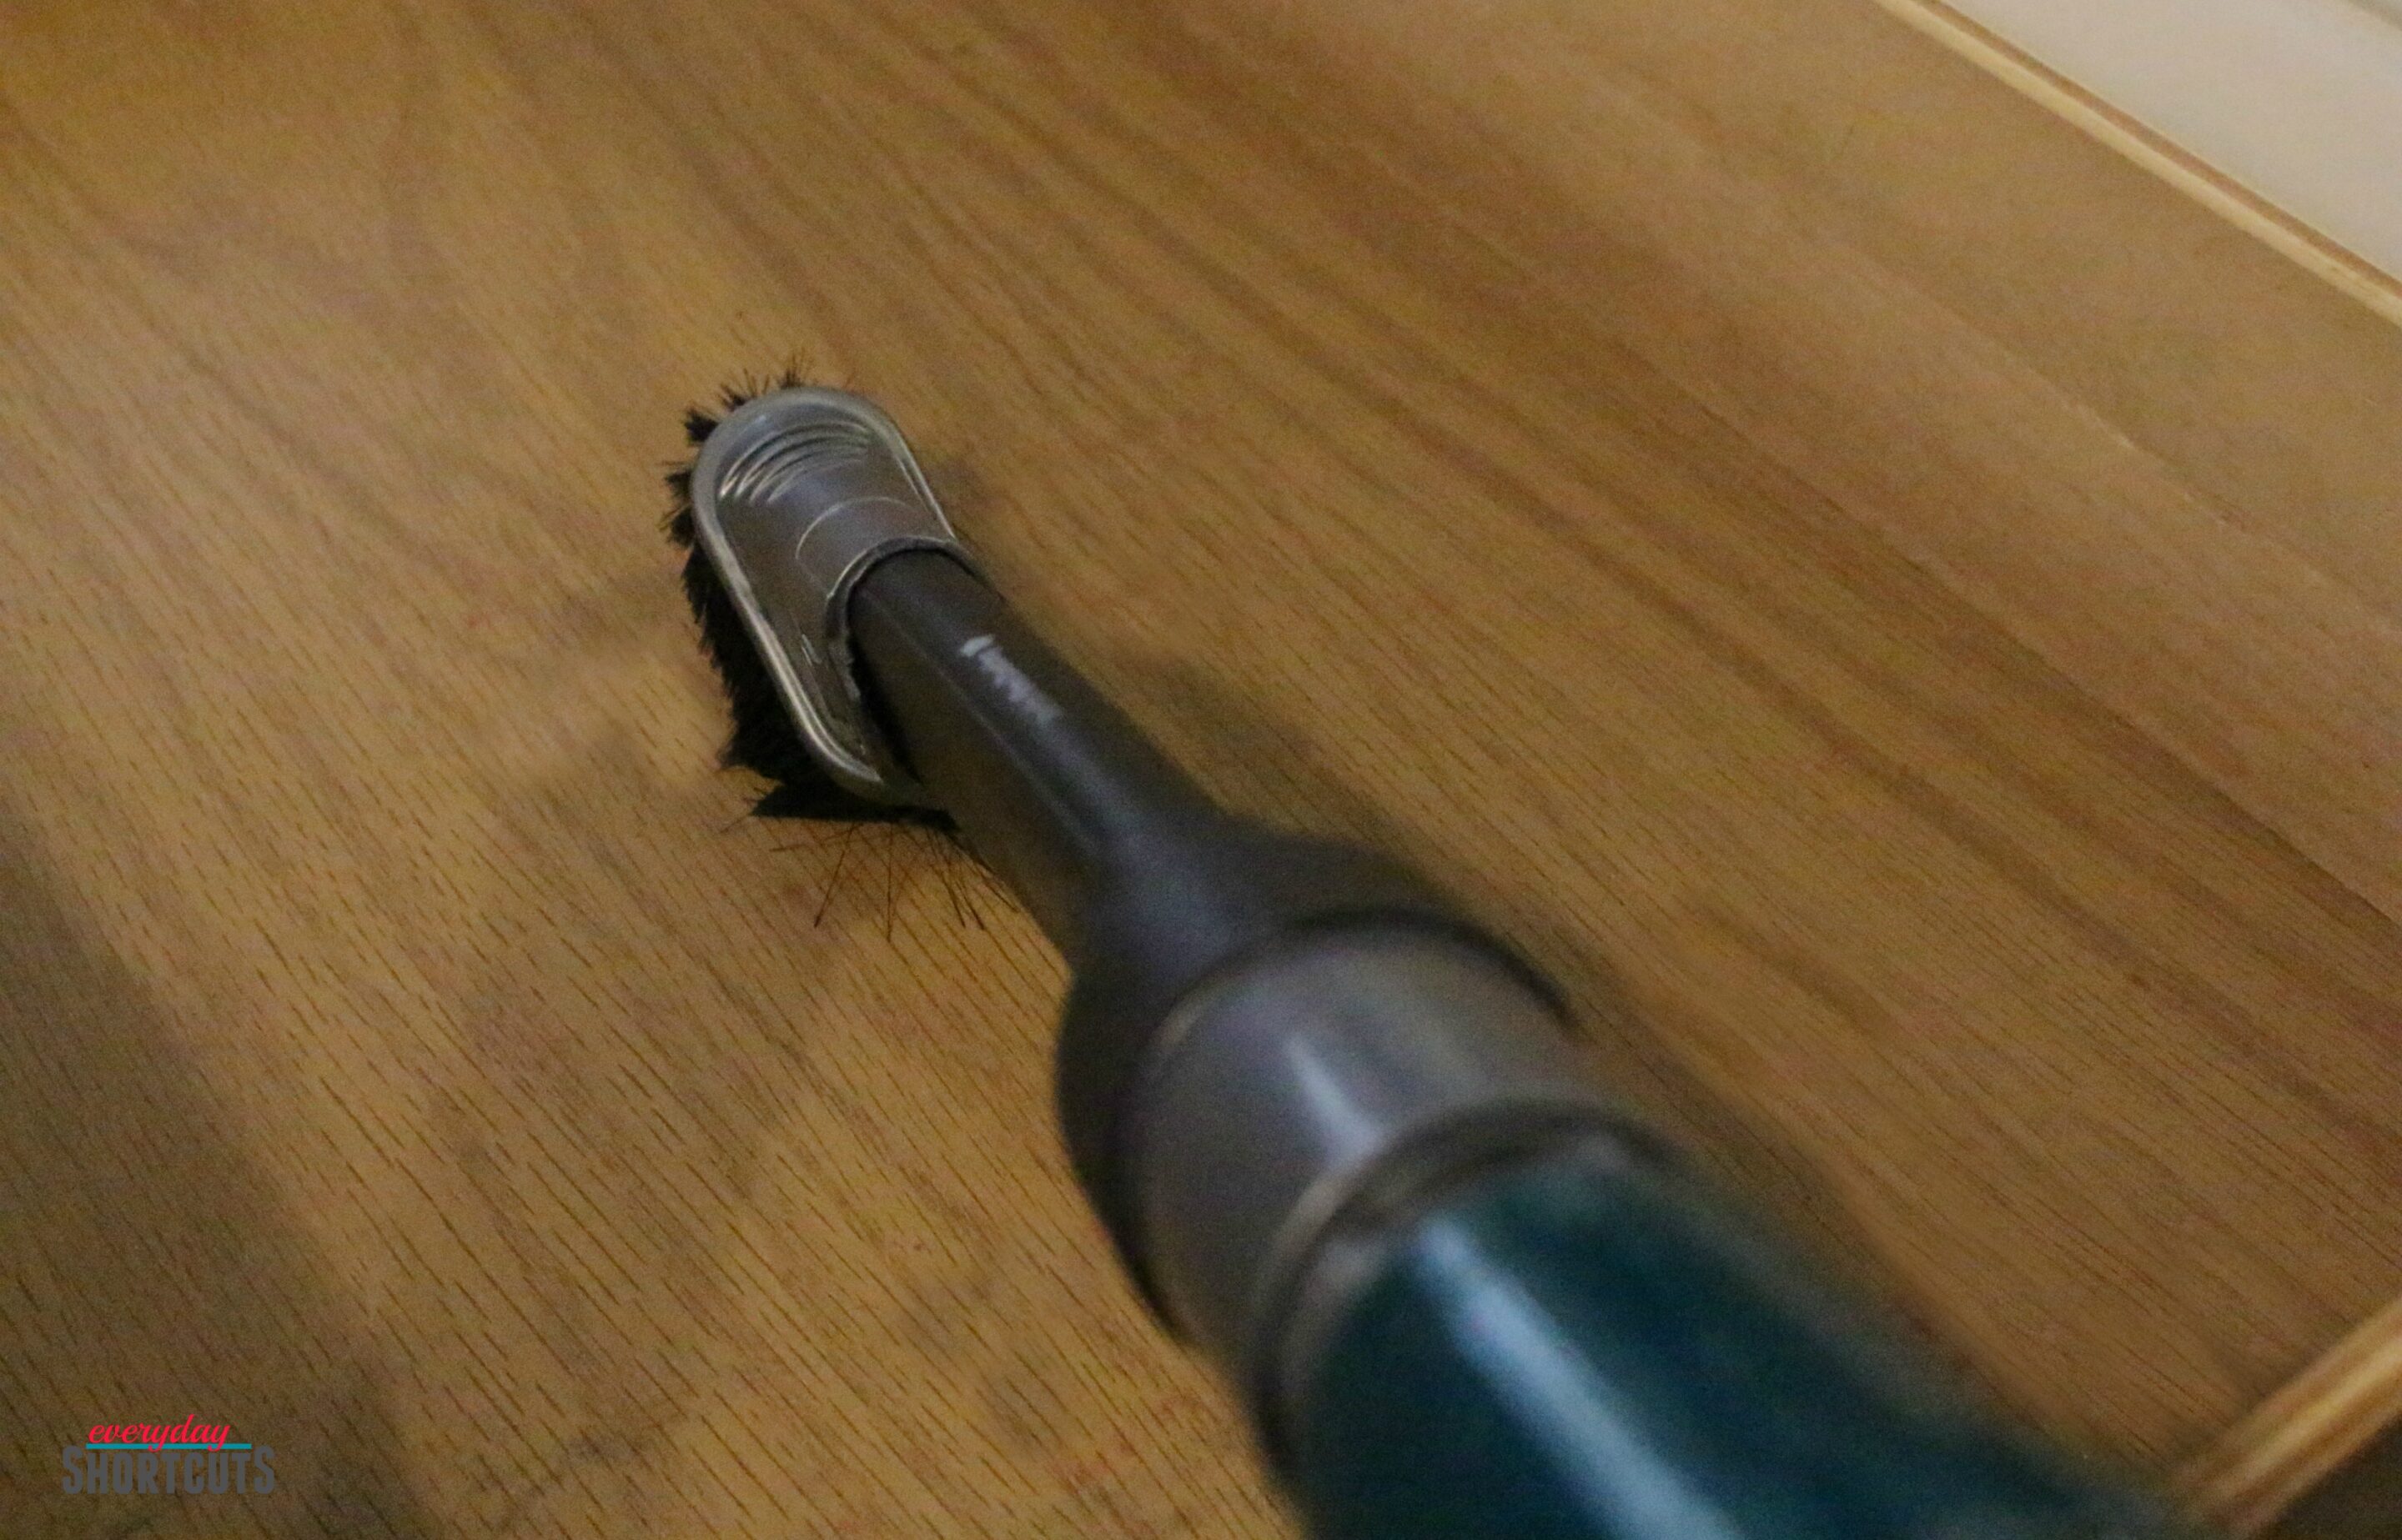
- A variety of accessories, like dusting brushes and crevice tools
- A power cord (if it’s not cordless)
Take everything out and lay it on a flat surface. Give it a quick once-over to make sure everything’s there. If something’s missing, contact Shark customer support right away.
Assembling Your Shark Vacuum
Now, let’s assemble your Shark vacuum. Don’t panic—it’s easier than it looks. Follow these steps:
- Attach the wand to the main unit. This is usually a simple push-and-click mechanism.
- Connect the hose to the wand. Again, it should snap into place easily.
- Attach your desired cleaning tool to the hose. For general cleaning, the dusting brush or crevice tool works great.
- If your model has a battery, make sure it’s fully charged before you start using it.
And that’s it! Your Shark vacuum is now ready to roll.
How to Operate Your Shark Vacuum
Powering Up Your Shark Vacuum
Time to turn your Shark vacuum on. Depending on your model, you might have a power button or a trigger on the handle. Press it, and you’re good to go. Most Shark vacuums have multiple power settings, so you can adjust the suction based on the surface you’re cleaning.
For carpets, go for the higher power setting. For hard floors, you might want to dial it down a bit to avoid scratching. And if you’re dealing with delicate surfaces like curtains or upholstery, use the lowest setting and attach the appropriate tool.
Navigating Different Surfaces
One of the things that sets Shark vacuums apart is their ability to handle multiple surfaces. Here’s how to navigate them:
- Carpets: Use the DuoClean rollers for maximum effectiveness. Make sure the brush roll is engaged for deep cleaning.
- Hard Floors: Switch to the hard floor mode if your vacuum has it. This will disable the brush roll and prevent scratches.
- Upholstery: Attach the upholstery tool and use the lowest power setting. Vacuum gently to avoid damaging the fabric.
Experiment with different settings and tools to find what works best for your home.
Tips for Effective Cleaning
Maximizing Cleaning Efficiency
Here are a few tips to help you clean more effectively with your Shark vacuum:
- Start with the toughest spots first: Tackle pet hair, crumbs, and stains before moving on to general cleaning.
- Use the right attachments: Don’t try to clean upholstery with the crevice tool—it won’t work as well as the upholstery brush.
- Go slow: Don’t rush through your cleaning. Let the vacuum do its job by moving it slowly and methodically.
Remember, cleaning isn’t a race. Take your time, and you’ll see better results.
Creating a Cleaning Schedule
Consistency is key when it comes to keeping your home clean. Set up a regular cleaning schedule, and stick to it. For example:
- Vacuum high-traffic areas daily
- Do a thorough vacuuming of the entire house once a week
- Deep clean carpets and upholstery every few months
Having a plan will make cleaning less overwhelming and more manageable.
Common Issues and How to Fix Them
Problem: Loss of Suction
If your Shark vacuum isn’t picking up as much dirt as it used to, don’t panic. Loss of suction is a common issue, and it’s usually easy to fix. Here’s what to check:
- Check the filters: If they’re clogged, clean or replace them.
- Inspect the brush roll: Make sure it’s not tangled with hair or debris.
- Empty the dust cup: A full dust cup can reduce suction.
Once you’ve addressed these issues, your vacuum should be back to its full power.
Problem: Overheating
Overheating can happen if your vacuum is working too hard. To prevent this:
- Take breaks during long cleaning sessions
- Make sure the vents aren’t blocked
- Use the appropriate power settings for each surface
If your vacuum does overheat, let it cool down before using it again.
Maintenance and Care
Regular Maintenance Tips
To keep your Shark vacuum in top shape, follow these maintenance tips:
- Empty the dust cup after each use: This prevents clogs and ensures optimal performance.
- Clean the filters monthly: Follow the instructions in your manual for the best results.
- Inspect the brush roll regularly: Remove any tangled hair or debris to keep it running smoothly.
A little bit of maintenance goes a long way in extending the lifespan of your vacuum.
Deep Cleaning Your Shark Vacuum
Every few months, give your Shark vacuum a deep clean. Here’s how:
- Unplug the vacuum and detach all parts.
- Wash the dust cup and filters with mild soap and water.
- Let everything dry completely before reassembling.
This will keep your vacuum smelling fresh and performing at its best.
Shark Vacuum Accessories
Enhancing Your Cleaning Experience
Shark vacuums come with a variety of accessories, but you can also purchase additional ones to enhance your cleaning experience. Here are a few must-haves:
- Pet Hair Tool: If you’ve got furry friends, this is a lifesaver.
- Mattress Cleaner: Perfect for keeping your bed allergen-free.
- Carpet Stain Remover: For those inevitable spills and accidents.
Investing in the right accessories can make your cleaning routine more effective and enjoyable.
Troubleshooting Guide
Handling Unexpected Issues
Even the best vacuums can have issues from time to time. Here’s a quick troubleshooting guide:
- Problem: Vacuum won’t turn on – Check the power cord and battery.
- Problem: Vacuum is leaking dust – Make sure all parts are securely attached.
- Problem: Brush roll isn’t spinning – Check for obstructions and reset the brush roll motor.
If you’re still having issues, consult the manual or contact Shark customer support for assistance.
Maximizing Your Shark Vacuum’s Lifespan
Proper Storage and Care
To ensure your Shark vacuum lasts as long as possible, store it properly when it’s not in use. Keep it in a cool, dry place, and avoid leaving it in direct sunlight. Make sure all parts are clean and dry before storing.
Additionally, follow the maintenance schedule outlined in your manual. Regular care will keep your vacuum running smoothly and prevent costly repairs down the line.
Final Thoughts
And there you have it—everything you need to know about shark vacuum cleaning instructions. With a little bit of knowledge and some TLC, your Shark vacuum will be your trusty cleaning companion for years to come. Remember, cleaning doesn’t have to be a chore. With the right tools and techniques, it can be a satisfying and rewarding experience.
So, what are you waiting for? Grab your Shark vacuum, put these tips into action, and watch your home transform into a sparkling oasis. And don’t forget to share your cleaning tips and tricks in the comments below. Happy cleaning!
Who Is Faster: Elly De La Cruz Or Tyreek Hill? The Ultimate Speed Showdown
What Does Damaris Mean? Unveiling The Rich Significance Behind This Beautiful Name
Best Drifting Cars In GTA 5: Your Ultimate Guide To Slide Like A Pro
shark vacuum cleaning drawer Everyday Shortcuts

How To Unclog A Shark Vacuum Cleaning Beasts
How To Clean A Shark Vacuum The Most Detailed Guide 2024
