How To Adjust A Sewing Machine Like A Pro
Listen up, sewing enthusiasts! If you're here because you're wondering how to adjust a sewing machine and make it work like a charm, you're in the right place. Let's be real, sewing machines can sometimes feel like temperamental little creatures. One minute they're running smoothly, and the next, they're giving you all sorts of trouble. But don't worry, because today we're diving deep into the world of sewing machine adjustments. We're going to break it down step by step so you can tackle any issue that comes your way.
Now, before we get into the nitty-gritty, let me tell you something important. Adjusting a sewing machine isn't as scary as it seems. Sure, it might look complicated with all those buttons, dials, and settings, but once you understand the basics, it's actually pretty straightforward. Think of it like learning to drive a car. At first, you're overwhelmed by the dashboard, but eventually, it becomes second nature. So, buckle up, and let's get started!
Oh, and just a quick heads-up. This guide is packed with tips, tricks, and insider knowledge to help you master the art of sewing machine adjustments. Whether you're a beginner or an experienced sewer looking to refine your skills, there's something here for everyone. Ready to take your sewing game to the next level? Let's do this!
Read also:Alberto Reyes Blue Beetle The Rise Of A Hero
Table of Contents:
- Understanding Your Sewing Machine
- Tools You'll Need
- Adjusting Tension Settings
- Setting Up Stitch Length and Width
- Choosing the Right Needle
- Threading Your Machine Properly
- Bobbin Winding and Placement
- Using the Presser Foot
- Common Issues and Fixes
- Maintenance Tips for Longevity
Understanding Your Sewing Machine
Alright, let's start with the basics. Before you dive into adjusting your sewing machine, it's crucial to understand how it works. Think of your sewing machine as a small factory that produces stitches. Each part plays a specific role in creating those beautiful seams. The tension settings, needle, bobbin, and presser foot all work together to ensure smooth sewing.
Here's the deal: every sewing machine is slightly different. Some have more advanced features, while others are simpler. But don't let that intimidate you. The key is to familiarize yourself with your machine's manual. Yeah, I know, manuals can be boring, but trust me, they're your best friend when it comes to troubleshooting and adjustments.
Key Components to Know
Let's break down the main components you'll need to know:
- Tension Dial: Controls the tension of the thread. Too tight, and your stitches will break. Too loose, and you'll end up with messy seams.
- Stitch Selector: Allows you to choose different types of stitches. From straight stitches to zigzag, this little guy does it all.
- Needle Bar: Holds the needle in place. Make sure it's properly aligned for accurate stitching.
- Presser Foot: Keeps the fabric in place while sewing. Different feet are available for different types of fabric and stitches.
So, now that you know what you're working with, let's move on to the next step.
Tools You'll Need
Before you start tinkering with your sewing machine, gather your tools. You don't need a fancy toolkit for this. Just a few essentials will do the trick. Here's a list of what you'll need:
Read also:Feliz Dia De San Valentin Esposo A Love Story Thats All About You And Your Partner
- Screwdriver (Phillips or flathead, depending on your machine)
- Needle set
- Bobbin and bobbin case
- Scissors or thread cutter
- Cloth or test fabric
Pro tip: Keep a small container or organizer for all your sewing tools. Trust me, it'll save you a lot of frustration when you're in the middle of a project and can't find that tiny screwdriver.
Adjusting Tension Settings
Tension is one of the most common issues sewers face. If your tension isn't set correctly, your stitches will look uneven or even break. But don't panic! Adjusting tension is easier than you think.
Step-by-Step Guide
Follow these steps to adjust your sewing machine's tension:
- Start by setting your tension dial to the middle number (usually 4 or 5).
- Thread your machine and place a piece of test fabric under the presser foot.
- Sew a straight line and check the stitches. If they look uneven, adjust the tension dial slightly.
- Test again until you achieve the perfect stitch.
Remember, practice makes perfect. Don't be afraid to experiment with different tension settings until you find what works best for your fabric.
Setting Up Stitch Length and Width
Stitch length and width are crucial for different types of sewing projects. Whether you're working on a delicate chiffon dress or a sturdy denim jacket, getting the right stitch settings is essential.
How to Choose the Right Stitch
Here's a quick guide to help you choose the right stitch:
- Straight Stitch: Perfect for seams and topstitching.
- Zigzag Stitch: Great for stretching fabrics and preventing fraying.
- Buttonhole Stitch: Ideal for creating buttonholes.
When adjusting stitch length, keep in mind that longer stitches are better for heavier fabrics, while shorter stitches work best for lightweight materials.
Choosing the Right Needle
Believe it or not, your needle can make a big difference in your sewing results. Using the wrong needle can cause skipped stitches, broken threads, and even damage your fabric.
Needle Types and Sizes
Here's a breakdown of common needle types and sizes:
- Universal Needles: Great for most woven fabrics.
- Ballpoint Needles: Perfect for knits and stretchy fabrics.
- Leather Needles: Designed for sewing leather and vinyl.
As a general rule, use a smaller needle size for lightweight fabrics and a larger size for heavier fabrics.
Threading Your Machine Properly
Threading your sewing machine might seem simple, but it's a crucial step that can affect your sewing quality. If your machine isn't threaded correctly, you'll end up with uneven stitches or no stitches at all.
Threading Steps
Follow these steps to thread your sewing machine:
- Place the spool of thread on the spool pin.
- Guide the thread through the thread guide and tension dial.
- Pull the thread through the take-up lever and down to the needle.
- Thread the needle from front to back.
Pro tip: Always double-check your threading before starting a project. It only takes a few seconds and can save you a lot of headaches.
Bobbin Winding and Placement
The bobbin is the unsung hero of your sewing machine. Without it, your stitches wouldn't hold together. Properly winding and placing your bobbin is essential for smooth sewing.
How to Wind a Bobbin
Here's how to wind a bobbin:
- Place the spool of thread on the spool pin.
- Guide the thread through the bobbin winder tension.
- Insert the empty bobbin onto the bobbin winder.
- Hold the end of the thread and press the bobbin winder button to start winding.
Once your bobbin is wound, drop it into the bobbin case and thread it according to your machine's manual.
Using the Presser Foot
The presser foot is what holds your fabric in place while sewing. Choosing the right presser foot can make a huge difference in your sewing results.
Types of Presser Feet
Here are some common presser feet and their uses:
- Standard Foot: Great for general sewing.
- Zipper Foot: Ideal for installing zippers.
- Buttonhole Foot: Perfect for creating buttonholes.
Make sure to adjust the presser foot pressure according to your fabric type. Thicker fabrics may require more pressure, while lighter fabrics need less.
Common Issues and Fixes
Even the best sewing machines can have hiccups from time to time. Here are some common issues and how to fix them:
- Skipped Stitches: Check your needle and tension settings.
- Thread Breaking: Make sure your thread is properly threaded and not tangled.
- Uneven Stitches: Adjust your tension dial and test again.
Remember, patience is key when troubleshooting. Take your time to identify the problem and test your solutions before moving on.
Maintenance Tips for Longevity
To keep your sewing machine running smoothly, regular maintenance is a must. Here are some tips to help you keep your machine in top shape:
- Clean your machine regularly to remove lint and dust.
- Oil moving parts as recommended in your manual.
- Store your machine in a dry, dust-free area.
By following these tips, you'll ensure your sewing machine stays in great condition for years to come.
And there you have it, folks! A comprehensive guide to adjusting your sewing machine like a pro. Whether you're a beginner or an experienced sewer, these tips and tricks will help you tackle any sewing challenge with confidence. So go ahead, grab your machine, and start sewing!
Don't forget to share your thoughts in the comments below. What's your biggest sewing challenge? And if you found this guide helpful, be sure to share it with your fellow sewing enthusiasts. Happy sewing!
Fairy Girl Names That Will Make You Believe In Magic Bellabeat.com
How To Disinfect Barber Clippers: Your Ultimate Guide To Safety And Hygiene
Dani Cohn Nude: Debunking Myths And Understanding The Real Story

ᐈ como ajustar el hilo en la maquina de coser 2022 Top Máquinas de Coser

¿Cómo ajustar una imagen en Canva?
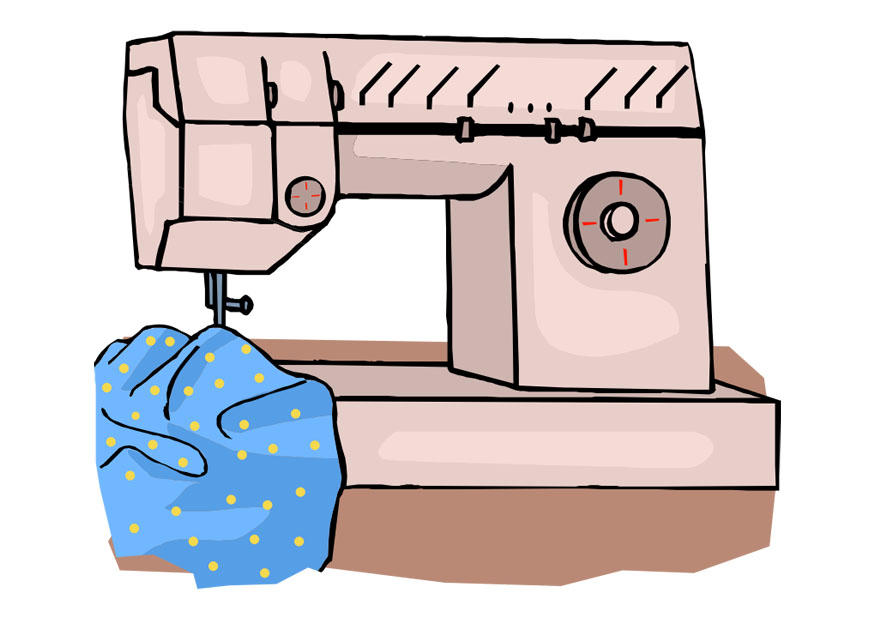
Imagen máquina de coser Imágenes Para Imprimir Gratis Img 30096
