How To Draw PS4: A Beginner’s Guide For Aspiring Artists
Alright, listen up, folks! If you’ve ever wondered how to draw PS4, you’ve landed in the right place. Whether you’re a gamer who wants to immortalize your favorite console or an artist looking to expand your portfolio, this guide will walk you through every step. Drawing a PS4 might sound intimidating, but trust me, it’s easier than beating the final boss in a tough video game. So, grab your pencil, eraser, and let’s dive in!
Now, before we get into the nitty-gritty details, let’s talk about why drawing a PS4 is such a cool project. The PlayStation 4 isn’t just a gaming console; it’s a piece of modern tech with sleek lines and a minimalist design. By learning how to draw it, you’re not only honing your artistic skills but also paying homage to one of the most iconic gaming devices of all time.
Here’s the deal: This guide is packed with tips, tricks, and step-by-step instructions to help you create a stunning PS4 drawing. We’ll cover everything from understanding the console’s structure to adding those finishing touches that make your artwork pop. So, without further ado, let’s get started!
Read also:How To Dry Fondant Quickly The Ultimate Guide For Cake Decorators
Table of Contents
- Understanding the PS4 Design
- Tools You’ll Need
- Step 1: Sketching the Base Shape
- Step 2: Adding Details
- Step 3: Perfecting the Proportions
- Step 4: Shading Techniques
- Step 5: Final Touches
- Pro Tips for Better Results
- Common Mistakes to Avoid
- Conclusion
Understanding the PS4 Design
Before we jump into drawing, it’s important to understand the PS4’s design. The console has a simple yet elegant shape with smooth curves and a flat surface. It’s like a rectangular box with a touch of futuristic flair. If you’re familiar with the PS4’s look, you’ll find it easier to replicate on paper.
Key Features to Focus On
- The rectangular body with rounded edges
- The vent slots on the top and back
- The disc drive slot
- The glossy finish
Pay attention to these details because they’ll give your drawing that authentic PS4 vibe. And hey, don’t stress if it doesn’t look perfect at first. Art is all about practice, right?
Tools You’ll Need
Let’s talk about the tools you’ll need for this project. You don’t have to break the bank to get started. Here’s a quick rundown:
- A good quality pencil (HB or 2B works great)
- An eraser (a kneaded eraser is ideal for precision)
- A ruler (optional, but helpful for straight lines)
- Sketch paper or a drawing pad
- Shading tools like blending stumps or cotton swabs
Pro tip: Keep your workspace clean and well-lit. Trust me, it makes a huge difference!
Step 1: Sketching the Base Shape
Alright, let’s start drawing! Begin by sketching the basic shape of the PS4. Think of it as a rectangle with slightly rounded corners. Take your time and make sure the proportions are correct. You can use a ruler if you’re worried about making the lines too wobbly.
Remember, this is just the foundation. Don’t worry if it’s not perfect yet. We’ll refine it in the next steps.
Read also:How To Cook Muffins Without A Muffin Pan The Ultimate Guide For Baking Enthusiasts
Why Proportions Matter
Proportions are crucial when drawing objects like the PS4. If the shape is off, your drawing won’t look realistic. A good trick is to compare the length and width of the console. The PS4 is about twice as long as it is wide, so keep that in mind as you sketch.
Step 2: Adding Details
Now that you’ve got the base shape down, it’s time to add some details. Start by drawing the vent slots on the top and back of the console. These are small, parallel lines that give the PS4 its signature look. Next, sketch the disc drive slot on the front. It’s a thin, horizontal line that adds depth to your drawing.
Don’t forget the power button! It’s a small circle near the top of the console. Adding these little details will make your drawing stand out.
Using Reference Images
It’s totally okay to use reference images while drawing. In fact, it’s a great way to ensure accuracy. Look for high-quality photos of the PS4 from different angles. This will help you understand how the console looks in various perspectives.
Step 3: Perfecting the Proportions
This step is all about refining your drawing. Take a closer look at the proportions and make any necessary adjustments. Are the vent slots evenly spaced? Is the disc drive slot aligned with the rest of the console? These small tweaks can make a big difference in the final result.
If you’re struggling with proportions, try using a grid method. Divide your paper into sections and compare them to a reference image. It’s like cheating, but in a good way!
Why Patience is Key
Drawing is all about patience and attention to detail. Don’t rush this step. Take your time to ensure everything looks just right. Trust me, your future self will thank you for it.
Step 4: Shading Techniques
Shading is where your drawing really comes to life. The PS4 has a glossy finish, so you’ll want to create that shiny effect. Start by lightly shading the areas that are furthest from the light source. Then, use a blending stump or cotton swab to smooth out the transitions.
For the glossy parts, leave some white spaces to represent highlights. These small touches will make your drawing look more realistic.
Common Shading Mistakes
Here are a few mistakes to avoid when shading:
- Over-shading: Too much shading can make your drawing look muddy.
- Ignoring highlights: Highlights are crucial for creating a glossy effect.
- Inconsistent pressure: Try to maintain a consistent pressure while shading.
Remember, practice makes perfect. If your shading doesn’t look great the first time, keep trying!
Step 5: Final Touches
Now that your drawing is almost complete, it’s time for the final touches. Go over the details one more time and make any last-minute adjustments. Add some texture to the vent slots and refine the edges of the disc drive slot. These small tweaks will elevate your artwork to the next level.
Finally, sign your masterpiece! You’ve put in the hard work, so don’t forget to take credit for it.
How to Frame Your Art
Once you’re happy with your drawing, consider framing it. A simple black frame can really make your PS4 artwork pop. Plus, it’s a great way to show off your skills to friends and family.
Pro Tips for Better Results
Here are a few pro tips to help you improve your PS4 drawing:
- Practice regularly to improve your skills
- Experiment with different shading techniques
- Study the PS4’s design closely to understand its features
- Use high-quality tools for better results
And most importantly, have fun! Drawing should be enjoyable, not stressful.
Common Mistakes to Avoid
Even the best artists make mistakes sometimes. Here are a few common ones to watch out for:
- Ignoring proportions: Always double-check your measurements
- Over-complicating details: Keep it simple and focus on the key features
- Forgetting highlights: They’re essential for creating a glossy effect
By avoiding these mistakes, you’ll be well on your way to creating a stunning PS4 drawing.
Conclusion
And there you have it, folks! You’ve learned how to draw PS4 step by step. From understanding the console’s design to adding those final touches, you’ve covered all the bases. Remember, practice is key. The more you draw, the better you’ll get.
So, what are you waiting for? Grab your pencil and start creating. And don’t forget to share your masterpiece with the world. Who knows? You might inspire others to pick up a pencil and try their hand at drawing.
Until next time, keep drawing and keep gaming!
Unveiling The Best Airbnb Missouri Has To Offer – Your Ultimate Guide
How To Get Rid Of Roblox Default Clothing: A Guide To Customize Your Avatar
Deer On Truck: A Unique Phenomenon That's Gaining Traction

Playstation, Coloring Supplies, Xbox Controller, Pencil And Paper
Best How To Draw A Ps4 The ultimate guide drawboy2
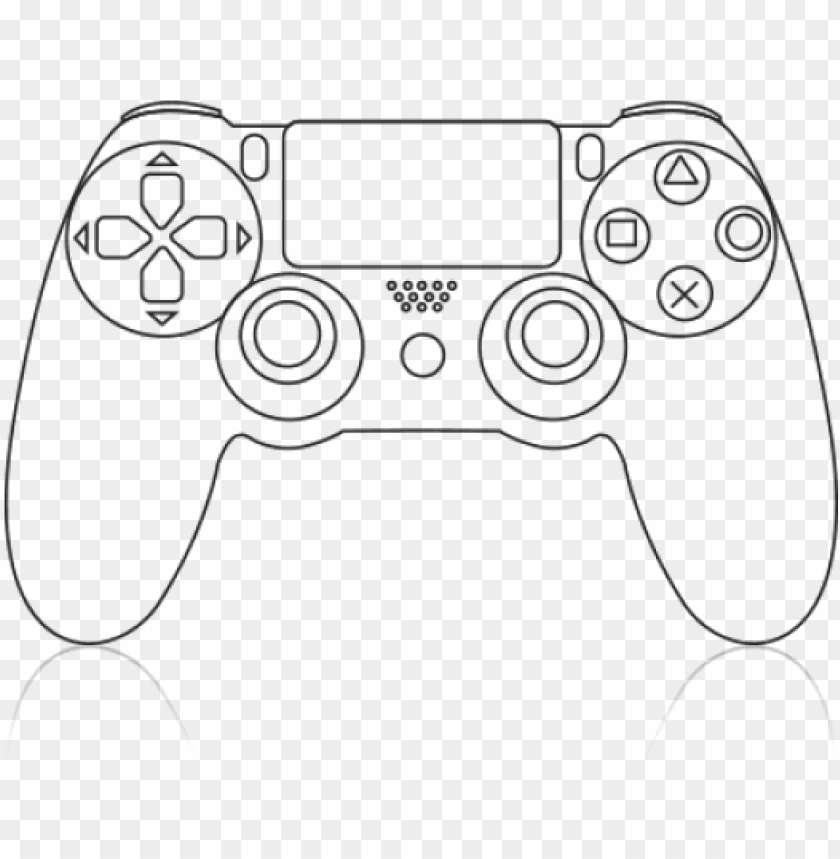
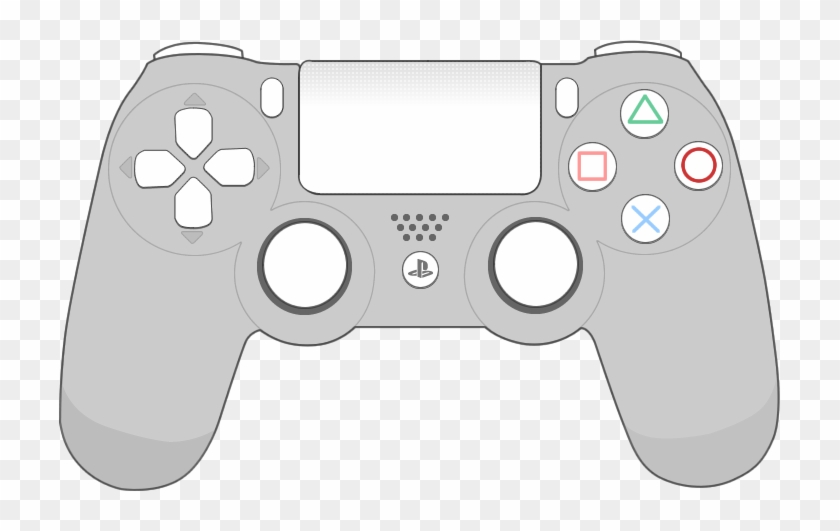
HOW TO DRAW PLAYSTATION CONTROLLER HOW TO DRAW A PS4 CONTROLLER
