How To Make A Minecraft Pool: The Ultimate Guide For Blockheads!
Building a Minecraft pool is one of the coolest ways to spice up your virtual world, and trust me, it’s easier than you think. Whether you’re a seasoned player or just starting out, creating a pool in Minecraft can transform your game experience. From relaxing by the water to hosting epic underwater parties, this guide will take you step-by-step through everything you need to know about crafting the perfect pool. So grab your blocks and let’s dive in!
Minecraft pools are not just about aesthetics; they add functionality and fun to your builds. Imagine swimming underwater with friends, or even building an underwater base complete with glass walls for a panoramic view. It’s all possible with a little creativity and the right tools. This guide is packed with tips, tricks, and ideas to help you create something truly unique.
Before we jump into the nitty-gritty, let’s set the scene. Pools in Minecraft aren’t just for looks—they can serve as cool water-based utilities or serve as a hub for your builds. Whether you’re looking to chill or challenge yourself with some advanced builds, we’ve got you covered. So, let’s splash into the details!
Read also:Why Dont You Say Repeat On The Radio The Story Behind The Hit
Why Build a Minecraft Pool?
Building a Minecraft pool might seem like a simple idea, but it offers so much more than meets the eye. First off, it adds a touch of realism to your world, making your builds feel more dynamic. Plus, it’s a great way to experiment with different materials and designs. Here’s why you should consider adding a pool to your Minecraft world:
- It enhances the visual appeal of your builds.
- You can experiment with water mechanics and physics.
- It provides a fun activity for multiplayer sessions.
- You can incorporate it into larger projects like beach houses or underwater cities.
So, whether you’re building for aesthetics or functionality, a Minecraft pool is a fantastic addition to your game.
Choosing the Right Location for Your Pool
Picking the perfect spot for your Minecraft pool is crucial. The location can affect everything from the design to the overall vibe of your build. Here are some factors to consider:
Terrain Matters
Flat terrain is ideal for beginners, but if you’re feeling adventurous, try building on a slope or near cliffs. This can give your pool a more natural look and feel. Plus, it opens up opportunities for creative designs like infinity pools or cascading waterfalls.
Near Water Sources
Building near natural water sources like rivers or oceans can save you time and effort. You won’t have to transport water buckets all the way from your base, and it adds an authentic touch to your build.
Accessibility
Make sure your pool is easy to access. Whether it’s next to your house or in a central location for multiplayer games, accessibility ensures that everyone can enjoy it.
Read also:Why Are My Beats Studio Pro So Quiet Unlock The Volume Mystery
Gathering Materials for Your Minecraft Pool
Before you start digging, you’ll need to gather the right materials. Here’s a quick rundown of what you’ll need:
- Water buckets
- Building blocks (stone, bricks, sandstone, etc.)
- Glass blocks for underwater viewing
- Stairs and slabs for aesthetic touches
Depending on your design, you might also want to gather additional materials like glowstone for lighting or seagrass for decoration.
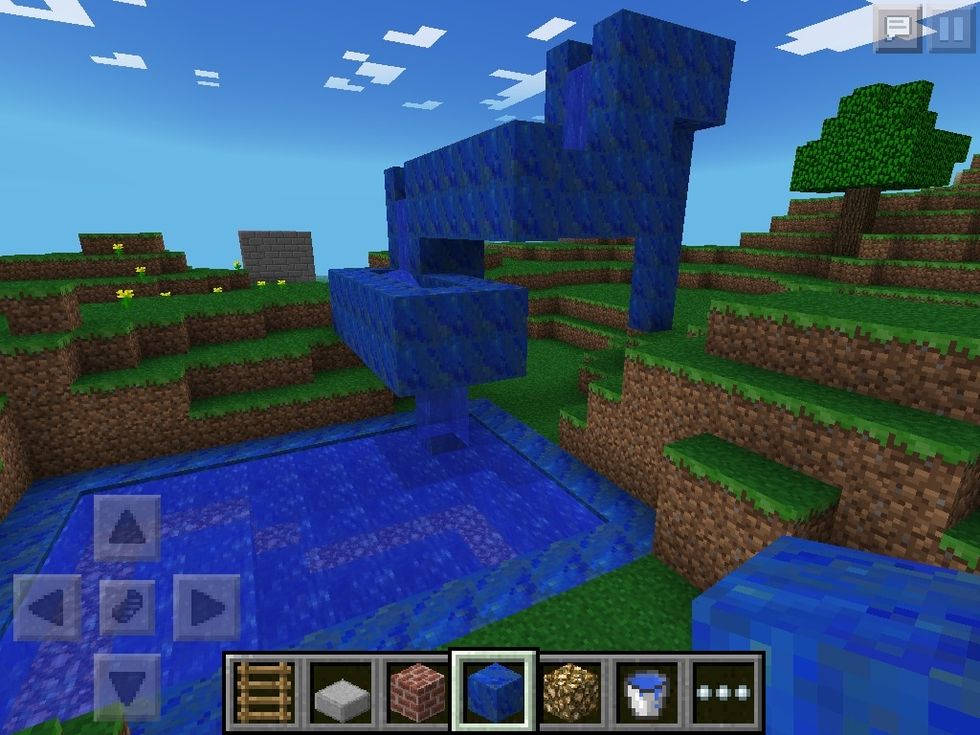
Step-by-Step Guide: How to Make a Minecraft Pool
Now that you’ve got your materials and location sorted, it’s time to get building. Follow these steps to create your dream Minecraft pool:
Step 1: Digging the Foundation
Start by digging a hole in the ground. The size and shape depend on your design, but a good starting point is 10x10 blocks. Make sure the edges are smooth and even.
Step 2: Lining the Pool
Use your building blocks to line the inside of the pool. This will prevent water from leaking out. You can use different materials to create texture and contrast.
Step 3: Adding Water
Fill your water buckets and place them strategically around the pool. Water will spread out automatically, so you won’t need to fill every single block.
Step 4: Decorating the Pool
Now’s the fun part—adding decorations! Use glass blocks for underwater windows, stairs for entry points, and plants like seagrass to bring life to your pool.
Design Ideas for Your Minecraft Pool
Once you’ve mastered the basics, it’s time to get creative. Here are some design ideas to inspire your next Minecraft pool:
Infinity Pool
Build your pool near a cliff or hillside to create an infinity effect. Use glass blocks on one side to give the illusion of water flowing into the horizon.
Underwater Base
Take your pool to the next level by building an underwater base. Use glass walls to let in light and create a stunning underwater view.
Beach House Pool
Combine your pool with a beach house build for a tropical vibe. Add palm trees, sand, and torches for a relaxing atmosphere.
Tips and Tricks for Building the Best Pool
Here are some pro tips to help you build the best Minecraft pool:
- Use symmetry for a polished look.
- Incorporate lighting for nighttime visibility.
- Experiment with different materials for texture.
- Keep it simple if you’re new to building.
Remember, the key to a great pool is attention to detail. Take your time and enjoy the process!
Common Mistakes to Avoid
Even the best builders make mistakes. Here are some common pitfalls to watch out for:
Forgetting to Seal the Pool
If you don’t seal your pool properly, water will leak out, ruining your build. Always double-check your lining before adding water.
Overcomplicating the Design
It’s easy to get carried away with designs, but sometimes simpler is better. Focus on functionality and aesthetics rather than trying to do too much.
Ignoring Lighting
Lighting is crucial, especially if you plan to use your pool at night. Make sure you add enough torches or glowstone to keep it well-lit.
Advanced Techniques for Experienced Players
If you’re ready to take your pool-building skills to the next level, here are some advanced techniques to try:
Waterfall Features
Add a waterfall to your pool for a dramatic effect. Use water buckets and blocks to create a cascading flow that feeds into your pool.
Underwater Redstone Contraptions
Get creative with redstone to create moving parts like automatic doors or water jets. It’s a great way to show off your skills.
Conclusion: Dive into Your New Minecraft Pool!
Building a Minecraft pool is a fantastic way to enhance your game and unleash your creativity. From simple designs to complex builds, there’s something for every type of player. Remember to choose the right location, gather the necessary materials, and take your time with the design. And most importantly, have fun!
So, what are you waiting for? Grab your tools and start building your dream pool today. Don’t forget to share your creations with the community and inspire others to join in on the fun.
Table of Contents
- Why Build a Minecraft Pool?
- Choosing the Right Location for Your Pool
- Gathering Materials for Your Minecraft Pool
- Step-by-Step Guide: How to Make a Minecraft Pool
- Design Ideas for Your Minecraft Pool
- Tips and Tricks for Building the Best Pool
- Common Mistakes to Avoid
- Advanced Techniques for Experienced Players
- Conclusion: Dive into Your New Minecraft Pool!
John Deere Pulley Diagram: Your Ultimate Guide To Understanding And Maintenance
How To Wash Out Hair Wax: The Ultimate Guide For Hair Wax Removal
How Old Are The Hamsters At PetSmart? A Comprehensive Guide For Hamster Lovers

How to Make a Pool in Minecraft 5 Steps (with Pictures) wikiHow

How to Make a Pool in Minecraft 5 Steps (with Pictures)
How to make a minecraft pool and slide B+C Guides
