How To Make Loom Band Keychain: A Fun And Easy DIY Guide For Everyone
Do you ever feel like crafting can be both relaxing and rewarding? Well, making a loom band keychain is one of those projects that’s perfect for beginners and pros alike! If you’ve been wondering how to make loom band keychains, you’re in the right place. In this guide, we’ll walk you through the process step by step so you can create stunning designs that are as unique as you are. Let’s dive in and get creative!
Creating loom band keychains has become a popular trend among crafters of all ages. These colorful accessories not only look amazing but also make great gifts for friends and family. Whether you’re a parent looking for a fun activity for your kids or an adult who loves DIY projects, loom band keychains are the perfect way to unleash your creativity.
What makes loom band keychains so special is the variety of patterns and designs you can create. From simple chains to intricate patterns, the possibilities are endless. Plus, they’re super affordable, making it easy to experiment with different styles without breaking the bank. So, if you’re ready to learn how to make loom band keychains, let’s get started!
Read also:What Is A Tapout Session Tattoo The Ultimate Guide For Ink Enthusiasts
Why Should You Learn How to Make Loom Band Keychains?
Before we jump into the nitty-gritty of crafting, let’s talk about why loom band keychains are such a cool project. First off, they’re incredibly versatile. You can customize them with your favorite colors and patterns, making each keychain unique. Plus, they’re lightweight and durable, which means they’ll last for a long time. If you’re someone who loves personalizing things, this project is definitely for you.
Another great reason to learn how to make loom band keychains is that it’s a great way to bond with others. Whether you’re crafting with your kids, siblings, or friends, it’s a fun and engaging activity that everyone can enjoy. Plus, it’s a great way to teach kids about colors, patterns, and problem-solving skills. Who knew crafting could be so educational?
Lastly, loom band keychains are a fantastic way to express your creativity. With so many different techniques and patterns to choose from, you’ll never run out of ideas. And the best part? You can always improve and experiment as you go along. So, if you’re ready to add some flair to your keys, let’s move on to the next section!
What You’ll Need to Get Started
Before we dive into the actual process of making loom band keychains, let’s talk about what you’ll need. Having the right tools and materials will make your crafting experience much smoother and more enjoyable. Here’s a quick list of everything you’ll need:
- Loom bands (various colors)
- A small loom or C-clip
- A keychain ring or metal clasp
- A hook or small crochet needle
- Scissors (optional)
These items are easy to find at most craft stores or online. If you’re just starting out, you might want to invest in a basic loom band kit, which usually comes with everything you need to get started. Once you have all your supplies, you’re ready to move on to the next step!
Step-by-Step Guide to Making a Loom Band Keychain
1. Choose Your Colors and Pattern
The first step in making a loom band keychain is deciding on your colors and pattern. This is where you can really let your creativity shine! You can go with a simple solid color or mix and match different shades to create something more intricate. Some popular patterns include chevrons, diamonds, and stripes. Don’t be afraid to experiment until you find a design that you love.
Read also:Dance Young Thug The Phenomenon Thatrsquos Taking The World By Storm
2. Set Up Your Loom or C-Clip
Once you’ve chosen your colors and pattern, it’s time to set up your loom or C-clip. If you’re using a loom, place it on a flat surface and make sure it’s stable. If you’re using a C-clip, hold it firmly in one hand while you work. This will make it easier to create your keychain without any hassle.
3. Start Looping Your Bands
Now comes the fun part – looping your bands! Start by placing your first band onto the loom or C-clip. Then, continue adding bands one by one, following your chosen pattern. Make sure each band is securely placed before moving on to the next one. This will ensure that your keychain stays together and doesn’t fall apart.
4. Secure the Ends
Once you’ve reached your desired length, it’s time to secure the ends of your keychain. To do this, use a hook or small crochet needle to weave the last band back through the first loop. This will create a strong connection that keeps everything in place. If you want, you can also add a small knot for extra security.
5. Attach the Keychain Ring
The final step is attaching the keychain ring or metal clasp. Simply thread it through the loops at one end of your keychain and secure it in place. And just like that, your loom band keychain is ready to go! Now, all you have to do is decide who gets to wear it first.
Common Mistakes to Avoid When Making Loom Band Keychains
While making loom band keychains is generally pretty straightforward, there are a few common mistakes that beginners often make. By being aware of these pitfalls, you can avoid them and create a flawless keychain every time. Here are some things to watch out for:
- Not securing the bands properly: Make sure each band is tightly secured before moving on to the next one. Loose bands can cause your keychain to fall apart.
- Using too many colors: While it’s tempting to use every color in the rainbow, too many colors can make your keychain look chaotic. Stick to a few complementary shades for a more polished look.
- Forgetting to measure the length: Before you finish your keychain, make sure it’s the right size. You don’t want it to be too short or too long for your keys.
By avoiding these common mistakes, you’ll be able to create beautiful loom band keychains that you’ll be proud to show off. Now, let’s move on to some advanced techniques!
Advanced Techniques for Making Loom Band Keychains
Once you’ve mastered the basics, you can start experimenting with more advanced techniques to take your keychain game to the next level. Here are a few ideas to try:
1. Add Beads for Extra Bling
If you want to add some sparkle to your keychain, consider incorporating beads into your design. You can use plastic or metal beads in various shapes and sizes to create interesting textures and patterns. Just make sure the beads fit snugly between the loom bands so they don’t fall out.
2. Experiment with Different Patterns
Now that you’ve got the hang of basic patterns, it’s time to try something more complex. Some popular advanced patterns include the fishtail, herringbone, and spiral. These patterns require a bit more patience and precision, but the results are definitely worth it!
3. Combine Multiple Keychains
Why stop at one keychain when you can make a whole set? By combining multiple keychains in different colors and patterns, you can create a unique and eye-catching accessory. Plus, it’s a great way to use up any leftover bands from previous projects.
Tips for Customizing Your Loom Band Keychains
One of the best things about loom band keychains is how customizable they are. Here are a few tips for making your keychains truly one-of-a-kind:
- Personalize with Initials: Use letter beads to spell out names or initials for a personalized touch.
- Match Your Style: Choose colors and patterns that reflect your personality or match your wardrobe.
- Make It Seasonal: Create keychains in holiday colors or themed patterns for a festive look.
With a little creativity, you can make loom band keychains that are as unique as you are. So, don’t be afraid to experiment and have fun with your designs!
How to Store and Care for Your Loom Band Keychains
Now that you’ve put in all that hard work, you’ll want to make sure your loom band keychains last as long as possible. Here are a few tips for storing and caring for your creations:
- Keep Them Dry: Loom bands are made from rubber, so they can degrade over time if exposed to moisture. Store your keychains in a dry place to prolong their lifespan.
- Avoid Extreme Heat: High temperatures can cause loom bands to melt or warp. Keep your keychains away from direct sunlight and heat sources.
- Store Separately: To prevent tangling, store each keychain in its own small bag or container. This will also make it easier to find the one you want when you need it.
By following these simple tips, you can ensure that your loom band keychains stay looking great for years to come.
Where to Find Inspiration for Your Next Loom Band Keychain Project
If you’re looking for inspiration for your next loom band keychain project, there are plenty of resources available. Here are a few ideas to get you started:
- Online Tutorials: Websites like YouTube and Pinterest are full of tutorials and pattern ideas for loom band keychains. You can find step-by-step guides for everything from basic patterns to advanced techniques.
- Crafting Communities: Joining online crafting communities or local crafting groups can be a great way to connect with other loom band enthusiasts. You can share tips, tricks, and inspiration with like-minded crafters.
- DIY Books: If you prefer a more hands-on approach, consider picking up a book on loom band crafting. Many books offer detailed instructions and pattern ideas to help you take your skills to the next level.
With so many resources available, you’ll never run out of ideas for your next project. So, keep exploring and see where your creativity takes you!
Conclusion: Start Crafting Your Own Loom Band Keychains Today!
And there you have it – everything you need to know about how to make loom band keychains! From choosing your colors and patterns to mastering advanced techniques, this guide has covered all the basics and beyond. Whether you’re a beginner or a seasoned crafter, loom band keychains are a fun and rewarding project that anyone can enjoy.
So, what are you waiting for? Grab your supplies and start crafting today! And don’t forget to share your creations with others. Who knows – you might just inspire someone else to give loom band crafting a try. Thanks for reading, and happy crafting!
Table of Contents
- Why Should You Learn How to Make Loom Band Keychains?
- What You’ll Need to Get Started
- Step-by-Step Guide to Making a Loom Band Keychain
- Common Mistakes to Avoid When Making Loom Band Keychains
- Advanced Techniques for Making Loom Band Keychains
- Tips for Customizing Your Loom Band Keychains
- How to Store and Care for Your Loom Band Keychains
- Where to Find Inspiration for Your Next Loom Band Keychain Project
- Conclusion: Start Crafting Your Own Loom Band Keychains Today!
How To Open Windows With Latches: A Comprehensive Guide For Everyday Heroes
Bad Blood Crowd Chant: The Phenomenon That’s Taking Over Stadiums
90s Hair With Bandana: A Fashion Throwback That's Making A Big Comeback
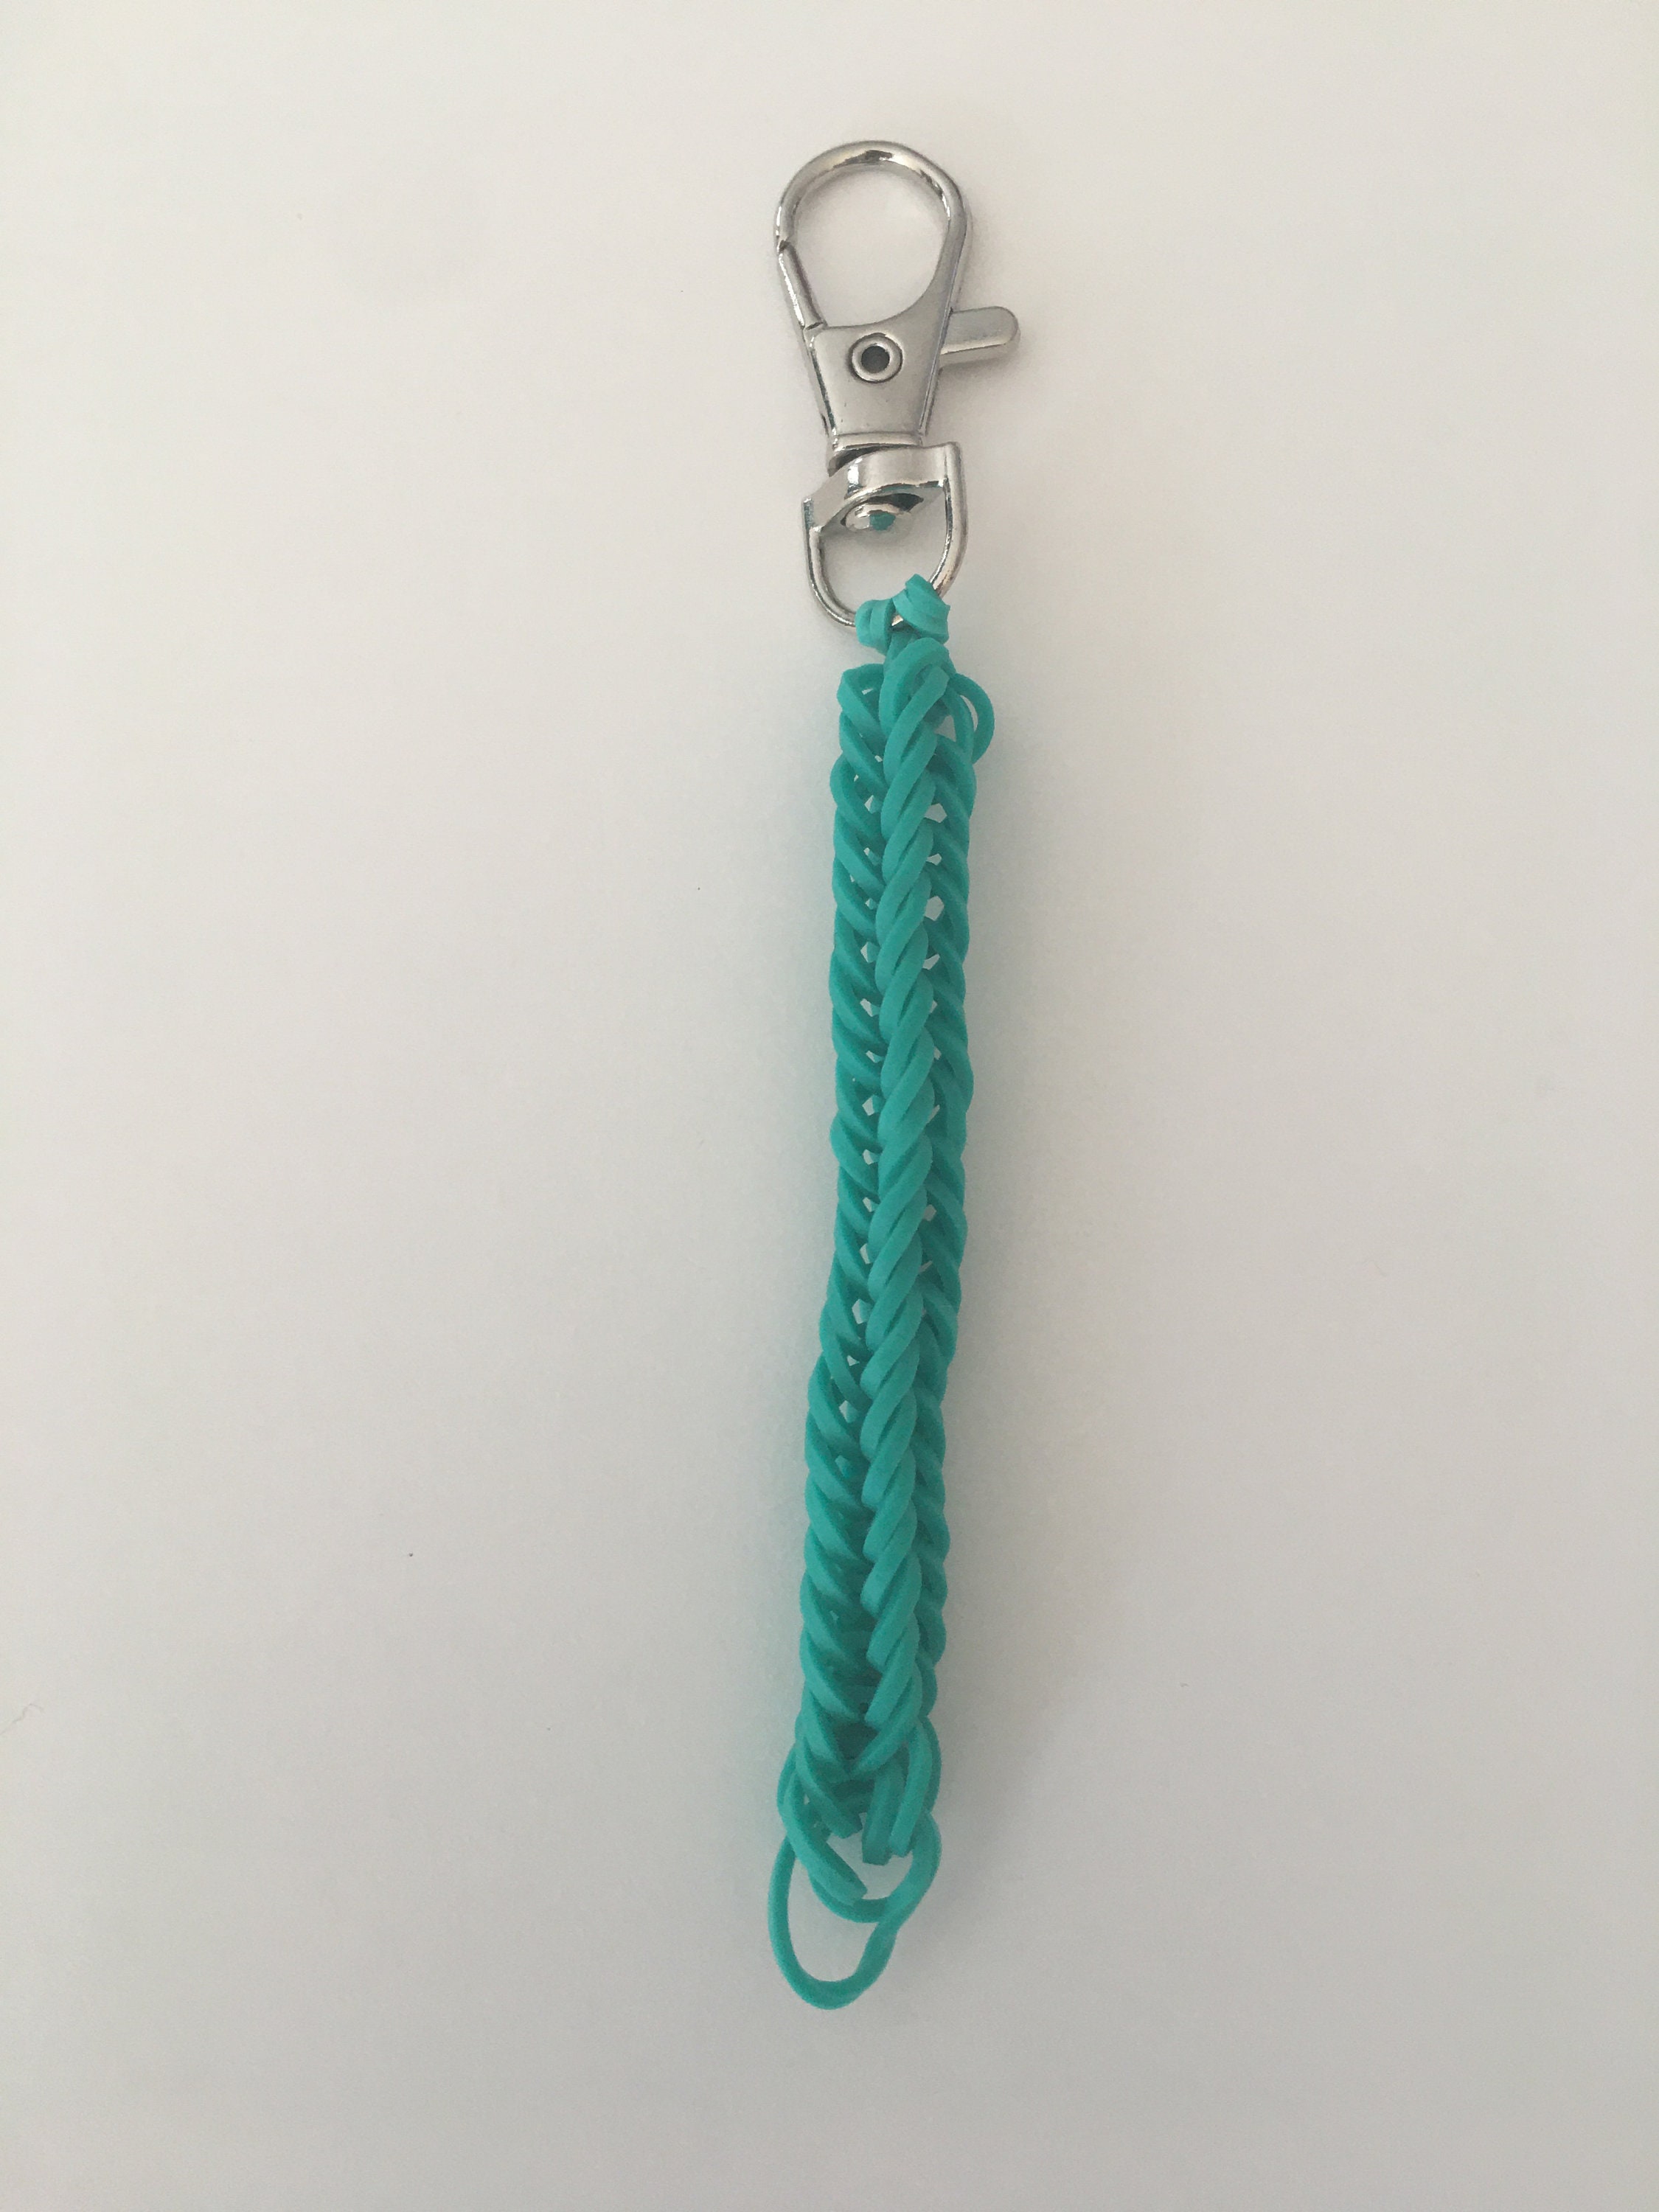
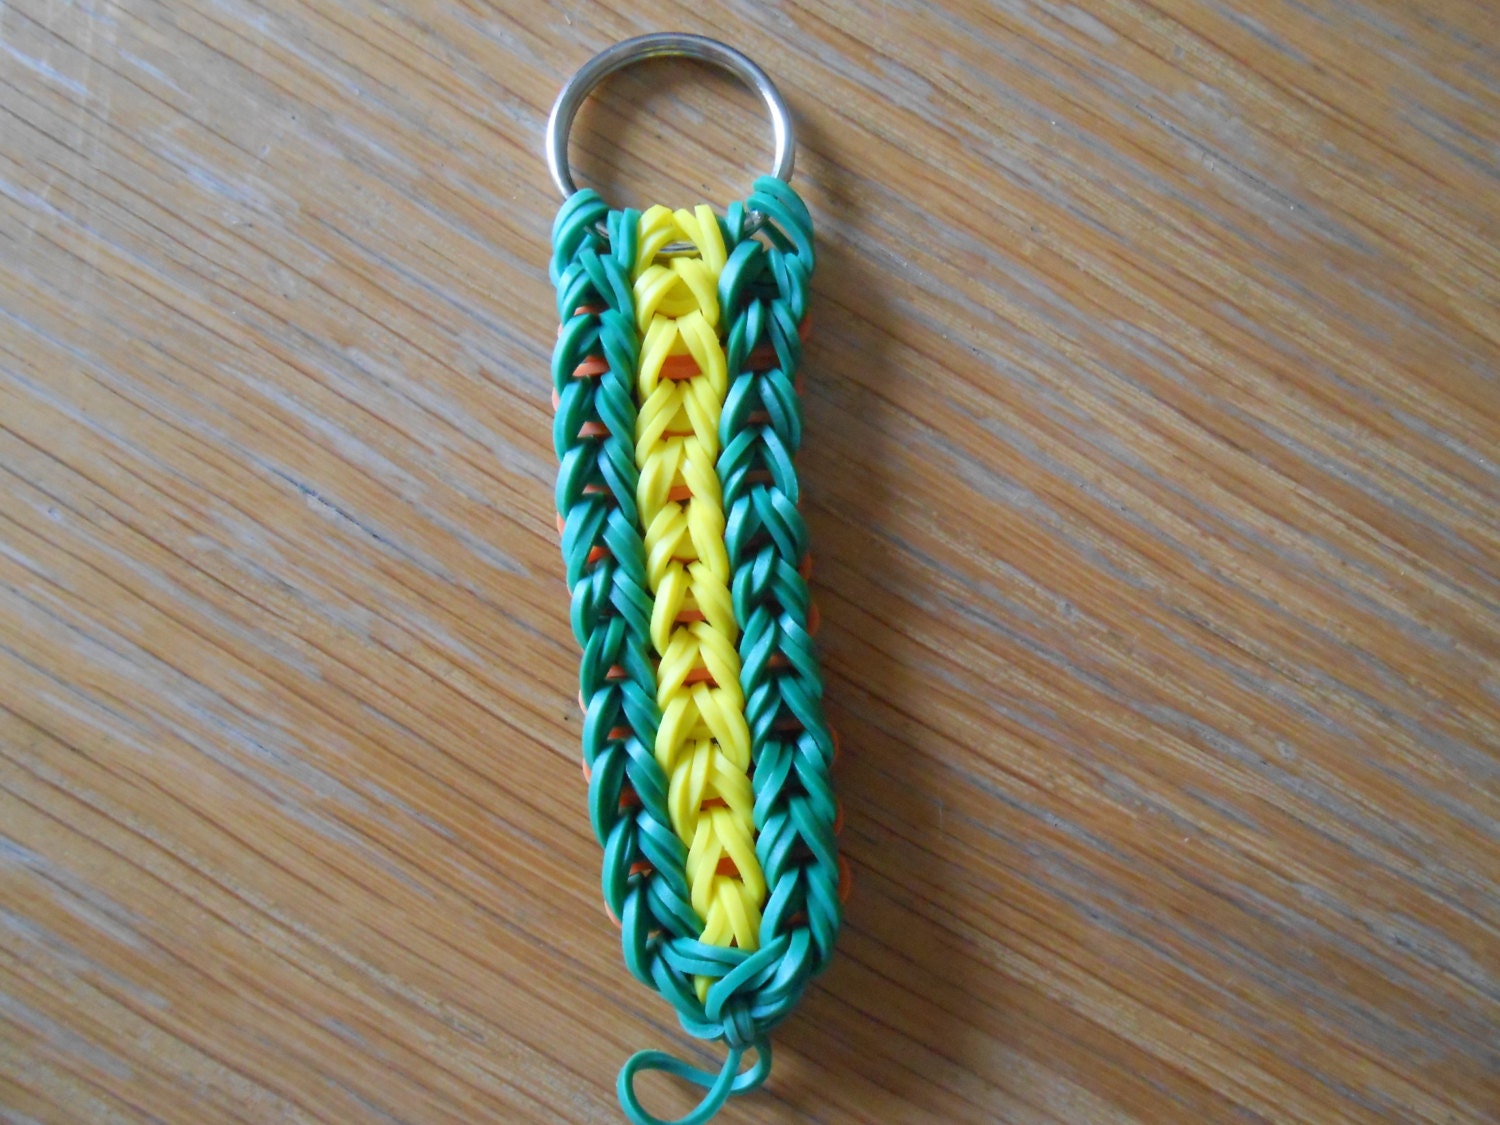
Custom Loom Band Keychain Fishtail Pattern (high Quality) Rainbow

Rainbow loom keychain Elastici
Rainbow Loom Rubber Band Keychain Backpack Tag by SashaMCrafts
