How To Take Apart A Dog Cage: The Ultimate Guide For Pet Owners
Ever wondered how to take apart a dog cage without turning it into a complete disaster? You’re not alone, my friend. Whether you're moving homes, cleaning, or storing the cage, dismantling it can be a tricky process if you don’t know what you're doing. But don’t sweat it—we’ve got your back! In this guide, we’ll break down step-by-step instructions on how to take apart a dog cage like a pro, no matter the size or type. So, grab a coffee, settle in, and let’s get started!
Taking apart a dog cage might seem like a breeze, but trust me, it’s one of those tasks that can spiral out of control if you don’t approach it the right way. From dealing with stubborn screws to figuring out which part goes where, there’s a lot to consider. This guide is here to simplify things for you, ensuring you save time, energy, and maybe even a few choice words when the going gets tough.
By the end of this article, you’ll not only know how to take apart a dog cage but also how to reassemble it like a champ. Plus, we’ll share some pro tips and tricks to make the process smoother than ever. So, whether you’re a seasoned pet owner or just starting out, this is the ultimate guide for you!
Read also:Unlocking The Secrets Of Number Infinity Craft A Deep Dive Into The Infinite World Of Creativity
Table of Contents
- Tools You’ll Need
- Types of Dog Cages and How They Differ
- Step-by-Step Guide to Dismantling a Dog Cage
- Common Issues and How to Fix Them
- Tips for Storing Your Dog Cage
- Safety First: Protecting Your Pup and Yourself
- Maintenance After Dismantling
- Frequently Asked Questions
- Final Thoughts
- Sources and References
Tools You’ll Need
Before diving into the nitty-gritty of dismantling your dog cage, let’s talk about the tools you’ll need. Having the right tools can make all the difference, turning a potentially frustrating task into a smooth and efficient process. Here’s what you’ll want to have on hand:
- A screwdriver (Phillips or flathead, depending on your cage)
- A pair of pliers (for stubborn screws or bolts)
- A rubber mallet (optional, but great for knocking loose parts)
- A soft cloth or towel (to protect surfaces and prevent scratches)
- A storage bag or container (for keeping small parts organized)
Having these tools ready will save you time and prevent unnecessary stress. Trust me, trying to dismantle a cage without the right tools is like trying to open a jar with your bare hands—it’s doable, but not ideal.
Types of Dog Cages and How They Differ
Not all dog cages are created equal, and understanding the type of cage you have is crucial when it comes to dismantling it. Here’s a quick breakdown of the most common types:
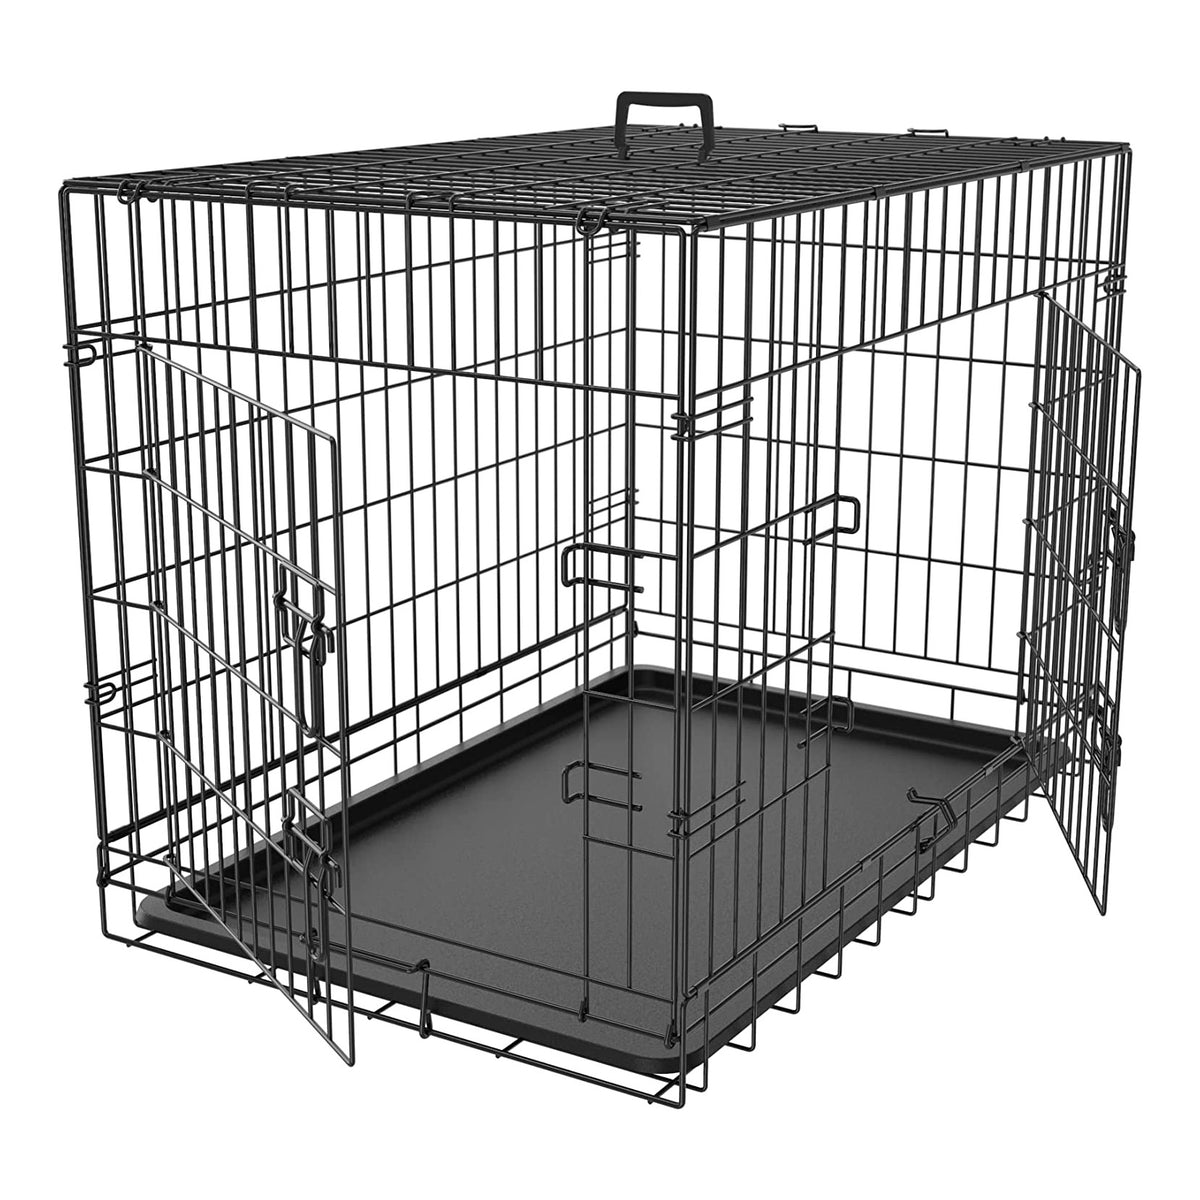
Wire Dog Cages
These are the classic cages you’ll find in most pet stores. They’re lightweight, easy to clean, and relatively simple to take apart. Most wire cages come with snap-together panels, making the process a breeze.
Plastic Dog Cages
Plastic cages are great for travel or small spaces, but they can be a bit trickier to dismantle. They often require screws or bolts to hold them together, so having a screwdriver handy is essential.
Crate Covers and Add-ons
Some cages come with additional features, like crate covers or divider panels. These can add complexity to the dismantling process, so make sure you understand how each component works.
Read also:8 Jumbo Knotless Braids The Ultimate Guide To This Stunning Hairstyle
Knowing your cage type will help you prepare for any challenges that might come your way. Plus, it’ll make you feel like a total dog-cage ninja!
Step-by-Step Guide to Dismantling a Dog Cage
Now that you’ve got your tools and know your cage type, let’s dive into the step-by-step process of taking apart a dog cage. Follow these instructions carefully, and you’ll be dismantling like a pro in no time.
Step 1: Clear the Area
Make sure the area around the cage is clear of any obstacles. You don’t want to trip over toys or bowls while you’re working. Trust me, it’s happened to the best of us.
Step 2: Remove Accessories
Take out any accessories, like water bowls, beds, or toys. This will give you more space to work and prevent damage to these items.
Step 3: Start with the Panels
If your cage has snap-together panels, start by unsnapping them one by one. If your cage uses screws or bolts, use your screwdriver or pliers to remove them carefully.
Step 4: Disassemble the Frame
Once the panels are removed, focus on the frame. Most cages have a simple design, so this part should be straightforward. Just remember to keep track of all the small parts!
Step 5: Store the Parts
Place all the dismantled parts into a storage bag or container. Label it if you’re planning to store it for a while. This will make reassembly much easier when the time comes.
And there you have it! A step-by-step guide to dismantling your dog cage. Easy, right?
Common Issues and How to Fix Them
Even the best-laid plans can hit a snag. Here are some common issues you might encounter while taking apart your dog cage, along with solutions to help you overcome them:
- Stuck Screws: Use a rubber mallet to gently tap the screw head, loosening it. If that doesn’t work, try WD-40 or another lubricant.
- Lost Parts: Double-check the area around the cage. If you still can’t find them, consider purchasing replacement parts from the manufacturer.
- Warped Panels: If your panels are warped, try gently bending them back into shape. If they’re too damaged, you might need to replace them.
These issues might seem daunting, but with a little patience and the right tools, you can tackle them head-on.
Tips for Storing Your Dog Cage
Once your cage is dismantled, it’s time to think about storage. Here are some tips to keep your cage in tip-top shape while it’s not in use:
- Use a storage bag or container to keep all the parts together.
- Label the bag or container with the cage type and size for easy reference.
- Store the cage in a cool, dry place to prevent rust or damage.
Proper storage will ensure your cage is ready to go whenever you need it.
Safety First: Protecting Your Pup and Yourself
When dismantling a dog cage, safety should always be your top priority. Here are a few tips to keep you and your furry friend safe:
- Ensure your dog is in a safe space while you work to prevent accidents.
- Wear gloves to protect your hands from sharp edges or rust.
- Use a soft cloth or towel to protect surfaces and prevent scratches.
By following these safety tips, you’ll ensure a smooth and injury-free dismantling process.
Maintenance After Dismantling
Once your cage is dismantled, it’s a great opportunity to give it a thorough cleaning and maintenance check. Here’s what you should do:
- Wipe down all the panels and frames with a mild detergent and water.
- Check for any signs of rust or damage and address them promptly.
- Apply a protective coating if necessary to extend the life of your cage.
A well-maintained cage will last longer and provide a comfortable space for your furry friend.
Frequently Asked Questions
Here are some common questions pet owners have about dismantling dog cages:
Q: Can I dismantle a dog cage without tools?
A: It depends on the cage type. Some cages have snap-together panels that can be taken apart by hand, while others require tools like screwdrivers or pliers.
Q: How often should I clean my dog cage?
A: It’s a good idea to clean your dog cage at least once a month to keep it fresh and hygienic.
Q: Can I store a dismantled dog cage outside?
A: While you can, it’s not recommended. Exposure to the elements can cause rust and damage, so it’s best to store your cage indoors.
Final Thoughts
Taking apart a dog cage might seem intimidating at first, but with the right tools, knowledge, and a bit of patience, it’s a task you can master in no time. From understanding the different types of cages to following a step-by-step guide, this article has provided you with all the information you need to dismantle your cage like a pro.
Remember, safety and maintenance are key to ensuring your cage lasts for years to come. And don’t forget to store your parts in a labeled bag or container to make reassembly a breeze.
So, what are you waiting for? Grab your tools, follow the steps, and get dismantling! And don’t forget to share your experience in the comments below or check out our other articles for more pet-related tips and tricks.
Sources and References
- PetMD: https://www.petmd.com/
- AKC: https://www.akc.org/
- ASPCA: https://www.aspca.org/
Croatian Toothpaste Bucket: The Ultimate Guide To Freshness And Style
Cilindro Rayado Moto: The Scoop On Scratched Motorcycle Cylinders
Level Up Your Style Game With Collar Para Vestido Rosa Palo
Dog Cage GotHobby
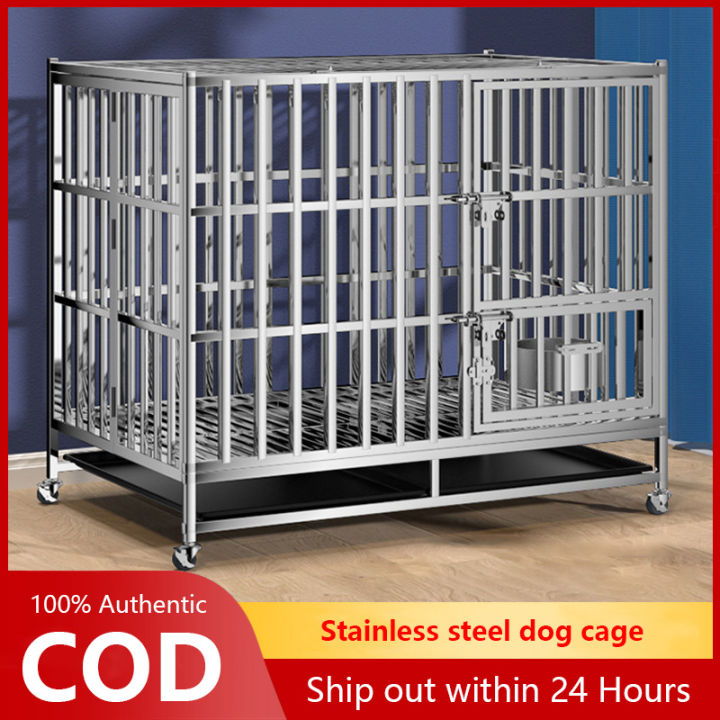
Stainless steel dog cage large dog medium dog with toilet household

Dog Cage Free CAD Drawings
