Crochet Oogie Boogie Hood: The Ultimate Guide To Crafting Adorable Masterpieces
So listen up, crafty friends, today we're diving deep into the world of crochet Oogie Boogie hoods. If you're a fan of Tim Burton's The Nightmare Before Christmas, you're probably already familiar with this iconic villain. But what if we told you that you can bring this spooky character to life through your crochet projects? That's right, folks, Oogie Boogie isn't just for the big screen anymore. Now, let's get our hooks ready and start crafting!
This guide is packed with everything you need to know about creating your very own Oogie Boogie-inspired hood. Whether you're a beginner or a seasoned crocheter, we've got tips, tricks, and tutorials to help you master this project. So grab your favorite yarn, sit back, and let's dive in.
By the end of this guide, you'll be rocking your very own Oogie Boogie masterpiece. Plus, we’ll share some insider tips to make sure your project turns out flawless every single time. Let’s make crafting fun again, shall we?
Read also:How To Say Moon In Greek A Deep Dive Into The Celestial Language
What is a Crochet Oogie Boogie Hood?
Alright, let's break it down. The crochet Oogie Boogie hood is essentially a wearable piece inspired by the villain from The Nightmare Before Christmas. It's a fun and quirky project that combines the art of crochet with pop culture. Think of it as a way to channel your inner artist while paying homage to one of the most memorable characters in movie history.
For those who aren't familiar, Oogie Boogie is a bug-filled sack of a character who loves to gamble and cause chaos. Translating that into a crochet project might sound challenging, but trust us, it's doable and super rewarding. With the right pattern, yarn, and technique, you can create a stunning piece that's perfect for cosplay, Halloween, or just casual wear.
Why Crochet an Oogie Boogie Hood?
Here's the deal, crafting isn't just about making stuff; it's about expressing yourself. When you crochet an Oogie Boogie hood, you're not just creating a piece of clothing; you're telling a story. Plus, it's a great way to show off your skills and creativity. Imagine walking into a party with your handmade Oogie Boogie hood and turning heads. That's the power of crafting, my friends.
Another reason to love this project? It's versatile. You can customize it to fit your style, whether you want a more detailed look or a simpler version. Plus, it's a fantastic conversation starter. People will be asking you all about it, and you can proudly say, "I made it myself!"
Benefits of Crocheting for Your Mental Health
Did you know that crocheting can actually be good for your mental health? Studies show that engaging in creative activities like crocheting can reduce stress, improve focus, and even boost your mood. So, while you're working on your Oogie Boogie hood, you're also doing your mind a favor. Win-win, right?
Getting Started: Materials You’ll Need
Before we jump into the nitty-gritty of crocheting, let's talk about the materials you'll need. Having the right tools and supplies can make all the difference in your project. Here's a quick list to get you started:
Read also:Dirty Chai Latte Vs Chai Latte The Ultimate Showdown For Coffee Lovers
- Yarn: Choose a yarn that matches the texture and color you want for your Oogie Boogie hood. Acrylic yarn is a popular choice because it's easy to work with and affordable.
- Crochet Hook: A size G or H hook is usually perfect for most patterns. However, you can adjust based on your yarn's label.
- Scissors: You'll need a good pair of scissors for cutting yarn and trimming any loose ends.
- Yarn Needle: This is essential for weaving in ends and securing your stitches.
- Stitch Markers: These little helpers will keep you on track as you work through your pattern.
Tips for Choosing the Right Yarn
When it comes to yarn, the options can be overwhelming. Here are a few tips to help you choose the right one for your Oogie Boogie hood:
- Consider the texture. You want something that feels good against the skin but also has a bit of texture to mimic Oogie's burlap-like appearance.
- Think about color. Oogie Boogie is typically depicted in earthy tones, so go for browns, greens, and yellows to stay true to the character.
- Don't forget about durability. Since this hood will likely see some action, make sure your yarn can hold up to wear and tear.
Understanding the Crochet Pattern
Now that you've got your materials ready, it's time to dive into the pattern. A good crochet pattern will walk you through each step of the process, from casting on to finishing touches. For the Oogie Boogie hood, you'll want to find a pattern that includes detailed instructions for shaping the hood and adding those signature details.
Here are a few things to look for in a good pattern:
- Clear Instructions: The pattern should be easy to follow, with each step clearly explained.
- Visual Aids: Photos or diagrams can be super helpful when you're working on complex parts of the hood.
- Stitch Guide: A glossary of stitches will ensure you're using the right techniques throughout your project.
Common Stitches Used in Crochet Projects
Let's talk about some of the common stitches you'll encounter in your Oogie Boogie hood project:
- Single Crochet: This is the most basic stitch and is used for creating a tight, dense fabric.
- Double Crochet: This stitch creates a looser fabric and is often used for larger projects.
- Half Double Crochet: A versatile stitch that falls somewhere between single and double crochet.
Step-by-Step Guide to Crocheting an Oogie Boogie Hood
Ready to get started? Here's a step-by-step guide to help you crochet your very own Oogie Boogie hood:
Step 1: Gather Your Materials
Make sure you have all your supplies ready before you start. This will save you time and frustration later on. Double-check your yarn colors and hook size to ensure everything matches your pattern.
Step 2: Cast On
Begin by casting on the number of stitches specified in your pattern. This will form the base of your hood. Take your time with this step, as it sets the foundation for the rest of your project.
Step 3: Work the Body of the Hood
Follow your pattern closely as you work on the main body of the hood. Pay attention to increases and decreases, as these will help shape the piece. Remember to use stitch markers to keep track of your progress.
Step 4: Add the Details
Once the main body is complete, it's time to add those signature Oogie Boogie details. This might include embroidery for the face or additional stitching for texture. Get creative and have fun with this step!
Step 5: Finish and Block
Finally, weave in any loose ends and give your hood a good blocking. This will help it keep its shape and look polished. Congratulations, you've just completed your very own Oogie Boogie hood!
Troubleshooting Common Issues
Let's face it, even the best crocheters run into issues from time to time. Here are a few common problems and how to fix them:
- Uneven Stitches: If your stitches are looking uneven, try adjusting your tension or switching to a different hook size.
- Pattern Mistakes: Don't panic if you make a mistake. Simply frog (rip out) the stitches and start again from the error.
- Loose Ends: Weave in those pesky ends as you go to avoid having to deal with them all at once at the end.
Expert Tips for Perfecting Your Crochet Oogie Boogie Hood
Here are a few expert tips to take your Oogie Boogie hood to the next level:
- Practice Stitches: Before starting your project, practice the stitches on a scrap piece of yarn. This will help you get comfortable with the techniques.
- Use Quality Materials: Investing in good quality yarn and hooks will make a big difference in the final product.
- Take Breaks: Crafting can be tiring, so don't forget to take breaks to rest your hands and eyes.
How to Add Personal Touches
One of the best things about crafting is the ability to add your own personal touches. Here are a few ideas to make your Oogie Boogie hood unique:
- Add some buttons or beads for extra detail.
- Experiment with different yarn textures for a more interesting look.
- Include a personal message or design on the inside of the hood.
Conclusion: Your Crochet Oogie Boogie Hood Journey
Well, there you have it, folks. A comprehensive guide to creating your very own crochet Oogie Boogie hood. Whether you're a seasoned crocheter or just starting out, this project is sure to be a fun and rewarding experience. Remember, the key to success is practice, patience, and a little bit of creativity.
Now it's your turn to take action. Grab your supplies, find a cozy spot, and start crafting. And don't forget to share your masterpiece with the world. Who knows, you might inspire someone else to pick up their crochet hook and join in on the fun.
Thanks for reading, and happy crafting!
Table of Contents
- What is a Crochet Oogie Boogie Hood?
- Why Crochet an Oogie Boogie Hood?
- Getting Started: Materials You’ll Need
- Understanding the Crochet Pattern
- Step-by-Step Guide to Crocheting an Oogie Boogie Hood
- Troubleshooting Common Issues
- Expert Tips for Perfecting Your Crochet Oogie Boogie Hood
- Conclusion: Your Crochet Oogie Boogie Hood Journey
Can Frenchies Have Bananas? The Ultimate Guide For Frenchie Owners
2.4G Vs Bluetooth: Which One Should You Choose?
Dadju Compliqué Lyrics: Breaking Down The Hit Song's Meaning And Story

You Can Crochet An Oogie Boogie Hood and It's So Cool, I Can't Believe
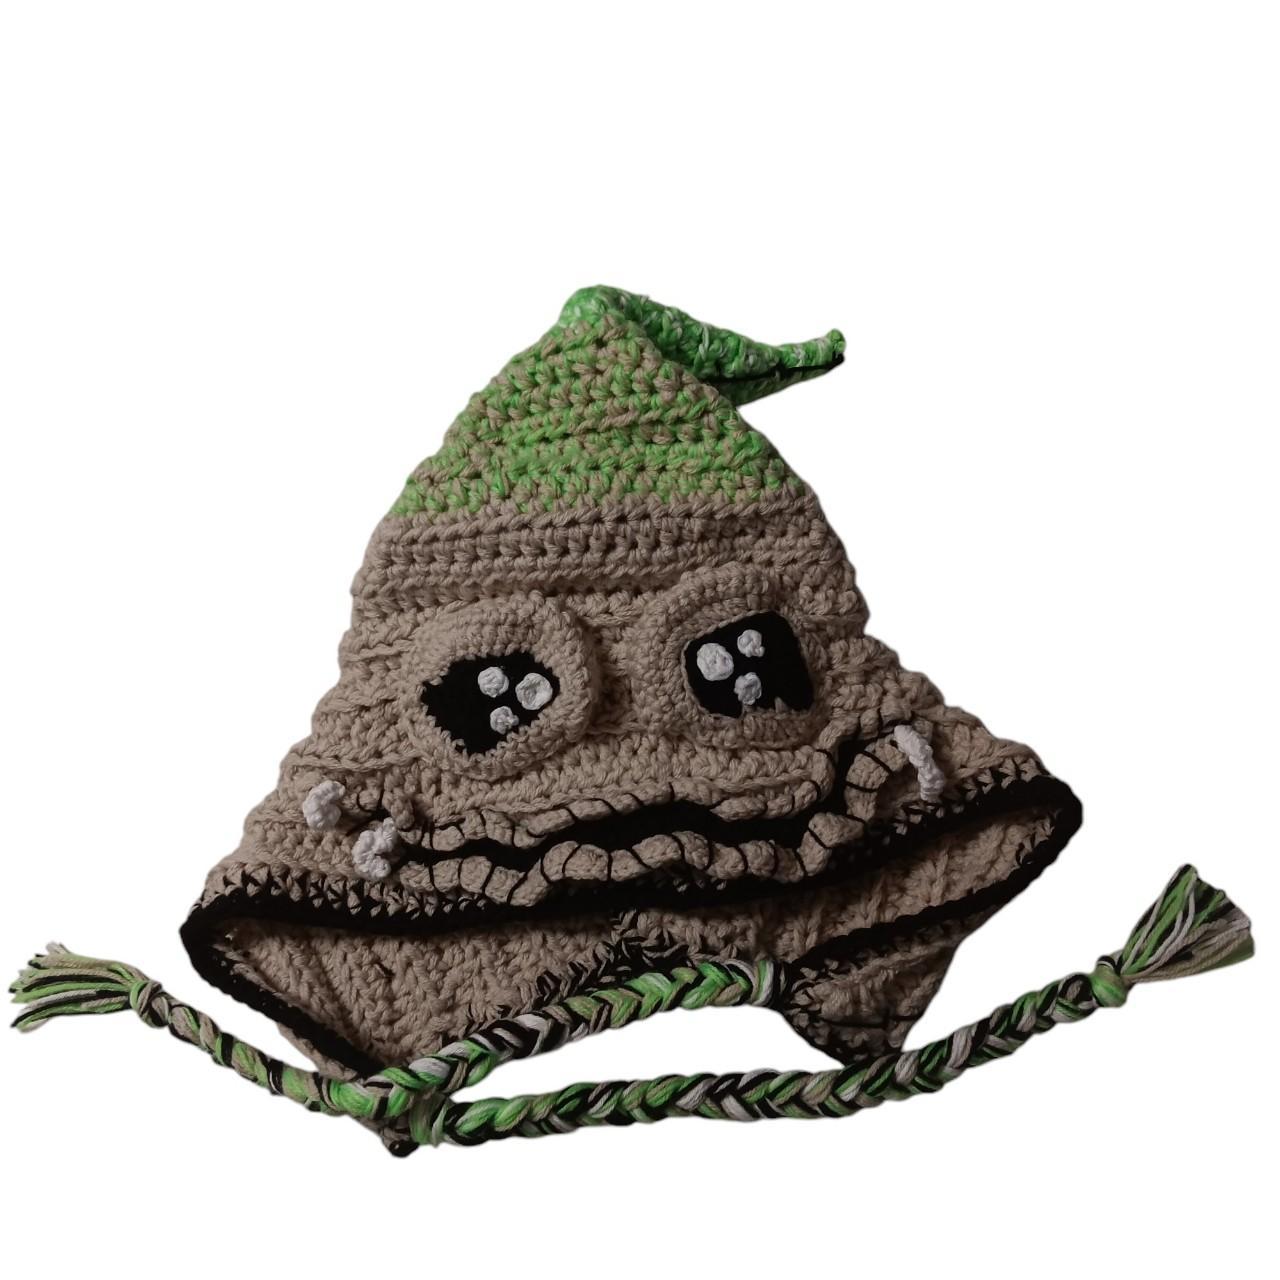
Oogie boogie crochet hood. Handmade, crochet. Made... Depop
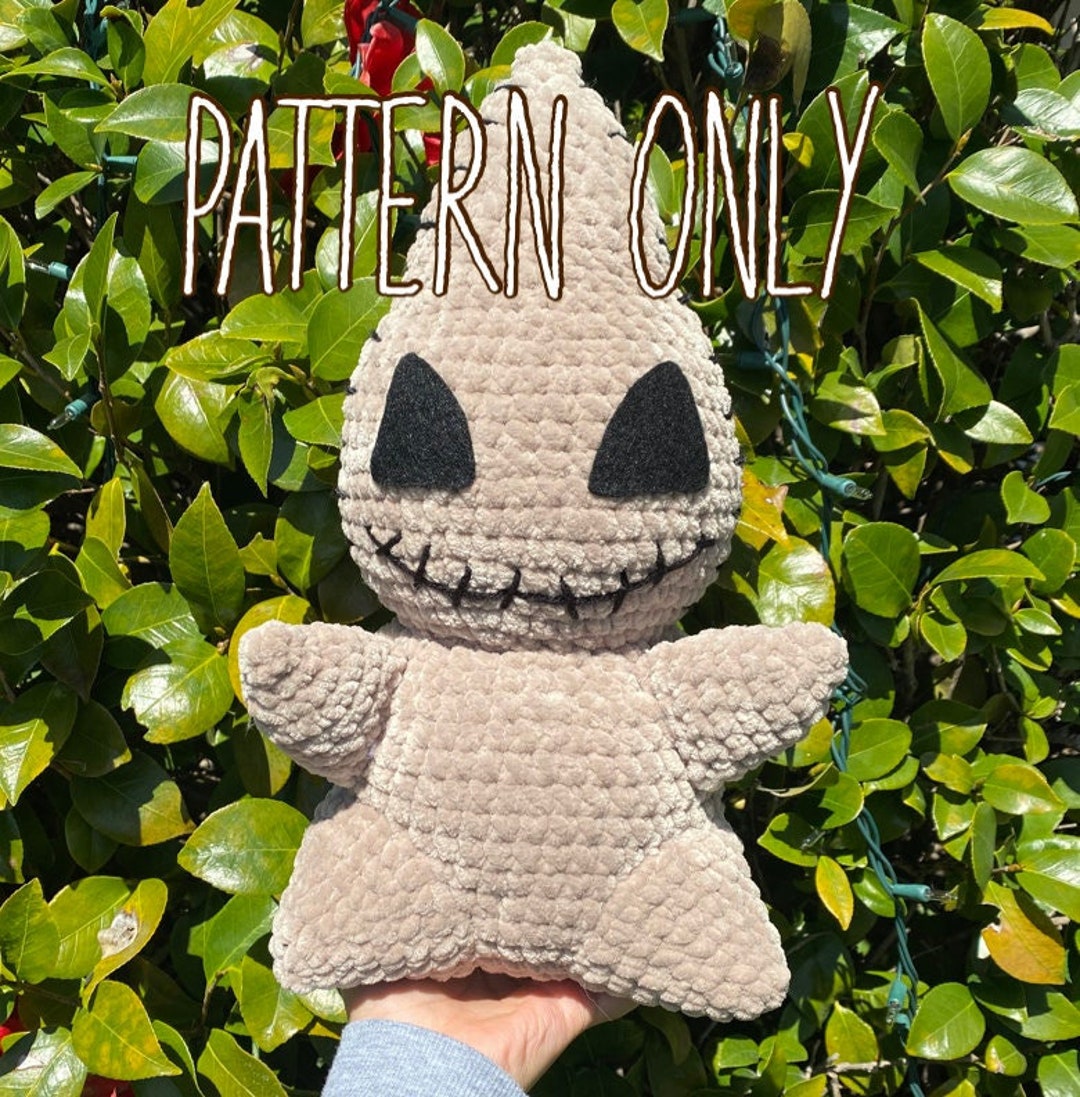
Oogie Boogie Crochet Pattern Etsy
