How To Hang A Frame With A Sawtooth Hanger Like A Pro
Sometimes life gives you lemons, but today we’re talkin’ about frames. Yeah, frames! Specifically, how to hang a frame with a sawtooth hanger without turning your wall into a disaster zone. Whether you're decorating your first apartment or upgrading your living space, this skill is a must-have. Let’s dive in and make sure you nail it—literally.
Hanging a frame might sound simple, but there’s more to it than just slapping it on the wall. A sawtooth hanger is one of the most common types of picture frame hardware, and it’s super versatile. But if you’ve ever tried hanging a frame and ended up with crooked art or holes in your wall, you’re not alone. This guide is here to save the day and your walls.
By the end of this article, you’ll feel like an expert who could hang anything from a tiny photo to a massive canvas without breaking a sweat. So, grab your tools (and maybe a snack), and let’s get started!
Read also:99 Cent Apple Charge Whats The Deal And Why You Need To Know
Table of Contents
- Understanding the Sawtooth Hanger
- Tools You’ll Need
- Choosing the Perfect Spot
- The Measuring Process
- Marking the Wall
- Drilling or Nailing?
- Hanging the Frame
- Pro Tips and Tricks
- Common Mistakes to Avoid
- Final Thoughts
Understanding the Sawtooth Hanger
First things first, let’s talk about what a sawtooth hanger even is. It’s basically a small metal strip attached to the back of your frame with two or more triangular “teeth” sticking out. These teeth are designed to rest on a nail or screw, making it easy to hang your frame securely.
Why is it called a sawtooth? Well, the teeth kinda look like the edge of a saw blade, hence the name. This type of hanger is perfect for lightweight frames, but don’t go trying to hang your grandma’s antique mirror with it—those need something sturdier.
Advantages of Sawtooth Hangers
Here’s why these little guys rock:
- They’re easy to use and don’t require fancy equipment.
- You can adjust the frame’s position easily after hanging.
- They’re great for temporary setups, like exhibitions or photo displays.
But hey, nothing’s perfect. Sawtooth hangers aren’t ideal for super heavy frames, and they can sometimes leave marks on the wall if you’re not careful. That’s why knowing how to hang them properly is key.
Tools You’ll Need
Now that you know what you’re dealing with, let’s talk tools. You don’t need a whole toolbox to hang a frame, but having the right stuff makes the job smoother. Here’s what you’ll need:
- A hammer (duh)
- Nails or picture-hanging hooks
- A measuring tape
- A pencil
- A level (optional but super helpful)
- Wall anchors (if you’re dealing with plaster or drywall)
Some people like to upgrade their game with a laser level or power drill, but those are optional. For most folks, the basics will do just fine.
Read also:Clay Heart Tray The Perfect Blend Of Art And Functionality
Choosing the Perfect Spot
Before you start hammering away, take a moment to decide where you want your frame to go. This is important because once that nail goes in, it’s not coming out without leaving a mark.
Things to Consider:
- Eye level: Most frames should be hung at eye level, which is around 57-60 inches from the floor.
- Balance: If you’re hanging multiple frames, think about how they’ll look together. Symmetry is your friend!
- Lighting: Make sure the frame will be visible and not hidden in a shadowy corner.
Oh, and avoid hanging frames above radiators or heat sources—they’ll warp over time. Trust me, you don’t want that.
The Measuring Process
Measuring is the most crucial part of this whole process. Skipping this step is like trying to bake a cake without a recipe—it’s gonna end badly.
Step 1: Measure the width of your frame. Let’s say it’s 24 inches wide.
Step 2: Find the center point of the sawtooth hanger. This is where the weight of the frame will balance.
Step 3: Measure from the top edge of the frame to the center of the hanger. This number tells you how far below the nail the top of the frame will sit.
For example, if your frame is 24 inches wide and the distance from the top to the hanger center is 3 inches, you’ll want to mark the wall 3 inches below where you want the top of the frame to be.
Measuring Tips
Use a level to ensure your marks are straight. Also, double-check your measurements before you start drilling or hammering. There’s nothing worse than realizing you made a mistake after the fact.
Marking the Wall
Once you’ve measured everything, it’s time to mark the wall. Grab that pencil and lightly sketch where your nail or hook will go. If you’re hanging multiple frames, mark all the spots at once to keep things organized.
If you’re worried about making a mess, you can use painter’s tape instead of a pencil. It’s removable and won’t leave residue on your walls.
What If You’re Not Sure?
If you’re unsure about your placement, try holding the frame up against the wall with some double-sided tape. This lets you see how it looks before committing to any holes.
Drilling or Nailing?
This is where the fun begins. Depending on your wall type, you might need to drill or simply hammer a nail. Here’s a quick guide:
- Wood Walls: Go ahead and hammer that nail right in. Easy peasy.
- Drywall: Use a wall anchor to prevent the nail from pulling out. You might need a drill for this step.
- Brick or Concrete: Break out the power drill and masonry bits. This one’s a bit more advanced, but totally doable.
Always check the weight capacity of your nails or hooks to make sure they can handle your frame. Overloading them is a recipe for disaster.
Pro Tip:
Tap the nail lightly at first to make sure it’s going in straight. Once it’s secure, you can hit it with a little more force.
Hanging the Frame
Alright, the moment of truth. Carefully place the sawtooth hanger over the nail or hook. Gently push the frame up until the hanger catches securely. If you’re using a level, now’s the time to check that your frame is straight.
Adjust the position as needed by sliding the frame left or right. One of the cool things about sawtooth hangers is that they allow for easy adjustments without having to remeasure or rehang.
Final Check:
Step back and admire your work. Does the frame look good? Is it level? If everything checks out, congrats! You’ve successfully hung a frame with a sawtooth hanger.
Pro Tips and Tricks
Here are some extra tips to take your hanging game to the next level:
- Use command strips for temporary or low-commitment hanging.
- Hang frames in groups for a gallery wall effect.
- Experiment with different frame orientations (horizontal vs. vertical).
- Consider the room’s color scheme when choosing frames.
And remember, practice makes perfect. The more you hang, the better you’ll get.
Common Mistakes to Avoid
Even pros make mistakes sometimes. Here are a few to watch out for:
- Skipping Measurements: Always measure twice, hang once.
- Using Weak Nails: Make sure your hardware can handle the weight of your frame.
- Ignoring Wall Type: Different walls require different methods. Don’t assume one size fits all.
- Not Using a Level: A crooked frame looks amateurish. Take the extra minute to check it.
By avoiding these pitfalls, you’ll save yourself a lot of frustration and potential damage to your walls.
Final Thoughts
Hanging a frame with a sawtooth hanger doesn’t have to be intimidating. With the right tools, techniques, and a bit of patience, you can transform any space into a gallery-worthy masterpiece.
Remember, the key is to measure carefully, choose the right spot, and use the appropriate hardware for your wall type. And don’t forget to have fun with it! Decorating your home should be an enjoyable experience, not a stressful one.
So, what are you waiting for? Grab your tools and start hanging those frames. And if you found this guide helpful, drop a comment below or share it with a friend. Happy decorating!
How To Edit Templates In CapCut: A Beginner's Guide For Aspiring Video Editors
How To Cut Cucumbers For A Veggie Tray: The Ultimate Guide
Can I Give My Dog Chicken Noodle Soup? The Ultimate Guide For Dog Owners
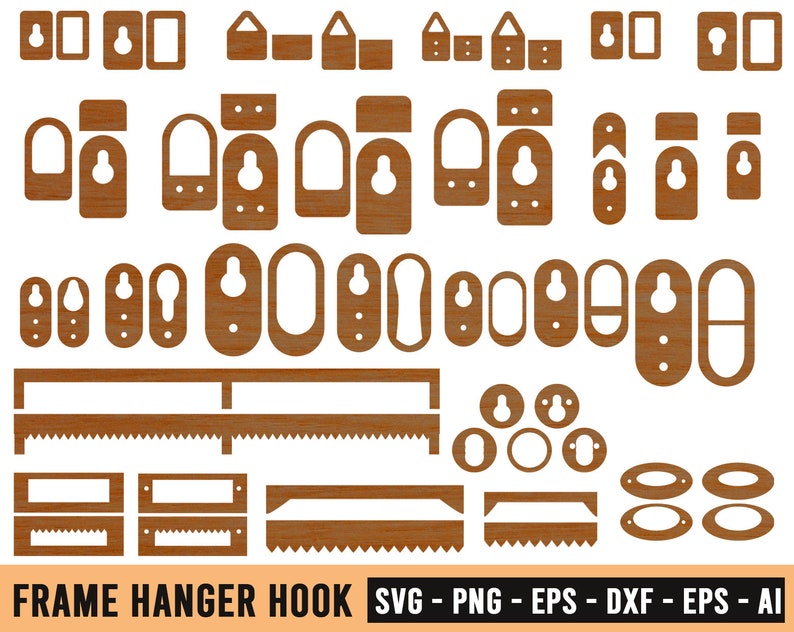
Photo Frame Hanger Laser Cut Frame Hangers Template Sawtooth Etsy
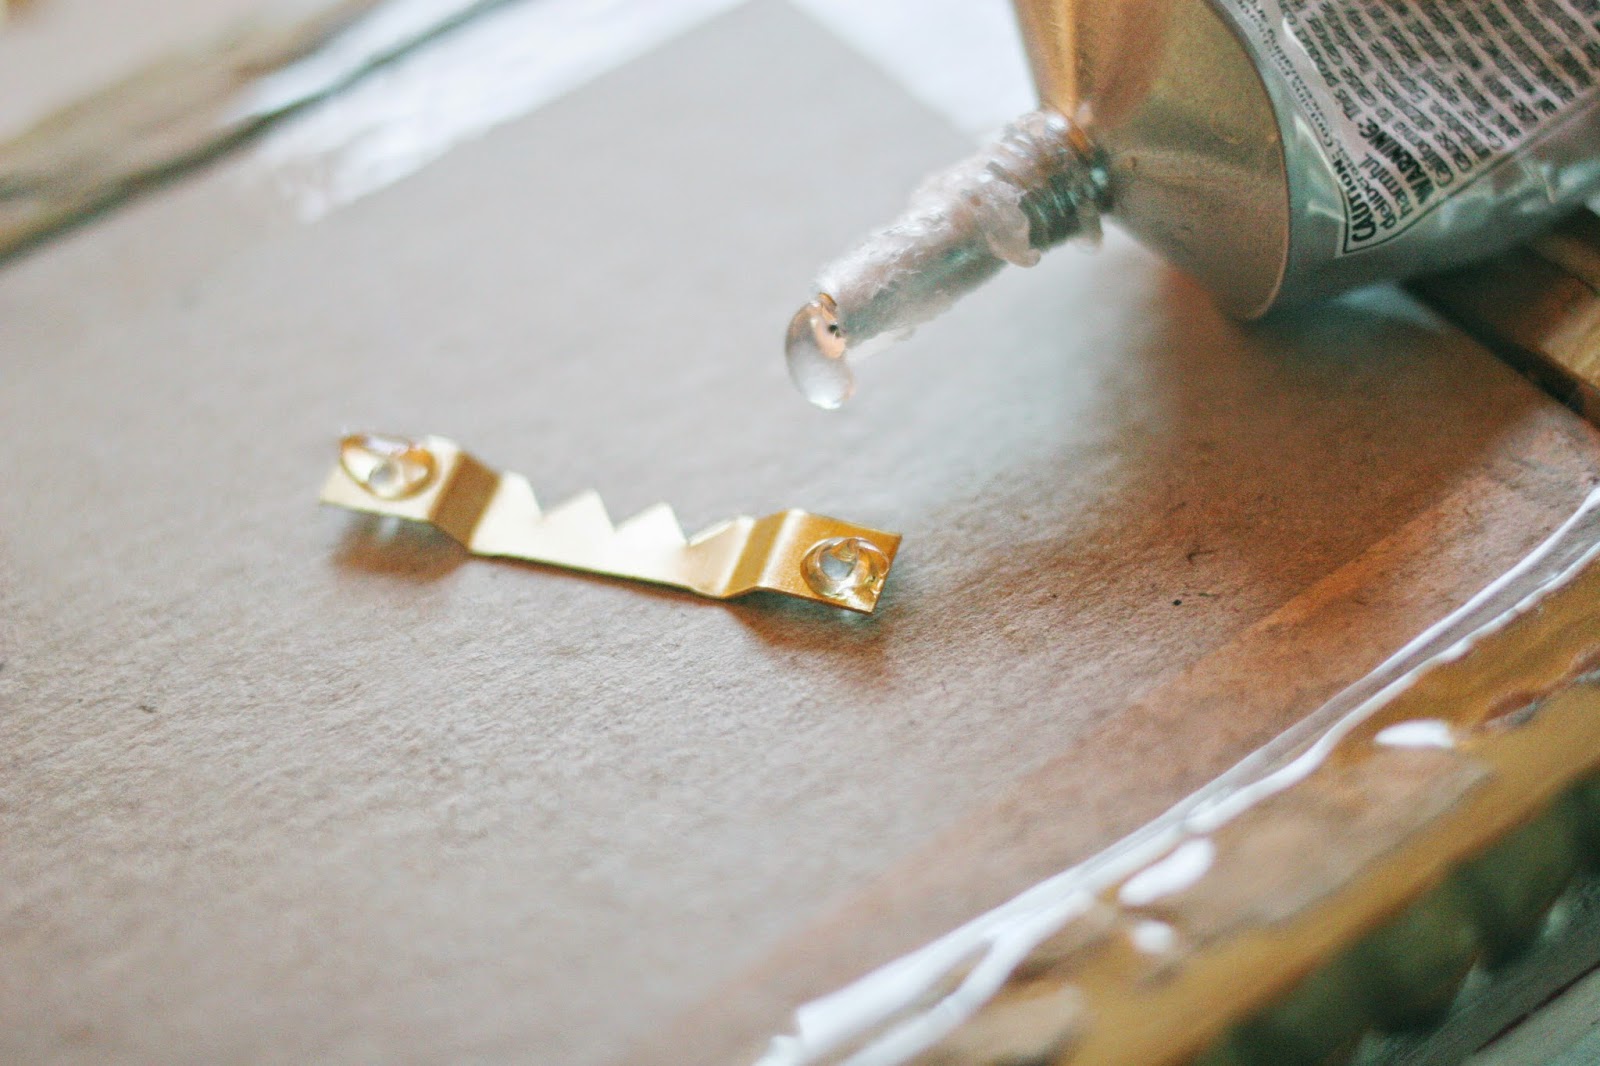
How to Attach a Hanger to a Plastic Frame Craftivity Designs
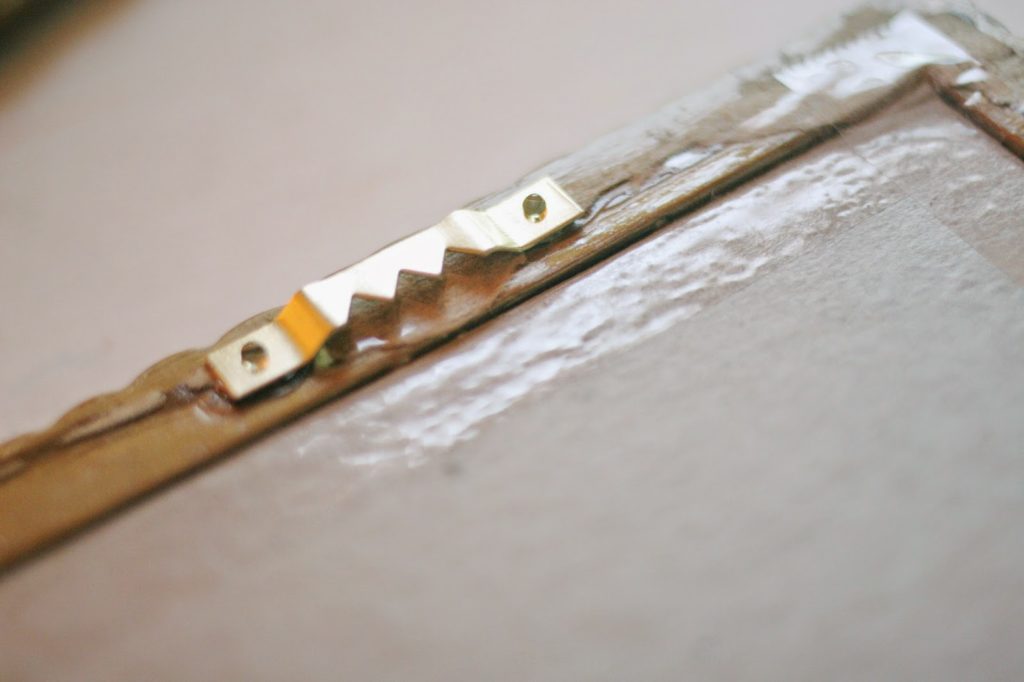
How to Attach a Hanger to a Plastic Frame Craftivity Designs
