How To Remove Diaper Genie Bag: The Ultimate Guide For New Parents
Removing a Diaper Genie bag might sound tricky, but don’t sweat it, buddy. Every parent has been there—staring at that little roll of poop-filled magic wondering how to get rid of it without making a mess. Whether you’re a first-timer or just need a refresher, this guide will walk you through the process step by step. Let’s face it, the Diaper Genie is a lifesaver, but when it’s time to clean up, things can get a little… stinky. So, let’s dive in and figure out how to remove that bag like a pro.
Let’s be real here, nobody wants to spend their precious time figuring out how to untangle a diaper genie bag from its holder. It’s like one of those puzzles you didn’t sign up for. But hey, don’t panic. With the right approach, you can have that bag off and ready for the trash in no time flat.
Before we get into the nitty-gritty details, let’s talk about why mastering this skill is important. Not only does it save you time, but it also keeps your house smelling fresh (or at least less terrible). And trust me, you’ll thank yourself later when diaper duty becomes second nature. So, grab your gloves, and let’s get started!
Read also:Alberto Reyes Blue Beetle The Rise Of A Hero
What You’ll Need to Remove the Diaper Genie Bag
First things first, let’s make sure you’re prepared. You don’t want to be fumbling around for supplies while dealing with the dreaded diaper genie. Here’s what you’ll need:
- Gloves – because nobody likes poop germs on their hands
- A new diaper genie refill bag – always good to have a spare ready
- A sturdy trash bag – for wrapping up the old bag once it’s out
- A spray bottle with water or cleaner – just in case things get messy
Now that you’ve got all your gear ready, it’s time to learn the ropes—or in this case, the bag. But don’t worry, we’ll break it down so it’s super easy to follow. No fancy tricks, just good old-fashioned common sense.
Step-by-Step Guide: How to Remove Diaper Genie Bag
Alright, so you’re ready to take on the challenge. Let’s walk through the process step by step. Remember, this isn’t rocket science, but it does require a bit of focus. Follow these steps carefully, and you’ll be good to go.
Step 1: Prep the Area
Before you start, make sure the area around the diaper genie is clear. You don’t want to accidentally knock over anything important while you’re wrestling with the bag. Clear the counter, grab your gloves, and get ready to roll.
Step 2: Twist and Lock
Now, here’s where the magic happens. Grab the handle of the diaper genie bag and twist it clockwise. You’ll hear a little click, which means the bag is locked in place. This is the first step in sealing the bag, so take your time and make sure it’s secure.
Step 3: Pull the Bag Out
Once the bag is twisted and locked, it’s time to pull it out. Hold the handle firmly and gently tug it upward. The bag should slide right out of the genie. If it doesn’t, don’t force it. Sometimes the bag can get stuck, so just give it a little wiggle until it comes loose.
Read also:Unveiling The Wolf Of Wall Street Leonardo Dicaprio And Matthew Mcconaugheys Iconic Scene
Step 4: Seal the Bag
Now that the bag is out, it’s time to seal it up tight. Use the twist ties that come with the diaper genie to secure the bag. Make sure it’s nice and tight so no nasty smells escape. You can also wrap it in a trash bag for extra protection.
Step 5: Dispose of the Bag
Once the bag is sealed, it’s time to toss it in the trash. Take it outside immediately if you can, or at least put it in a sealed trash can. The last thing you want is for that smell to linger in your house.
Troubleshooting Tips
Let’s face it, sometimes things don’t go as planned. Here are a few troubleshooting tips to help you out if you run into any issues:
- Bag Won’t Twist: If the bag won’t twist, try gently pulling it upward while twisting. Sometimes the bag can get stuck, so a little extra effort might be needed.
- Bag Tears: If the bag tears while you’re removing it, don’t panic. Just carefully transfer the contents to a new bag and seal it up tight.
- Smell Escapes: If you notice a smell escaping, double-check that the bag is properly sealed. You can also use a spray bottle with water or cleaner to neutralize any lingering odors.
Remember, practice makes perfect. The more you do this, the easier it’ll get. So don’t get discouraged if it takes a few tries to get it right.
Common Mistakes to Avoid
Here are a few common mistakes to avoid when removing a diaper genie bag:
- Rushing the process – take your time and do it right the first time
- Not sealing the bag properly – this can lead to leaks and nasty smells
- Forgetting to wear gloves – nobody likes poop germs on their hands
By avoiding these mistakes, you’ll make the process smoother and more efficient. Trust me, your future self will thank you for it.
Benefits of Proper Diaper Genie Bag Removal
So why is it so important to remove the diaper genie bag properly? Here are a few benefits:
- Keeps your house smelling fresh
- Prevents leaks and spills
- Saves you time in the long run
When you take the time to do it right, you’ll notice a big difference in how clean and fresh your home stays. Plus, it’s just one less thing to worry about as a parent.
Alternatives to the Diaper Genie
If you’re not a fan of the diaper genie, there are a few alternatives you can consider:
- Pail-style diaper disposal systems
- Biodegradable diaper bags
- Reusable cloth diapers
Each option has its pros and cons, so it’s worth doing a little research to see what works best for you. But if you’re already invested in the diaper genie, mastering the removal process is definitely worth it.
Final Thoughts and Call to Action
Well, there you have it—the ultimate guide to removing a diaper genie bag. It might seem intimidating at first, but with a little practice, you’ll be a pro in no time. Remember, the key is to take your time, use the right tools, and don’t forget to wear gloves!
Now it’s your turn. Try out these tips and let us know how it goes. Leave a comment below and share your experience with the community. And if you found this guide helpful, be sure to share it with your fellow parents. Together, we can make diaper duty a little less daunting!
References
For more information on diaper disposal systems and parenting tips, check out these trusted sources:
- Consumer Reports – Diaper Disposal System Reviews
- American Academy of Pediatrics – Parenting Resources
- Parents Magazine – Diaper Genie Tips and Tricks
Stay informed, stay prepared, and most importantly, stay calm. You’ve got this, buddy!
Table of Contents
- What You’ll Need to Remove the Diaper Genie Bag
- Step-by-Step Guide: How to Remove Diaper Genie Bag
- Step 1: Prep the Area
- Step 2: Twist and Lock
- Step 3: Pull the Bag Out
- Step 4: Seal the Bag
- Step 5: Dispose of the Bag
- Troubleshooting Tips
- Common Mistakes to Avoid
- Benefits of Proper Diaper Genie Bag Removal
- Alternatives to the Diaper Genie
- Final Thoughts and Call to Action
- References
Unleashing Your Inner Glow: Colores Para Pelo De Mujer Trends You Need To Know
How To Draw A Witch Hat: A Spooky, Step-by-Step Guide For All Skill Levels
How To Crochet With Rubber Bands: A Fun And Unique Crafting Experience

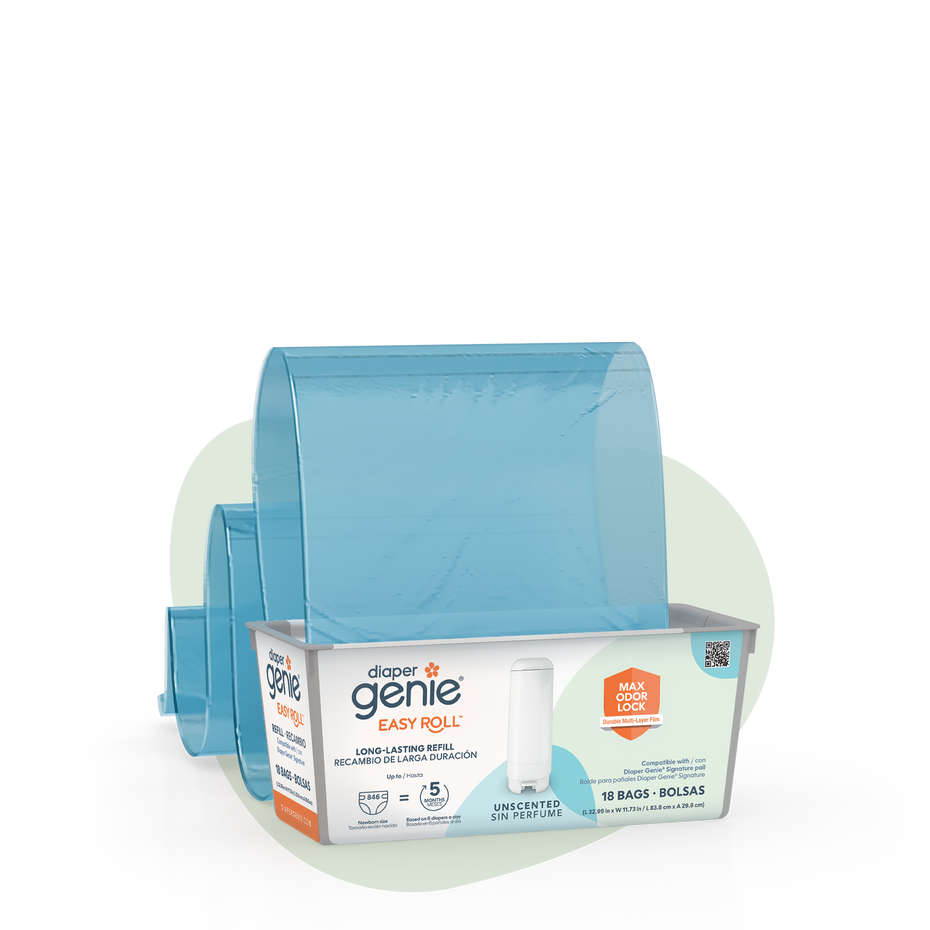
Diaper Genie® Portable Diaper Bag Refill diapergenie

Accessories diapergenie
Refills diapergenie
