How To Remove Arlo Camera From Mount: A Comprehensive Guide
Let’s face it—Arlo cameras are awesome, but sometimes you just need to take them down. Whether you're moving, upgrading, or simply rearranging your setup, knowing how to remove an Arlo camera from its mount is crucial. Don’t worry; it’s not as complicated as it seems. In this guide, we’ll walk you through the process step by step so you can get the job done effortlessly.
Removing an Arlo camera doesn’t have to be a headache. With the right approach and a little bit of know-how, you’ll be able to detach that baby without damaging anything. This guide isn’t just about pulling the camera off—it’s also about ensuring your equipment stays in pristine condition for future use.
We’ve all been there—staring at the manual, scratching our heads, and wondering if we’re doing it right. Well, guess what? You’re in the right place. We’re about to break it all down for you, so grab your tools (if needed), and let’s get to work!
Read also:Houseplants That Thrive Indoors Transform Your Space Into A Green Paradise
Why Would You Want to Remove an Arlo Camera?
Before we dive into the nitty-gritty, let’s talk about why you’d want to remove your Arlo camera from its mount in the first place. It might seem like a no-brainer, but understanding the reasons can help you plan the process better.
- Relocation: Maybe you’re moving to a new home or office and need to bring your security system along.
- Upgrades: Technology evolves, and you might want to upgrade to a newer model.
- Maintenance: Regular cleaning or battery replacement requires you to detach the camera.
- Reconfiguration: Changing the camera’s angle or position for better coverage.
Whatever your reason may be, knowing the proper way to remove your Arlo camera is essential to avoid any potential damage.
Tools You’ll Need to Remove Arlo Camera from Mount
Now that we’ve covered the basics, let’s talk about what you’ll need to get the job done. Most of the time, you won’t need any fancy tools, but here’s a quick checklist:
- A Phillips screwdriver: For removing screws if your mount requires it.
- A pair of gloves: To protect your hands and keep the camera clean.
- A soft cloth: For wiping down the camera and mount after removal.
Pro tip: If your Arlo camera uses adhesive mounts, you might need a putty knife or something similar to gently pry it off without causing damage.
Step-by-Step Guide: How to Remove Arlo Camera from Mount
Alright, let’s get down to business. Follow these steps carefully to ensure a smooth removal process:
1. Turn Off the Camera
Before you start tinkering with your Arlo camera, make sure it’s turned off. This will prevent any accidental recordings or data loss. You can usually power it down using the power button or by unplugging it if it’s wired.
Read also:Where Can I Watch Five Nights At Freddys For Free The Ultimate Guide
2. Detach the Power Cable
If your Arlo camera is wired, the first thing you’ll want to do is detach the power cable. This ensures safety and prevents any electrical mishaps. Just gently unplug it from the camera and set it aside.
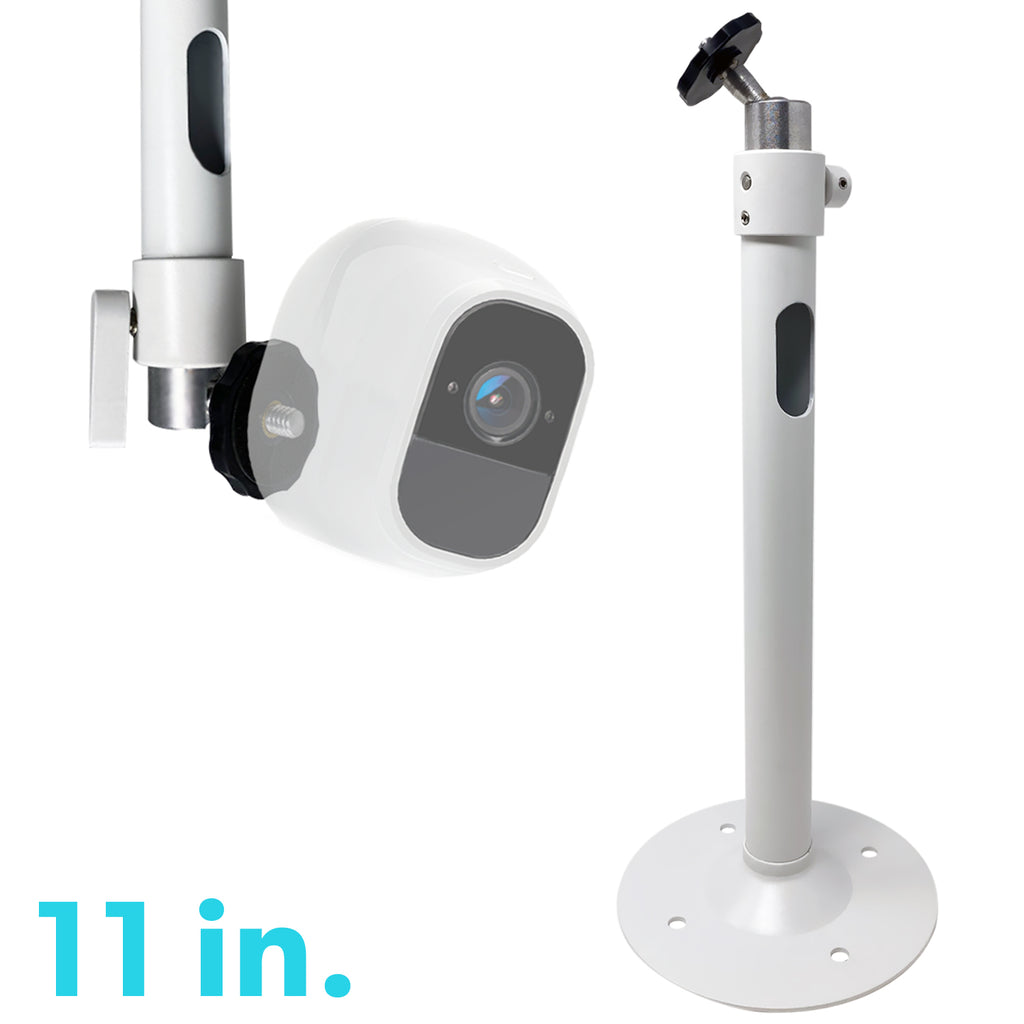
3. Unscrew the Mount (If Applicable)
Some Arlo mounts are secured with screws. If this is the case for yours, use a Phillips screwdriver to carefully unscrew them. Be gentle to avoid stripping the screws or damaging the mount.
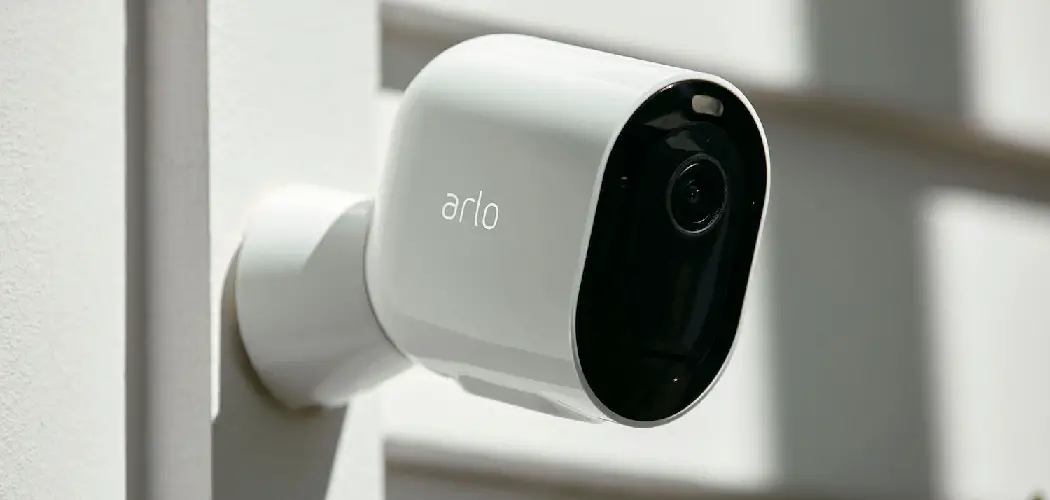
4. Release the Camera from the Bracket
Most Arlo cameras snap into their brackets. To remove the camera, simply press the release button (if there is one) and gently pull the camera away from the bracket. If there’s no release button, you might need to twist the camera slightly to unlock it.
5. Clean the Mount and Camera
Once the camera is detached, take a moment to clean both the mount and the camera. Use a soft cloth to wipe away any dust or debris. If the mount was attached with adhesive, you might need to clean the surface with rubbing alcohol to remove any residue.
Troubleshooting Common Issues
Even with the best intentions, things can go wrong. Here are some common issues you might encounter and how to fix them:
- Stuck Camera: If the camera won’t budge, try wiggling it gently or checking for any obstructions.
- Adhesive Residue: Use rubbing alcohol and a clean cloth to remove any sticky residue left behind.
- Loose Screws: If the screws are loose, tighten them before attempting to remove the camera again.
Remember, patience is key. If something doesn’t seem right, take a break and revisit the process later with fresh eyes.
Can You Damage Your Arlo Camera During Removal?
This is a common concern, but with the right technique, the risk of damage is minimal. Here are a few tips to keep your Arlo camera safe:
- Be Gentle: Avoid using excessive force when detaching the camera.
- Use Proper Tools: Stick to the recommended tools to avoid scratching or damaging the camera.
- Check for Wires: Make sure all cables are unplugged before attempting to remove the camera.
By following these guidelines, you’ll significantly reduce the risk of damaging your equipment.
What to Do After Removing Your Arlo Camera
Now that you’ve successfully removed your Arlo camera, what’s next? Here are a few suggestions:
1. Store the Camera Safely
If you’re not planning to use the camera immediately, store it in a safe, dry place. Consider using the original packaging if you still have it.
2. Clean and Inspect the Camera
Take this opportunity to give your camera a thorough cleaning. Check for any signs of wear and tear, and replace any damaged parts if necessary.
3. Plan Your Next Move
Whether you’re reinstalling the camera elsewhere or upgrading to a new model, having a plan in place will make the process smoother.
Expert Tips for Arlo Camera Maintenance
Maintaining your Arlo camera is just as important as removing it properly. Here are a few expert tips to keep your device in top shape:
- Regular Cleaning: Dust and debris can affect the camera’s performance, so clean it regularly.
- Firmware Updates: Keep your camera’s firmware up to date to ensure optimal performance and security.
- Battery Checks: If your camera uses batteries, check them regularly and replace them as needed.
By following these tips, you’ll extend the lifespan of your Arlo camera and ensure it continues to perform reliably.
Conclusion
Removing an Arlo camera from its mount doesn’t have to be a daunting task. By following the steps outlined in this guide, you’ll be able to do it safely and efficiently. Remember to take your time, use the right tools, and prioritize the safety of your equipment.
Now that you’ve mastered the art of removing your Arlo camera, why not share your experience with others? Leave a comment below and let us know how it went. And if you found this guide helpful, don’t forget to check out our other articles for more tips and tricks!
References
For further reading, check out these trusted sources:
Stay safe, stay secure, and happy tinkering!
How To Style Scene Hair: Your Ultimate Guide To Rocking The Look
What's The Buzz? Understanding The Difference Between Wasp And Yellow Jacket
How To Prepare Amoxicillin Suspension: A Step-by-Step Guide
Outdoor Arlo Mount Clearance
How to Remove Arlo Camera From Mount 8 Quick Steps (2025)

The 9 Best Arlo Camera Mount 3M Life Sunny
