How To Make Balsamic Vinegar Pearls: A Simple Guide For Foodies
Hey there, food enthusiasts! If you've ever wondered how to make balsamic vinegar pearls that look fancy but are surprisingly easy to create, you're in the right place. Spherification is no longer just for Michelin-star chefs. You too can whip up these tiny flavor bombs at home with minimal effort. Imagine adding a burst of tangy goodness to your salads, desserts, or even cocktails. Sounds amazing, right?
Let's dive straight into the world of molecular gastronomy without all the intimidating jargon. Making balsamic vinegar pearls is not as complicated as it sounds. With a few simple ingredients and some kitchen tricks, you can elevate your dishes like a pro. Whether you're hosting a dinner party or just experimenting in your kitchen, this guide will walk you step by step through the process.
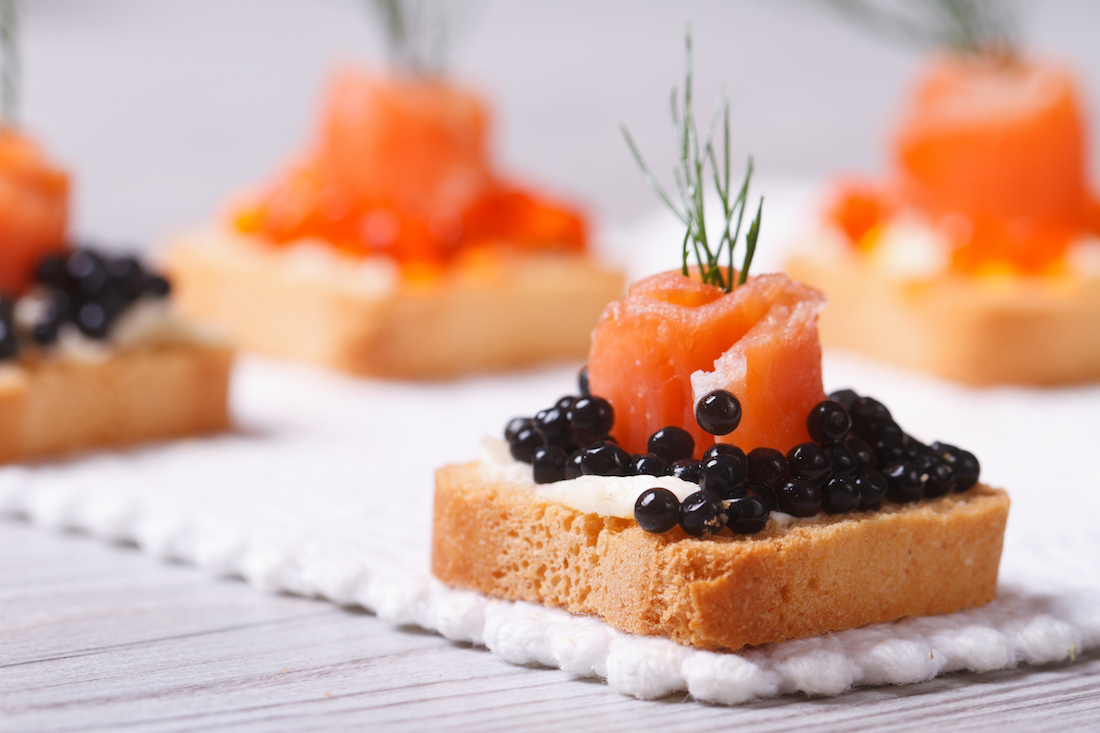
Now, before we get started, let’s address the elephant in the room. Why balsamic vinegar pearls? Well, they're not just visually appealing but also pack a punch of flavor in every bite. Plus, they're a great conversation starter at any gathering. Who wouldn't be impressed by a dish that looks like it came straight out of a five-star restaurant?
Read also:Houseplants That Thrive Indoors Transform Your Space Into A Green Paradise
So, let's roll up our sleeves and get ready to create something truly unique. Stick around, and by the end of this article, you'll be a balsamic pearl pro!
Table of Contents
- What is Spherification?
- Ingredients You Need
- Tools for Making Pearls
- Basic Spherification Process
- Tips for Perfect Pearls
- Troubleshooting Common Issues
- Creative Ways to Use Pearls
- Health Benefits of Balsamic Vinegar
- Cost-Effective Making
- Final Thoughts
What is Spherification?
Spherification is like magic in the kitchen. It's a technique used in molecular gastronomy to turn liquids into tiny, edible spheres. Think of it as giving your balsamic vinegar a makeover. The result? Those cute little pearls that pop in your mouth, releasing a burst of flavor. It's science meets cooking, and honestly, it's way cooler than it sounds.
The process involves using sodium alginate and calcium chloride to create a gel-like membrane around the liquid. Don't worry if those words sound scary. They're actually pretty harmless and widely used in food production. The best part? You don't need a lab coat to do this. Just a pinch of curiosity and a willingness to experiment.
Why Choose Balsamic Vinegar?
Balsamic vinegar is a kitchen staple for a reason. Its rich, tangy flavor pairs beautifully with almost anything. From salads to roasted veggies, it's a game-changer. Turning it into pearls takes its versatility to the next level. Plus, balsamic vinegar has a thick consistency, making it perfect for spherification. No wonder it's a favorite among chefs.
Ingredients You Need
Now, let's talk about what you'll need to make these magical pearls. Surprisingly, the list isn't long, and most of the items might already be in your pantry. Here's a quick rundown:
- Balsamic Vinegar – The star of the show!
- Sodium Alginate – Available online or at specialty stores.
- Calcium Chloride – Another key ingredient for the magic to happen.
- Water – Plain old H2O. No fancy filters needed.
That's it! See, I told you it wasn't complicated. Now, let's move on to the tools you'll need.
Read also:Cross Tattoo With Psalms 23 A Spiritual Journey Through Ink
Tools for Making Pearls
Having the right tools makes all the difference. Here's what you'll need:
- A small bowl for mixing your balsamic vinegar and sodium alginate.
- A larger bowl filled with water and calcium chloride. This acts as your "bath" for the pearls.
- A dropper or a small spoon for portioning out the pearls.
- A slotted spoon for fishing out your pearls once they're ready.
Don't stress if you don't have all these tools. Improvisation is the name of the game in the kitchen. A clean spoon and steady hands will work just fine in a pinch.
Basic Spherification Process
Alright, let's get down to business. Here's a step-by-step guide to making balsamic vinegar pearls:
Mix your balsamic vinegar with sodium alginate in a bowl. Stir it gently until the alginate is fully dissolved. Don't rush this part. Let it sit for a bit to get rid of any bubbles.
In another bowl, mix water and calcium chloride. This will be your spherification bath. Make sure the water is deep enough to fully submerge the pearls.
Now comes the fun part. Using your dropper or spoon, carefully drop small amounts of the balsamic mixture into the calcium bath. Watch as they magically turn into pearls. Let them sit for a minute or two to set.
Once they're ready, use your slotted spoon to transfer them to a bowl of clean water. This stops the reaction and ensures your pearls are just the right consistency.
How Long Should You Wait?
Timing is crucial here. Waiting too long might make your pearls too firm, while not waiting long enough can leave them mushy. Aim for around 1-2 minutes in the bath. If you're unsure, test a few and adjust accordingly.
Tips for Perfect Pearls
Here are a few tips to help you achieve perfection:
- Make sure your balsamic mixture is completely free of bubbles. This ensures smooth, even pearls.
- Use a consistent dropper size for uniform pearls. No one likes lopsided spheres.
- Don't overcrowd the bath. Give each pearl enough space to form properly.
- Experiment with different flavors. Add a hint of honey or fruit juice to your balsamic for a unique twist.
These tips will help you avoid common pitfalls and ensure your pearls are nothing short of spectacular.
Troubleshooting Common Issues
Even the best of us encounter hiccups sometimes. Here's how to handle them:
If your pearls are too soft, you might need to increase the time in the calcium bath. On the flip side, if they're too firm, reduce the time. It's all about finding the sweet spot.
Another common issue is pearls sticking together. This usually happens if they're not fully set or if the bath is overcrowded. Separate them gently with a spoon and give them a quick rinse in clean water.
Why Are My Pearls Cloudy?
Cloudy pearls can happen if the balsamic isn't fully dissolved or if there's too much air in the mixture. Stirring gently and letting it rest will usually solve this problem.
Creative Ways to Use Pearls
Now that you've mastered the art of making balsamic vinegar pearls, it's time to get creative. Here are a few ideas to inspire you:
- Toss them into a fresh salad for a burst of flavor.
- Add them to a fruit platter for a sweet and tangy contrast.
- Drop a few into your favorite cocktail for a gourmet twist.
- Use them as a garnish for desserts like panna cotta or cheesecake.
The possibilities are endless. Let your imagination run wild and see where it takes you.
Health Benefits of Balsamic Vinegar
Did you know that balsamic vinegar is not just delicious but also good for you? It's packed with antioxidants and can aid in digestion. Some studies even suggest it might help regulate blood sugar levels. So, not only are you treating your taste buds, but you're also doing your body a favor.
Is It Safe to Eat Pearls?
Absolutely! The ingredients used in spherification are safe for consumption. Just make sure to follow the instructions carefully and store your pearls properly.
Cost-Effective Making
One of the best things about making balsamic vinegar pearls is that it's cost-effective. Sure, you might need to invest in sodium alginate and calcium chloride initially, but they last a long time. Plus, a little balsamic goes a long way. You'll be amazed at how far a small batch can stretch.
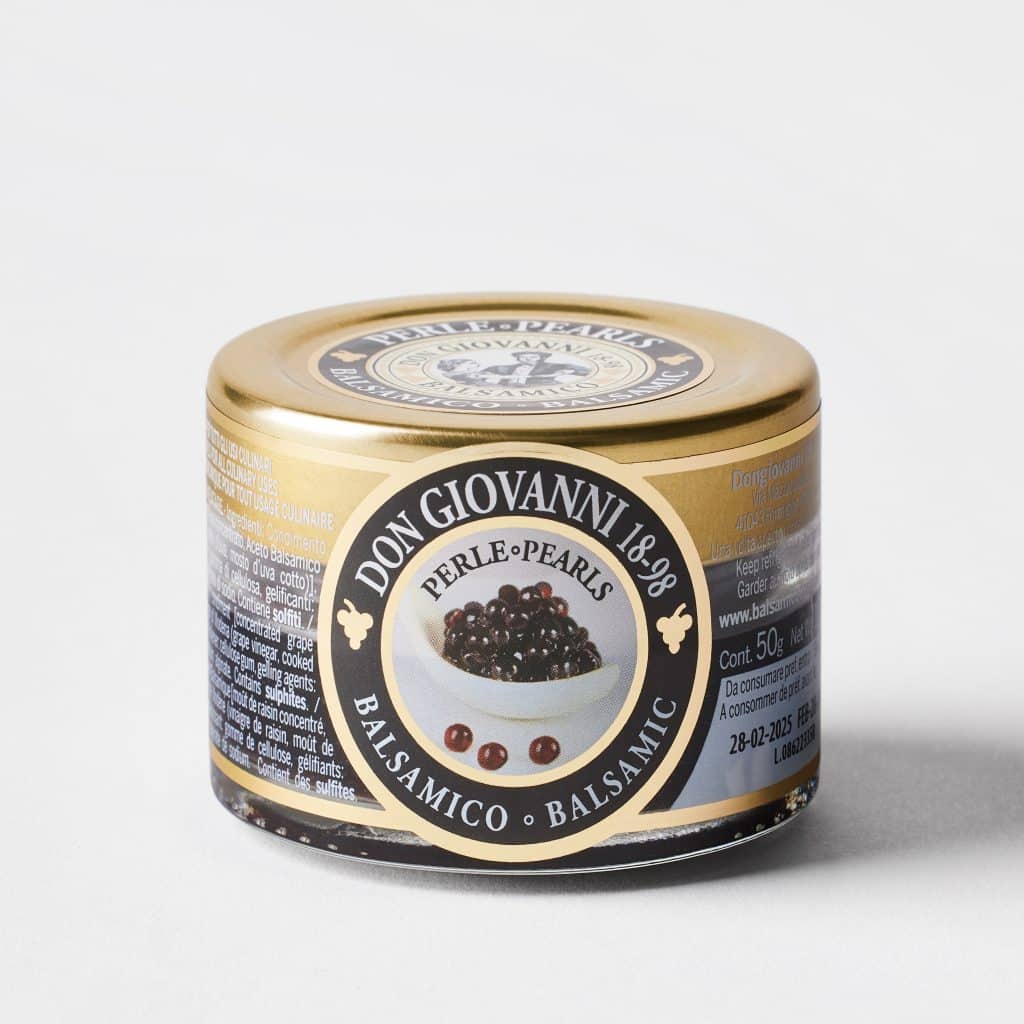
Where to Buy Ingredients?
You can find all the necessary ingredients online or at specialty kitchen stores. Shop around for the best deals, and don't hesitate to stock up. You'll want to make these pearls again and again.
Final Thoughts
Learning how to make balsamic vinegar pearls is a fun and rewarding experience. It's a great way to elevate your cooking and impress your friends and family. Remember, practice makes perfect, so don't be discouraged if your first batch isn't flawless. Keep experimenting, and soon you'll be a pro.
Now it's your turn. Grab your ingredients, roll up your sleeves, and let's get cooking. Don't forget to share your creations with us. We'd love to see what you come up with. Happy cooking, and see you in the kitchen!
And hey, if you found this guide helpful, why not drop a comment or share it with your foodie friends? Let's spread the love for balsamic pearls one dish at a time!
How To Cross A Ball Like A Pro: Master The Art Of Soccer Passing
How To Get Wings In Hair: A Step-by-Step Guide For Magical Locks
How To Find The Number Of Sides Of A Polygon: A Simple Guide
Balsamic Pearls a modern and refined way to taste the Balsamic Vinegar
Innovative Balsamic Vinegar Pearls Elevate Your Dishes Âme Atendre

How to Make Balsamic Pearls Institute of Culinary Education
