How To Make Texture Painting On Canvas: Unleash Your Inner Artist
Have you ever wondered how professional artists create those incredible texture paintings that seem to pop right off the canvas? Well, my friend, you're about to discover the secrets behind texture painting. Whether you're a seasoned artist or just starting out, this guide will take you through the ins and outs of creating stunning texture paintings on canvas. So grab your brushes and let's dive in!
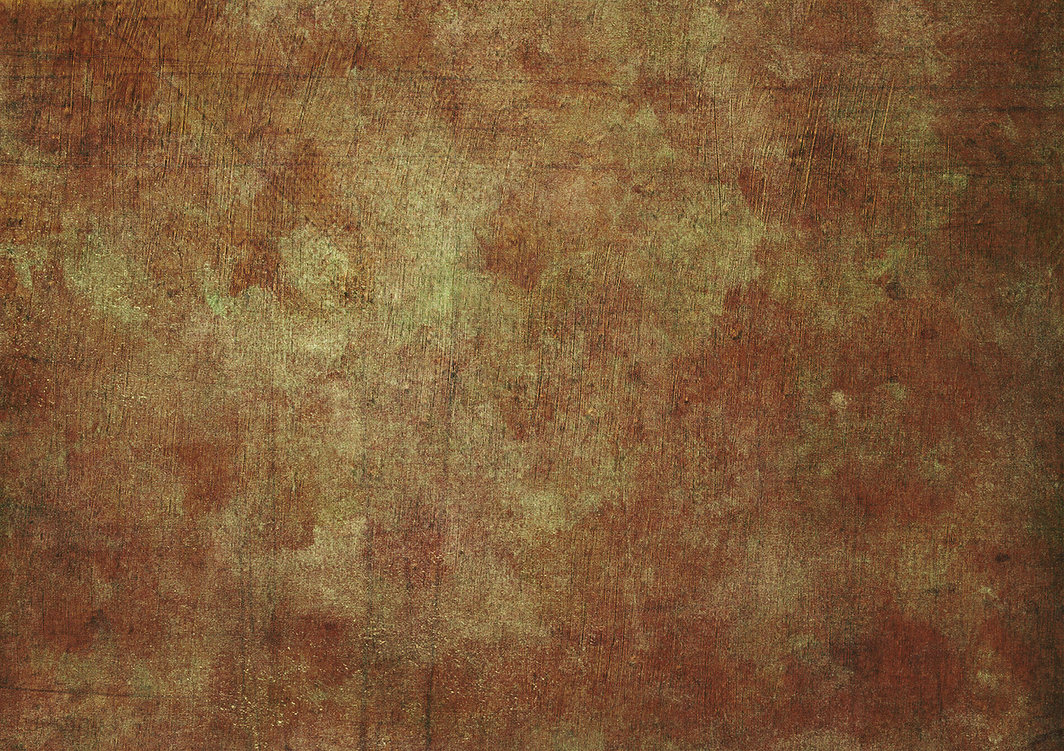
Texture painting on canvas is all about adding depth, dimension, and character to your artwork. It’s not just about slapping some paint on a flat surface; it’s about transforming that surface into something alive, dynamic, and full of personality. Think about it—when you walk into an art gallery, what draws your attention? Often, it’s the texture that makes a piece stand out.
But don’t worry, you don’t need to be a Picasso or Van Gogh to create texture paintings. With the right techniques, tools, and a bit of creativity, anyone can master this art form. And trust me, once you get the hang of it, you’ll be hooked. So let’s get started on your journey to becoming a texture painting master!
Read also:Hottest Haircuts For The Youth Your Ultimate Guide To Cortes De Pelo Para Joven
Why Texture Painting on Canvas Matters
Texture painting on canvas isn’t just a fancy trick—it’s a way to elevate your art and make it more engaging. When you add texture, you’re inviting viewers to experience your artwork on a deeper level. It’s like turning a 2D painting into a 3D masterpiece. Imagine running your fingers over a painting and feeling the ridges, grooves, and layers—it’s a sensory experience that flat paintings simply can’t replicate.
But why does texture matter so much? Well, for starters, it adds visual interest. A textured canvas can catch the light in different ways, creating shadows and highlights that bring your painting to life. Plus, it adds emotional depth. Rough textures might convey raw emotion, while smooth textures might evoke calmness or serenity. The possibilities are endless!
Essential Tools for Texture Painting
Before you start slathering paint onto your canvas, you’ll need the right tools. Here’s a quick rundown of what you’ll need to get started:
- Canvas: You can use a standard canvas, but if you want to experiment with texture, consider using a textured canvas or even a wooden panel.
- Paints: Acrylic paints are ideal for texture painting because they dry quickly and can be mixed with various mediums.
- Palette Knives: These are your best friends when it comes to texture painting. They allow you to create thick, bold strokes and add texture directly to the canvas.
- Texturing Mediums: These are special additives that you mix with your paint to create different textures. Some popular options include modeling paste, gel medium, and sand gel.
- Brushes: While palette knives are great for texture, brushes still have their place. Use them for finer details and smooth transitions.
Choosing the Right Canvas
Not all canvases are created equal, especially when it comes to texture painting. If you’re just starting out, a standard canvas will do the trick. But if you want to experiment with more advanced techniques, consider using a textured canvas or even a wooden panel. Textured canvases have a rougher surface that can hold more paint and create interesting effects. Wooden panels, on the other hand, give you a solid base for building up layers of texture.
Step-by-Step Guide to Texture Painting
Now that you’ve got your tools ready, let’s dive into the step-by-step process of creating a texture painting on canvas.
Step 1: Prepare Your Workspace
Before you start painting, make sure your workspace is set up for success. Cover your table or floor with a drop cloth to protect it from paint splatters. Gather all your tools and materials within reach so you don’t have to interrupt your creative flow. And don’t forget to put on some old clothes—paint stains are hard to get out!
Read also:How To Naturally Curl Your Hair The Ultimate Guide For Stunning Curls
Step 2: Prime Your Canvas
Priming your canvas is an important step that many beginners skip. A good primer will help your paint adhere better and prevent it from sinking into the canvas. You can use gesso, which is a popular choice for acrylic painting, or even a textured primer if you want to add some extra dimension from the start.
Step 3: Create Your Base Layer
Once your canvas is primed, it’s time to create your base layer. This is the foundation of your painting, so take your time and make it count. You can use a large brush or palette knife to apply a layer of paint in your chosen color. Don’t worry about making it perfect—this is just the starting point.
Step 4: Add Texture
This is where the fun begins! Use your palette knife to add texture to your canvas. You can create ridges, swirls, and other patterns by dragging the knife through the paint. Experiment with different techniques to see what works best for your style. You can also mix in texturing mediums to create even more interesting effects.
Step 5: Layer Your Colors
Once your texture layer is dry, it’s time to add color. Use a variety of brushes and techniques to layer your colors. You can blend them together for a smooth transition or keep them distinct for a more vibrant look. Don’t be afraid to experiment—art is all about self-expression!
Step 6: Add Finishing Touches
Finally, it’s time to add those finishing touches that will make your painting truly special. Use a fine brush to add details, highlights, and shadows. You can also use a palette knife to add more texture or even sprinkle some glitter for a touch of sparkle. The possibilities are endless!
Advanced Techniques for Texture Painting
Once you’ve mastered the basics, it’s time to take your texture painting to the next level. Here are a few advanced techniques to try:
- Impasto Technique: This involves applying thick layers of paint to create a three-dimensional effect. It’s perfect for adding texture and depth to your artwork.
- Stenciling: Use stencils to create repeating patterns or shapes on your canvas. This is a great way to add texture and interest without overcomplicating your design.
- Sgraffito: This technique involves scratching through a layer of paint to reveal the layer underneath. It’s a great way to add intricate details and textures to your painting.
Common Mistakes to Avoid
Even the best artists make mistakes, but with a little knowledge, you can avoid some of the most common pitfalls in texture painting:
- Overworking the Paint: It’s tempting to keep adding layers and details, but sometimes less is more. Know when to stop and let your painting breathe.
- Using the Wrong Tools: Make sure you’re using the right tools for the job. A cheap brush or palette knife can make a big difference in the quality of your texture.
- Ignoring the Drying Time: Acrylic paint dries quickly, but if you rush the process, you might end up with unwanted smudges or streaks. Be patient and let each layer dry completely before moving on.
How to Choose the Right Colors for Your Texture Painting
Color is a crucial element of any painting, and texture painting is no exception. When choosing colors for your texture painting, consider the mood you want to convey. Warm colors like red, orange, and yellow can create a sense of energy and excitement, while cool colors like blue, green, and purple can evoke calmness and serenity. Don’t be afraid to experiment with color combinations—you might be surprised by the results!
Using a Color Wheel
A color wheel is a great tool for understanding how colors work together. It can help you choose complementary colors, analogous colors, and triadic color schemes. By using a color wheel, you can create a cohesive and visually appealing painting that stands out.
How to Display Your Texture Painting
Once your texture painting is complete, it’s time to show it off! Here are a few tips for displaying your masterpiece:
- Frame It: A good frame can enhance the look of your painting and protect it from damage. Choose a frame that complements your color scheme and style.
- Hang It Strategically: Consider the lighting in the room where you’ll be displaying your painting. Natural light can bring out the texture and colors in your artwork, so choose a spot that gets plenty of sunlight.
- Showcase It Online: In today’s digital age, sharing your art online is a great way to reach a wider audience. Post photos of your texture painting on social media or create a portfolio website to showcase your work.
Conclusion
Texture painting on canvas is a rewarding and creative way to express yourself. By following the steps outlined in this guide, you can create stunning works of art that will impress anyone who sees them. Remember, art is all about experimentation and self-expression, so don’t be afraid to try new things and push your boundaries.
Now that you’ve learned how to make texture painting on canvas, it’s time to take action! Grab your supplies, find a quiet spot, and let your creativity flow. And don’t forget to share your masterpiece with the world—your friends and family will be amazed by what you’ve created. So what are you waiting for? Get painting!
Table of Contents
- Why Texture Painting on Canvas Matters
- Essential Tools for Texture Painting
- Step-by-Step Guide to Texture Painting
- Advanced Techniques for Texture Painting
- Common Mistakes to Avoid
- How to Choose the Right Colors for Your Texture Painting
- How to Display Your Texture Painting
Cole Sprouse Novia: The Inside Scoop On Love, Life, And Everything In Between
Corset In DTI: The Ultimate Guide To Understanding And Maximizing Benefits
Why Connective Tissue In Steak Matters For Your Cooking Adventure
Texture Painting On Canvas at Explore collection

Painting canvas texture Stock Photo by ©brankavv 3163895

Texture Painting Ideas On Canvas Warehouse of Ideas
