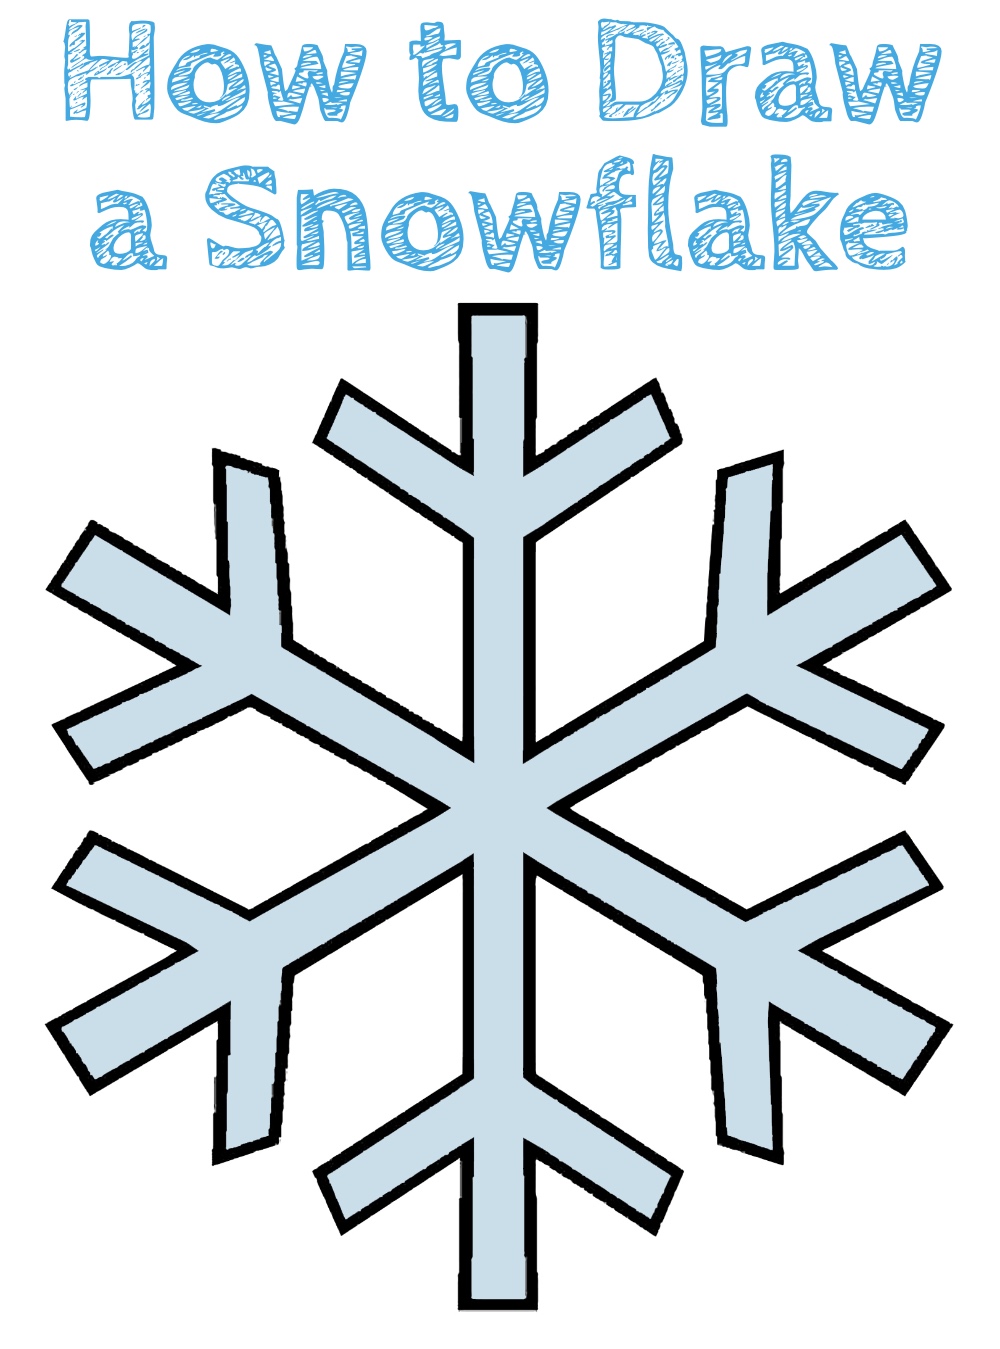
How To Draw A Basic Snowflake: A Fun And Easy Guide For Everyone
Have you ever wondered how to draw a basic snowflake? It’s not as complicated as you might think. Snowflakes are nature’s masterpiece, and drawing one can be both relaxing and rewarding. Whether you’re an art enthusiast or just looking for a fun activity, this guide will walk you through the process step by step. So grab your pencil, paper, and let’s dive into the world of snowflake art!
There’s something magical about snowflakes. Each one is unique, yet they all share similar patterns. Drawing a snowflake is a great way to explore symmetry, geometry, and creativity. Plus, it’s a fantastic winter activity that doesn’t require stepping outside into the cold. Who knew learning how to draw a basic snowflake could be so much fun?
In this article, we’ll cover everything you need to know about creating your very own snowflake masterpiece. From understanding the structure of snowflakes to adding intricate details, we’ve got you covered. Let’s get started and bring some winter charm into your life!
Read also:How To Draw Anime Male Torso A Comprehensive Guide For Aspiring Artists
Table of Contents:
- Introduction to Snowflakes
- Materials You Need
- Step-by-Step Guide to Drawing a Basic Snowflake
- Understanding Snowflake Structure
- Adding Details to Your Snowflake
- Tips for Perfect Symmetry
- Common Mistakes to Avoid
- Variations of Snowflakes
- Digital Drawing Options
- Conclusion
Introduction to Snowflakes
Snowflakes are tiny ice crystals that form in the clouds when water vapor freezes. They’re known for their intricate patterns and unique shapes. But did you know that snowflakes always have six sides? This hexagonal structure is due to the molecular makeup of water. When you learn how to draw a basic snowflake, you’re essentially mimicking nature’s design. Cool, right?
Why Snowflakes Are Fascinating
Snowflakes are more than just pretty shapes; they’re a scientific marvel. The way they form depends on temperature, humidity, and other atmospheric conditions. This means no two snowflakes are exactly alike. By drawing a snowflake, you’re not only creating art but also gaining a deeper appreciation for the natural world.
Materials You Need
Before we dive into the drawing process, let’s talk about what you’ll need. Don’t worry; it’s nothing fancy. Here’s a quick list:
- Pencil (or pen if you’re feeling bold)
- Eraser (for those inevitable mistakes)
- Sheet of paper (lined or unlined, your choice)
- Ruler (optional, but helpful for symmetry)
- Colored pencils or markers (if you want to add some flair)
That’s it! You don’t need any special tools to learn how to draw a basic snowflake. Let’s move on to the fun part.
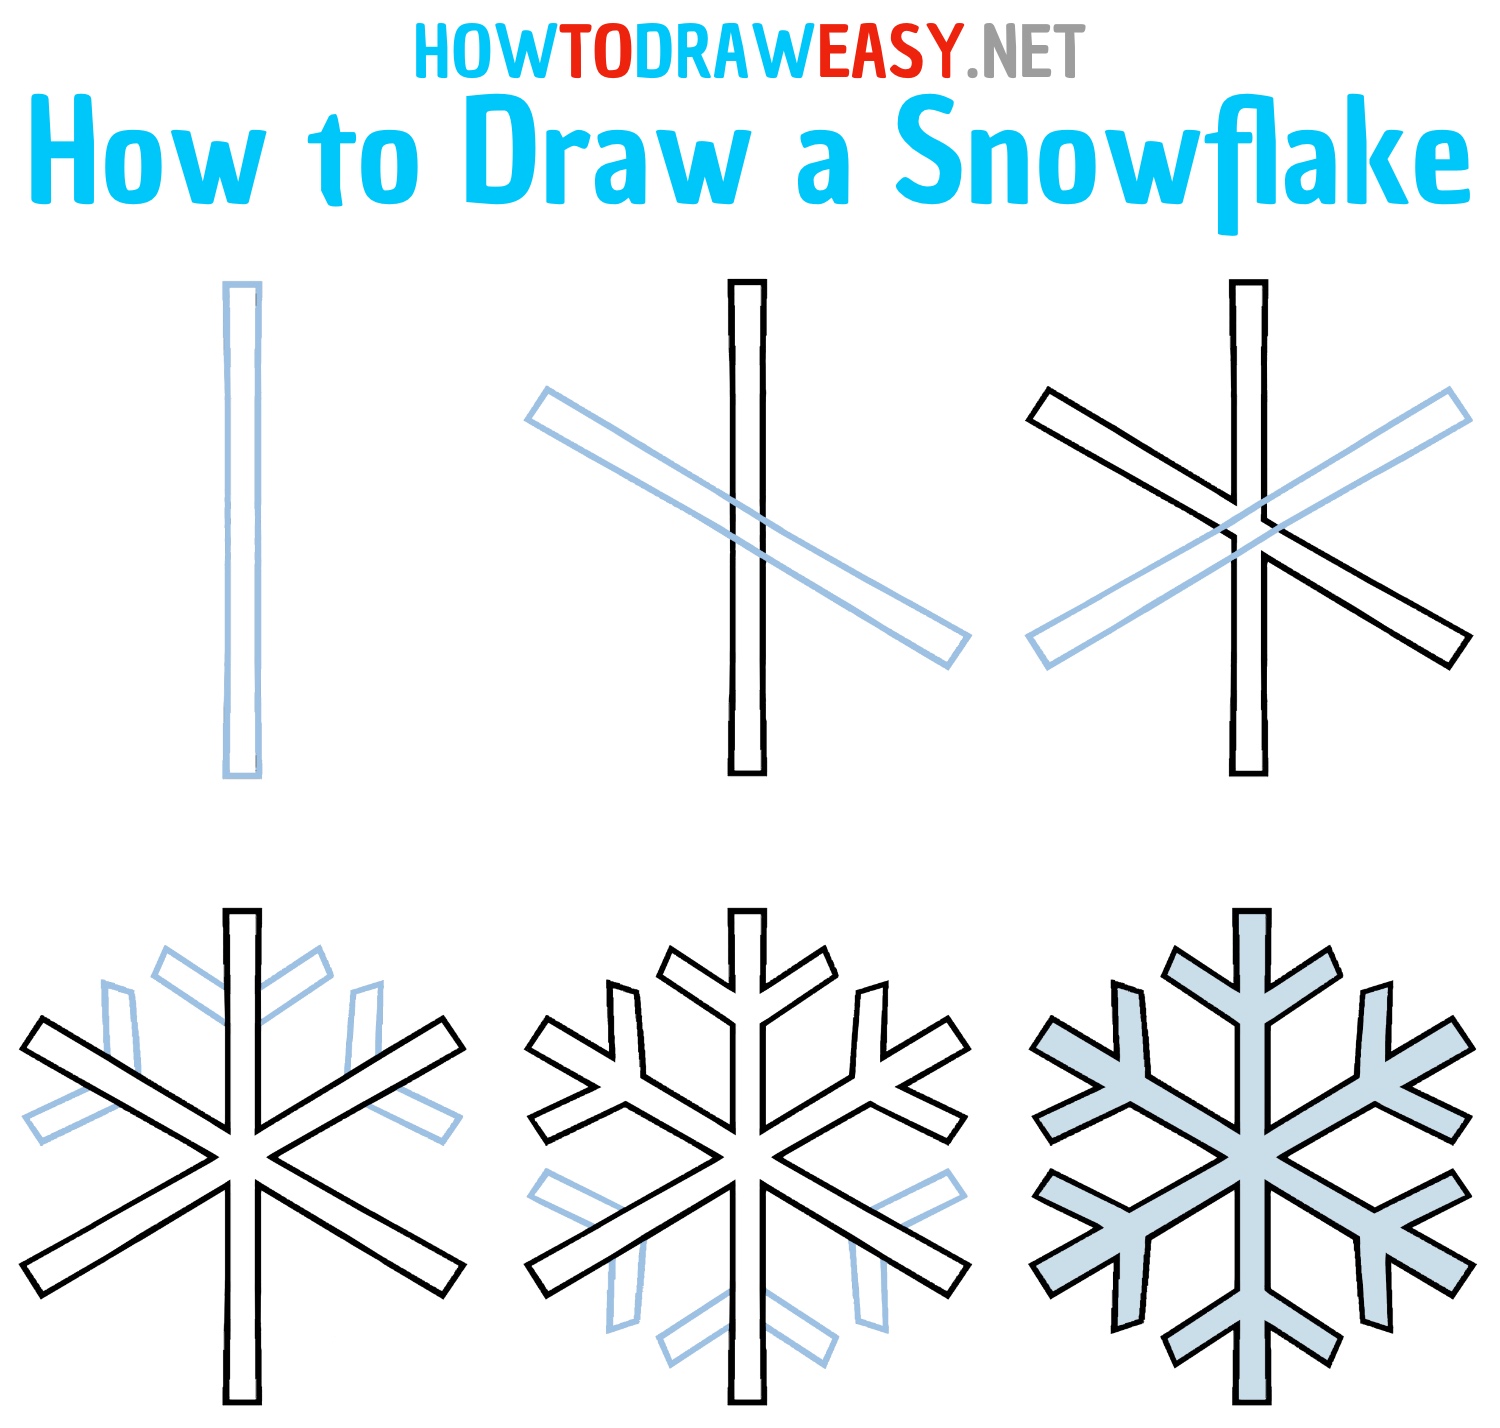
Step-by-Step Guide to Drawing a Basic Snowflake
Now that you’ve got your materials ready, let’s break down the process into simple steps. Follow along, and you’ll be drawing snowflakes like a pro in no time.
Read also:Gucci Flashtrek Sneakers Aus Leder Mit Your Ultimate Style Guide
Step 1: Start with a Circle
Begin by lightly sketching a circle in the center of your paper. This will serve as the base for your snowflake. Think of it as the snowflake’s “home.” Don’t worry if it’s not perfect; we’re going for a natural look.
Step 2: Draw the Hexagon
Inside the circle, draw a hexagon. This six-sided shape is the foundation of every snowflake. Make sure the sides are roughly equal in length. If you’re struggling with symmetry, use a ruler to help keep things straight.
Step 3: Add the Arms
From each corner of the hexagon, extend a straight line outward. These will be the arms of your snowflake. Try to keep them the same length and angle for a balanced look.
Step 4: Create the Branches
Now it’s time to add some personality to your snowflake. On each arm, draw smaller branches or shapes. You can go wild here—triangles, diamonds, or even little swirls. This is where your creativity shines!
Step 5: Refine Your Design
Once you’ve added the branches, take a step back and assess your work. Do any areas need tweaking? Maybe one side is a little too heavy, or another could use some extra detail. Erase and adjust as needed until you’re happy with the result.
Understanding Snowflake Structure
Now that you’ve drawn a basic snowflake, let’s dive deeper into its structure. Snowflakes are made up of three main components:
- Core: The central hexagon that holds everything together.
- Arms: The six extensions that give the snowflake its iconic shape.
- Branches: The smaller details that add character and uniqueness.
Understanding these elements will help you create more complex and realistic snowflakes in the future.
How Temperature Affects Snowflake Patterns
Did you know that temperature plays a big role in snowflake formation? Colder temperatures tend to produce simpler shapes, while warmer temperatures result in more intricate designs. This is something to keep in mind when experimenting with different styles.
Adding Details to Your Snowflake
Once you’ve mastered the basics, it’s time to take your snowflake to the next level. Here are a few ideas for adding details:
- Use curved lines instead of straight ones for a softer look.
- Incorporate small circles or dots for a whimsical touch.
- Experiment with different shapes, such as hearts or stars.
Remember, there’s no right or wrong way to draw a snowflake. The beauty lies in its uniqueness.
Tips for Perfect Symmetry
Symmetry is key when it comes to snowflakes. Here are some tips to help you achieve that perfect balance:
- Use a ruler to ensure your lines are straight and even.
- Draw one side of the snowflake first, then mirror it on the other side.
- Take your time—rushing can lead to mistakes.
With a little patience and practice, you’ll be creating perfectly symmetrical snowflakes in no time.
Common Mistakes to Avoid
Even the best artists make mistakes sometimes. Here are a few common pitfalls to watch out for:
- Forgetting the six-sided structure.
- Making one side significantly different from the others.
- Overcomplicating the design and losing symmetry.
Don’t be too hard on yourself if you make a mistake. It’s all part of the learning process!
Variations of Snowflakes
Once you’ve mastered the basics, why not try some variations? Here are a few ideas to get you started:
- Simple Snowflake: Stick to basic shapes and minimal details.
- Intricate Snowflake: Add lots of branches and patterns for a more elaborate design.
- Colorful Snowflake: Use colored pencils or markers to bring your snowflake to life.
Experiment with different styles until you find one that suits you.
Digital Drawing Options
If you’re into technology, you might want to try drawing snowflakes digitally. There are plenty of apps and software programs available that make the process easy and fun. Some popular options include:
- Procreate (for iPad users)
- Adobe Illustrator
- Krita (free and open-source)
These tools offer features like layers, symmetry guides, and undo options, making it easier to create stunning snowflakes.
Conclusion
Learning how to draw a basic snowflake is a simple yet rewarding activity that anyone can enjoy. By following the steps outlined in this guide, you’ll be creating beautiful snowflakes in no time. Remember to have fun, experiment with different styles, and don’t be afraid to make mistakes.
Now it’s your turn! Grab your pencil and paper and give it a try. Once you’re done, share your masterpiece with friends and family. Who knows? You might inspire someone else to pick up a pencil and join in the fun.
Thanks for reading, and happy drawing!
Dani Cohn Nude: Debunking Myths And Understanding The Real Story
Cody Destroys Throne: The Epic Saga Unveiled
How To Take Apart A Dog Cage: The Ultimate Guide For Pet Owners

How to Draw a Snowflake 6 Steps (with Pictures) wikiHow
How to Draw a Snowflake Draw for Kids
How to Draw a Snowflake Draw for Kids
