How To Put A Swiffer Wet Pad On: The Ultimate Guide For Cleaning Pros
Alright folks, let's talk about something that might seem simple but can actually trip you up if you're not paying attention—how to put a Swiffer Wet Pad on. Now, you'd think this is a no-brainer, right? But trust me, I've seen people struggle with this, and it's not just beginners. Even those who’ve been using Swiffer for years sometimes mess up the process. So, buckle up because we’re diving deep into the world of mop pads and making sure you’re a Swiffer expert by the time you finish reading this.
Now, before we dive into the nitty-gritty, let’s clarify why this matters. Swiffer Wet Pads are designed to make your cleaning life easier, but only if you use them correctly. If you don’t attach them properly, you could end up with uneven cleaning, wasted product, or worse—spills all over your floor. Nobody wants that, am I right? So, let’s get started and ensure you’re not one of those people who fumbles with their Swiffer setup.
And hey, don’t worry if you’ve messed it up in the past. We’ve all been there. Whether you’re a seasoned cleaner or a total newbie, this guide will walk you through every step of the process. By the end of it, you’ll be attaching Swiffer Wet Pads like a pro. Let’s go!
Read also:Shadow Fade Haircut For Black Men A Trend Thatrsquos Here To Stay
Table of Contents
- Step-by-Step Guide to Attaching a Swiffer Wet Pad
- Tools You Need to Get Started
- Common Mistakes to Avoid
- Troubleshooting Tips for Sticky Situations
- Different Types of Swiffer Wet Pads
- How to Maintain Your Swiffer WetJet
- Tips for Getting the Best Results
- Frequently Asked Questions
- Expert Advice for Swiffer Enthusiasts
- Conclusion: You’ve Got This!
Step-by-Step Guide to Attaching a Swiffer Wet Pad
Alrighty, let’s break it down. Attaching a Swiffer Wet Pad is easier than you think, but there’s definitely a method to the madness. Here’s how you do it:
1. Start with a Clean Slate
Before you even think about attaching a pad, make sure your Swiffer WetJet mop head is clean. If there’s residue from previous cleaning sessions, give it a quick wipe with a damp cloth. This ensures the pad adheres properly and doesn’t get contaminated by old gunk.
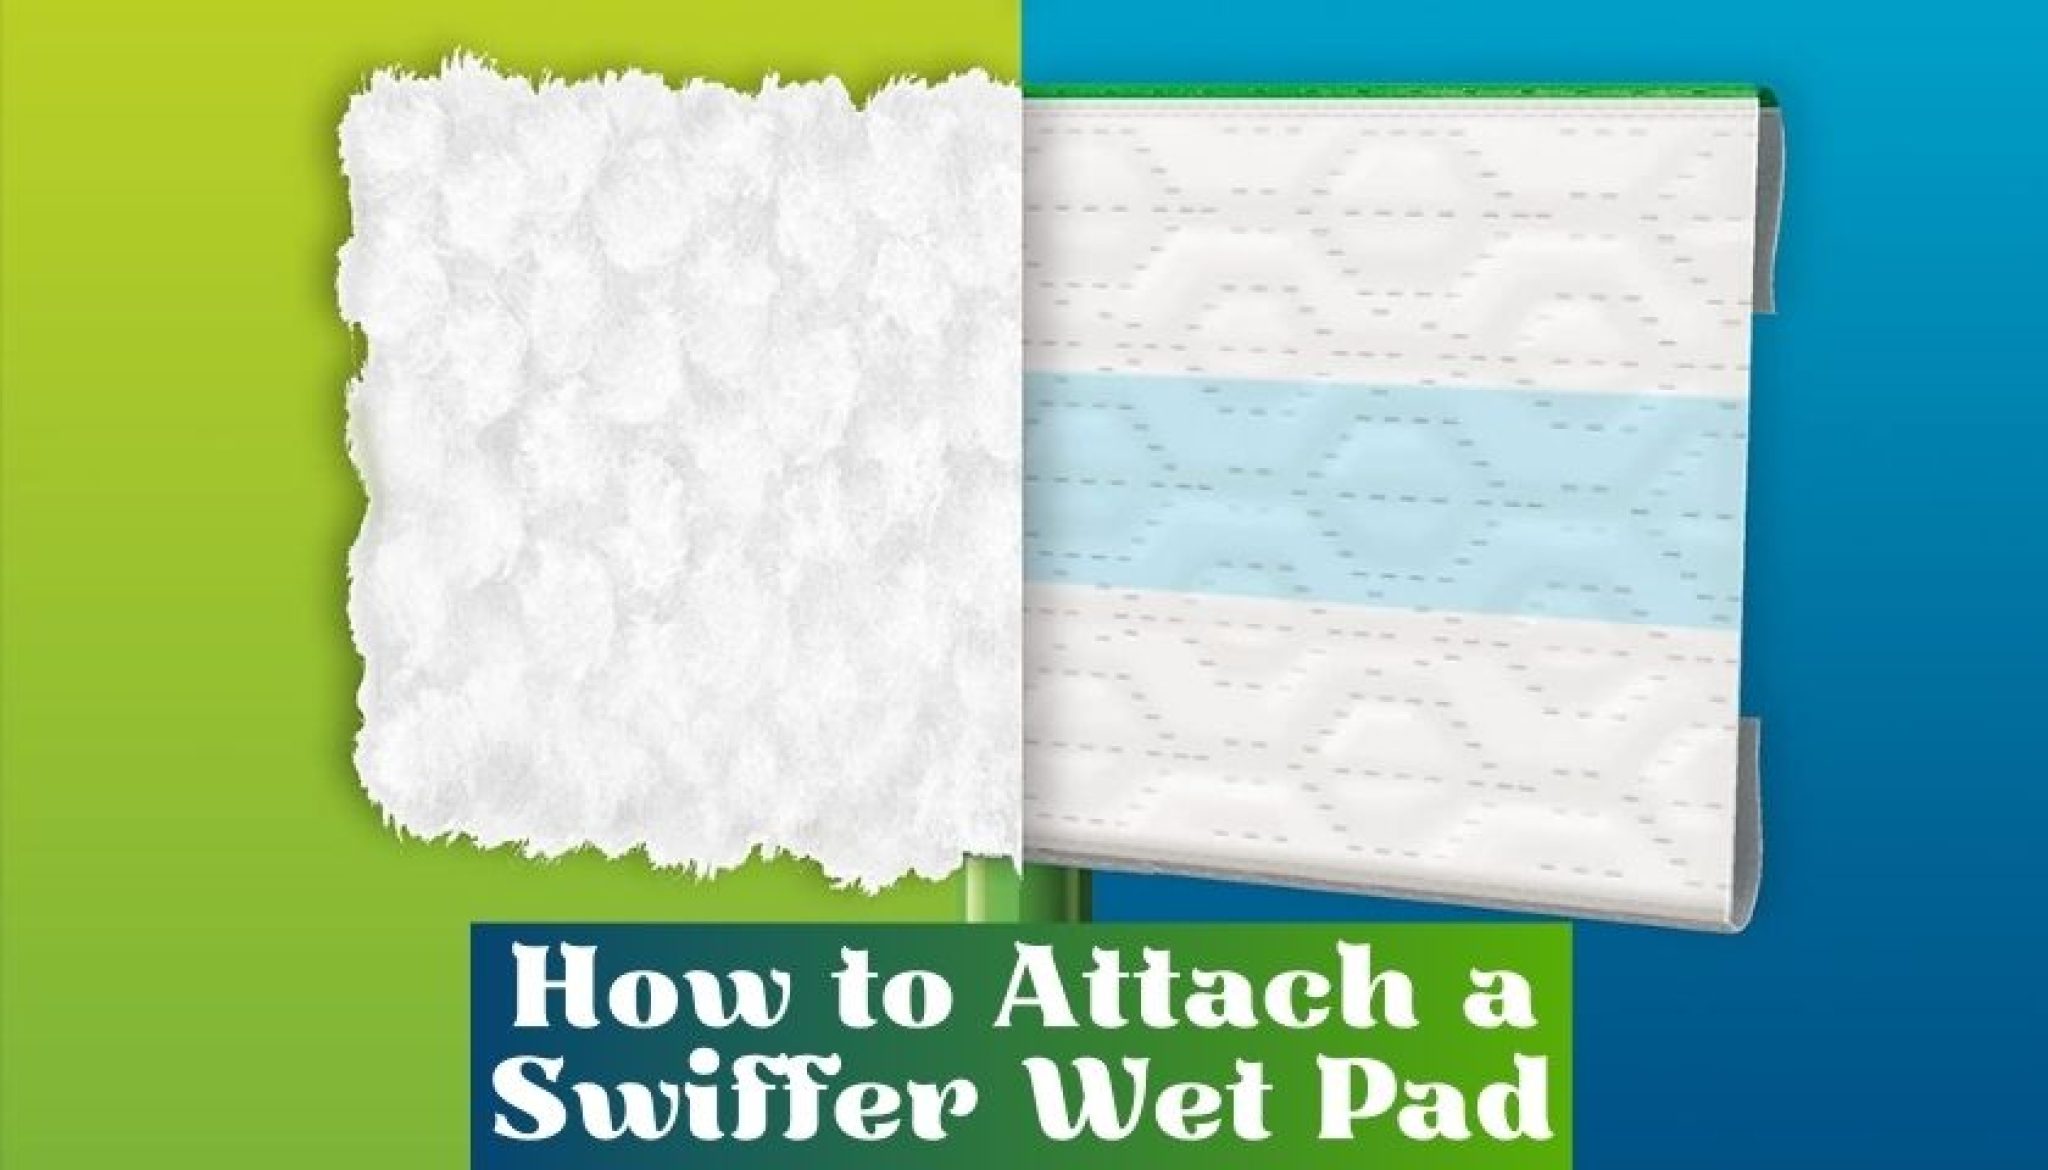
2. Unfold the Pad
Take your Swiffer Wet Pad out of the package and unfold it. It’s kind of like opening a little cleaning sandwich. The pad has two sides—one side is smooth and the other has little grip tabs. Make sure you’re working with the right side up. Pro tip: the tabs should be facing down when you attach it to the mop.
3. Secure the Pad
Now, here’s where the magic happens. Place the pad onto the Swiffer mop head, aligning the tabs with the slots on the mop. Press down firmly to ensure it’s snug. If it feels loose, double-check that you’ve got it in the right position. Once it’s secure, give it a little tug to make sure it’s not going anywhere.
Tools You Need to Get Started
Before you start attaching Swiffer Wet Pads, make sure you’ve got all the tools you need. Here’s a quick checklist:
- Swiffer WetJet Mop
- Swiffer Wet Pads (duh)
- A clean cloth for wiping down the mop head
- Your favorite cleaning solution (optional)
Having these items ready will save you time and frustration. Plus, it’ll make you feel like a cleaning ninja, which is always a plus.
Read also:How To Draw Anime Male Torso A Comprehensive Guide For Aspiring Artists
Common Mistakes to Avoid
Let’s face it—mistakes happen. But with a little know-how, you can avoid the most common ones. Here are a few pitfalls to watch out for:
1. Attaching the Pad Upside Down
This is probably the most common mistake people make. Remember, the tabs on the pad need to be facing down. If they’re facing up, the pad won’t stay put and you’ll end up with a soggy mess on your hands.
2. Not Pressing the Pad Down Firmly
Don’t be shy—press that pad down with some gusto. If it’s not secure, it’ll slip off while you’re cleaning, and nobody has time for that.
3. Ignoring Residue
As I mentioned earlier, old residue on your mop head can prevent the pad from sticking properly. Take a few seconds to clean it before attaching a new pad. Trust me, your floors will thank you.
Troubleshooting Tips for Sticky Situations
Even the best of us run into issues sometimes. Here’s how to handle a few common problems:
1. Pad Keeps Falling Off
If your pad keeps falling off, check the tabs to make sure they’re aligned properly. If they are, try cleaning the mop head again. Sometimes, even a small amount of residue can cause issues.
2. Pad Won’t Stay Flat
Is your pad bunching up or curling at the edges? This could be due to improper alignment. Make sure the pad is centered on the mop head and press down firmly in all corners.
3. Mop Head is Damaged
If none of the above solutions work, it might be time to inspect your mop head. If it’s worn out or damaged, it could be affecting the pad’s ability to stick. Consider replacing it if necessary.
Different Types of Swiffer Wet Pads
Did you know there are different types of Swiffer Wet Pads? Each one is designed for specific cleaning tasks, so it’s important to choose the right one for your needs. Here’s a quick rundown:
- Multi-Surface Pads: Perfect for everyday cleaning on a variety of surfaces.
- Floor Scrubber Pads: Ideal for tackling tough stains and grime.
- Wood Floor Pads: Gentle enough for delicate wood floors but powerful enough to clean them effectively.
- Bath Pads: Specifically designed for cleaning bathroom surfaces.
Knowing which pad to use can make a big difference in your cleaning results. So, take a moment to assess your needs before grabbing just any old pad.
How to Maintain Your Swiffer WetJet
Your Swiffer WetJet is an investment, so it’s important to take care of it. Here are a few maintenance tips to keep it in top shape:
1. Regular Cleaning
Wipe down the mop head after every use to prevent buildup. This will ensure your Swiffer Wet Pads adhere properly and your cleaning sessions are as effective as possible.
2. Check for Wear and Tear
Inspect your mop regularly for signs of damage. If you notice any issues, address them promptly to avoid bigger problems down the line.
3. Store Properly
Keep your Swiffer WetJet in a dry, cool place when not in use. This will help prolong its lifespan and keep it functioning optimally.
Tips for Getting the Best Results
Want to take your Swiffer game to the next level? Here are some pro tips for getting the best results:
1. Pre-Clean Your Floors
Before you start mopping, give your floors a quick sweep or vacuum to remove loose dirt and debris. This will help your Swiffer Wet Pad work more effectively.
2. Use the Right Solution
Swiffer offers a range of cleaning solutions tailored to different surfaces. Choose the one that’s right for your floors to get the best results.
3. Work in Sections
Instead of trying to clean your entire floor at once, break it down into smaller sections. This will help you avoid missing spots and ensure even coverage.
Frequently Asked Questions
Got questions? We’ve got answers. Here are some of the most common questions about Swiffer Wet Pads:
1. Can I Reuse Swiffer Wet Pads?
Nope. Swiffer Wet Pads are designed for single use only. Reusing them can lead to uneven cleaning and potential contamination.
2. How Often Should I Replace My Swiffer WetJet?
With proper care, your Swiffer WetJet should last for several years. However, if you notice any significant wear or damage, it might be time for an upgrade.
3. Are Swiffer Wet Pads Eco-Friendly?
Swiffer Wet Pads are not biodegradable, but Swiffer does offer refill options to reduce packaging waste. Additionally, they’re working on more sustainable solutions for the future.
Expert Advice for Swiffer Enthusiasts
For those of you who are truly passionate about cleaning, here’s some expert advice to take your Swiffer skills to the next level:
1. Experiment with Different Pads
Don’t be afraid to try out different types of Swiffer Wet Pads to see which ones work best for your specific cleaning needs. You might be surprised by the results.
2. Join Online Communities
There are tons of online communities dedicated to cleaning enthusiasts. Join one to share tips, tricks, and product recommendations with like-minded individuals.
3. Stay Updated on New Products
Swiffer is always coming out with new and improved products. Keep an eye on their releases to make sure you’re using the latest and greatest technology.
Conclusion: You’ve Got This!
And there you have it, folks—a comprehensive guide to putting a Swiffer Wet Pad on like a pro. Whether you’re a seasoned cleaner or just starting out, I hope this article has given you the confidence and knowledge you need to tackle your cleaning tasks with ease.
Remember, the key to successful Swiffer-ing is preparation, attention to detail, and a little bit of elbow grease. So, go forth and conquer those floors. And don’t forget to share your newfound expertise with your friends and family. They’ll thank you for it!
Until next time, happy cleaning!
Black Swan Nina And Lily Kiss: Unveiling The Dance Of Passion And Artistry
Moroccan Belly Dancer: Unveiling The Grace And Mystique Of A Timeless Art
How To Make Jello In A Watermelon: The Ultimate Summer Treat!

Rachels Ravings! Swiffer wetpad upcycle!

Rachels Ravings! Swiffer wetpad upcycle!
How to Attach a Swiffer Wet Pad Mops Review
