Master The Art Of Measuring Wood Cut Angles: Your Ultimate Guide
Measuring wood cut angles might sound intimidating at first, but trust me, it's a skill anyone can master with the right guidance. Whether you're a DIY enthusiast or a professional carpenter, getting those angles just right can make all the difference in your projects. Imagine crafting that perfect piece of furniture or building a stunning deck without any awkward gaps or misaligned cuts. Sounds impressive, right? Well, it all starts with understanding how to measure wood cut angles accurately.
Now, I know what you're thinking—angles, math, and measurements sound like a recipe for a headache. But don't worry, my friend. This guide is here to break it down step by step, so even if numbers aren't your thing, you'll walk away feeling like a pro. We'll dive into the tools you need, the techniques to use, and some handy tips to ensure your cuts are spot-on every single time.
So, grab your measuring tape, pull out your miter saw, and let's get started. By the end of this article, you'll have the confidence to tackle any woodworking project that comes your way. Let's turn those tricky angles into masterpieces!
Read also:How To Draw Anime Male Torso A Comprehensive Guide For Aspiring Artists
Here's a quick table of contents to help you navigate through this article:
- Essential Tools for Measuring Wood Cut Angles
- Understanding the Basics of Angles
- Different Methods to Measure Wood Cut Angles
- Safety Tips for Accurate Measurements
- Pro Tips for Perfect Cuts
- Avoiding Common Mistakes in Angle Measurement
- Using a Miter Saw for Precise Angles
- Creating Templates for Repeated Angles
- Leveraging Technology with Angle Measuring Software
- Applying Your Skills to Real-World Projects
Essential Tools for Measuring Wood Cut Angles
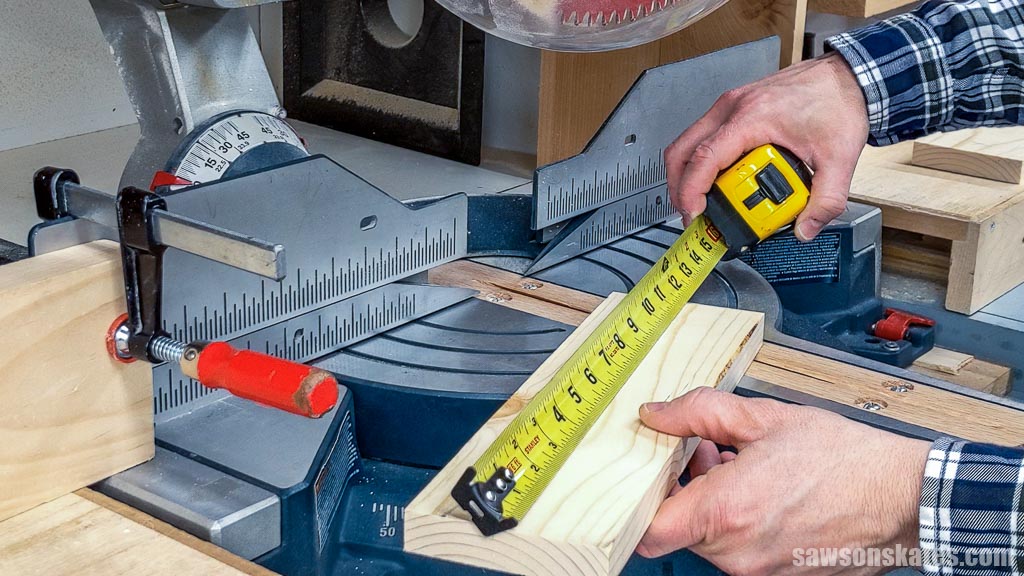
Before we dive into the nitty-gritty of measuring wood cut angles, let's talk about the tools you'll need. Having the right gear is like having a good pair of shoes for a long walk—it makes everything easier. Here's a list of must-have tools:
- Protractor: This is your go-to tool for measuring angles. It's simple, effective, and doesn't require batteries.
- Miter Saw: If you're serious about woodworking, a miter saw is a game-changer. It allows you to make precise cuts at specific angles.
- Digital Angle Finder: For those who prefer tech over tradition, a digital angle finder can give you exact readings in seconds.
- Tape Measure: You'll need this to measure the length of your cuts and ensure everything fits together perfectly.
- Clamps: These handy little helpers keep your wood steady while you make your cuts, reducing the risk of mistakes.
Remember, your tools are only as good as your technique. So, take the time to familiarize yourself with each one before diving into your project.
Understanding the Basics of Angles
What Are Wood Cut Angles Anyway?
Simply put, wood cut angles are the degrees at which you cut your wood. These angles can range from 0 to 90 degrees, depending on the design and purpose of your project. For example, a 45-degree angle is commonly used for picture frames and crown molding because it creates a seamless joint when two pieces meet.
Why Are Angles Important in Woodworking?
Angles are crucial because they determine how well your pieces fit together. A poorly measured angle can lead to gaps, misalignments, and a lot of frustration. On the flip side, accurate angles result in clean, professional-looking joints that enhance the overall quality of your work.
Different Methods to Measure Wood Cut Angles
There's more than one way to skin a cat, and the same goes for measuring wood cut angles. Here are a few methods you can try:
Read also:What Are Pitching Outs Prizepicks Your Ultimate Guide To Winning Big
- Using a Protractor: Place the protractor on the wood and align it with the edge. Read the angle where your cut line intersects the protractor.
- Using a Miter Saw: Most miter saws come with a built-in angle gauge. Set the saw to the desired angle and make your cut.
- Using a Digital Angle Finder: Place the digital angle finder on the surface of the wood and let it do the work for you. It'll display the exact angle on the screen.
Each method has its own advantages, so it's worth experimenting to see which one works best for you.
Safety Tips for Accurate Measurements
Safety should always be your top priority when working with power tools. Here are a few tips to keep you safe while measuring wood cut angles:
- Wear Safety Gear: This includes goggles to protect your eyes and ear protection to shield your hearing.
- Secure Your Wood: Use clamps or a bench vise to hold your wood in place. This reduces the risk of it moving while you make your cuts.
- Double-Check Your Measurements: A second look can save you from making a costly mistake.
Remember, an ounce of prevention is worth a pound of cure. Taking these safety precautions will ensure your woodworking sessions are both productive and safe.
Pro Tips for Perfect Cuts
Here are some insider tips to help you achieve those perfect cuts:
- Use a Sharp Blade: A dull blade can cause your cuts to be uneven and inaccurate.
- Mark Your Cuts Clearly: Use a pencil to draw a clear line where you want to cut. This makes it easier to follow when using your saw.
- Practice on Scrap Wood: If you're new to measuring angles, practice on some scrap wood before cutting your actual project pieces.
These tips might seem simple, but they can make a world of difference in the quality of your work.
Avoiding Common Mistakes in Angle Measurement
Even the best woodworkers make mistakes sometimes. Here are a few common ones to watch out for:
- Not Double-Checking Measurements: A small error in measurement can lead to big problems down the line.
- Using the Wrong Tool: Each tool has its own strengths and weaknesses. Make sure you're using the right one for the job.
- Rushing the Process: Taking your time can help you avoid costly mistakes and ensure your cuts are accurate.
By being aware of these potential pitfalls, you can avoid them and keep your projects on track.
Using a Miter Saw for Precise Angles
A miter saw is one of the most versatile tools in your woodworking arsenal. Here's how to use it for precise angle cuts:
- Set the Angle: Use the angle gauge on your miter saw to set the desired angle.
- Secure the Wood: Use clamps or the saw's built-in fence to hold the wood steady.
- Make the Cut: Slowly lower the saw blade onto the wood, following your marked line.
With a little practice, you'll be making perfect angle cuts in no time.
Creating Templates for Repeated Angles
If you're working on a project that requires multiple pieces with the same angle, consider creating a template. This can save you time and ensure consistency across all your cuts. Here's how:
- Make a Sample Piece: Cut a piece of scrap wood at the desired angle.
- Use It as a Guide: Place the sample piece against your other wood pieces to mark the same angle.
Templates are a great way to streamline your workflow and maintain accuracy.
Leveraging Technology with Angle Measuring Software
In today's digital age, there are apps and software designed to help you measure angles more accurately. These tools can be especially useful for complex projects where precision is key. Some popular options include:
- Angle Finder Apps: Available for both iOS and Android, these apps use your phone's sensors to measure angles.
- CAD Software: For more advanced projects, computer-aided design software can help you plan and measure angles digitally.
Technology can be a powerful ally in your woodworking journey. Don't be afraid to embrace it!
Applying Your Skills to Real-World Projects
Now that you've learned how to measure wood cut angles, it's time to put your skills to the test. Here are a few project ideas to get you started:
- Building a Picture Frame: Use 45-degree angles to create seamless joints.
- Crafting a Deck: Accurate angles ensure your deck is level and secure.
- Making Crown Molding: Perfect angles are essential for a polished look.
These projects will give you hands-on experience and help you refine your angle-measuring skills.
Conclusion
Measuring wood cut angles doesn't have to be a daunting task. With the right tools, techniques, and a bit of practice, you can achieve professional-quality results in no time. Remember to always prioritize safety, double-check your measurements, and take your time to ensure accuracy.
So, what are you waiting for? Grab your tools and start measuring those angles. And don't forget to share your projects with us in the comments below. We'd love to see what you create. Happy woodworking, my friend!
How To Pack A Punch In Ascension: Your Ultimate Guide To Scaling Up
How To Master Saying "Cómo Están" In English: A Comprehensive Guide
Beldum 100 IV CP: The Ultimate Guide For Trainers

How to Cut Compound Angles • WoodArchivist
howtomeasureandcutwoodaccuratelymeasuringcut1 Saws on Skates
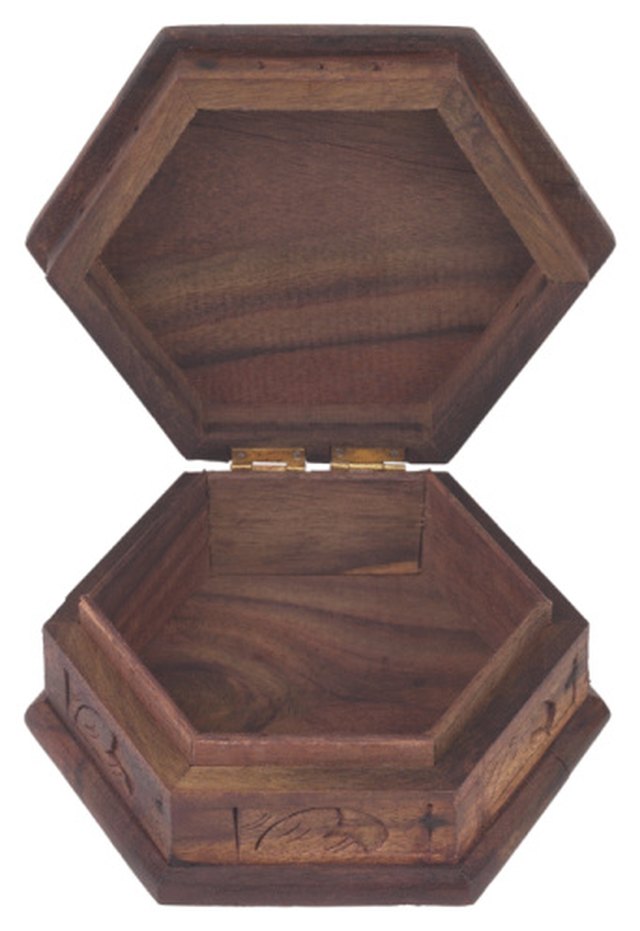
How to Cut Wood Angles for Hexagons Hunker
